Day 1782 “Bone Manor/D’Casa Nossy”

Geez, what a weekend…

I took a few days to visit Bone and Nossy to try and work on the Bone. It was a busy weekend. We did get to weld on my exhaust some. Here is a progress report of the past few days.

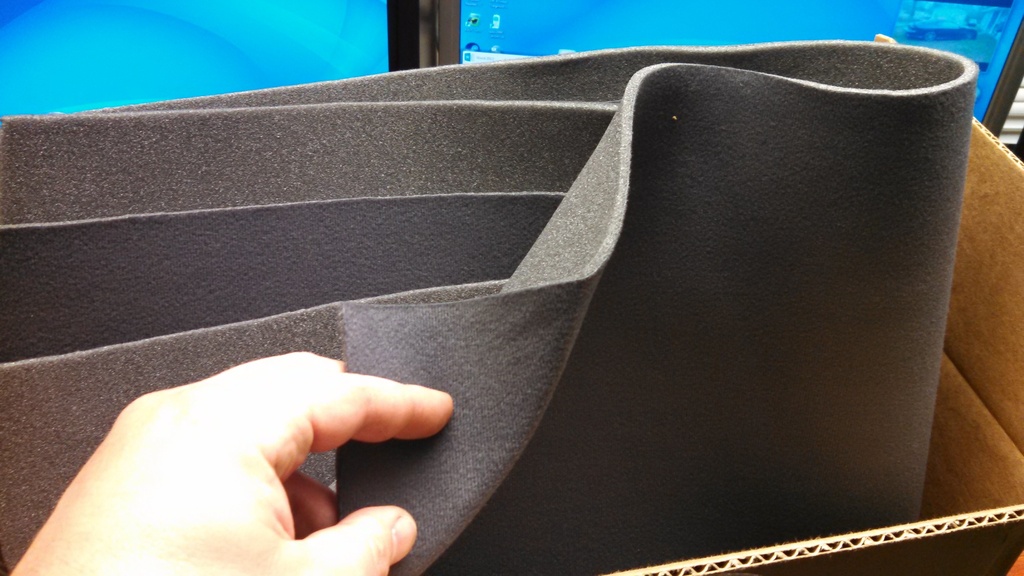
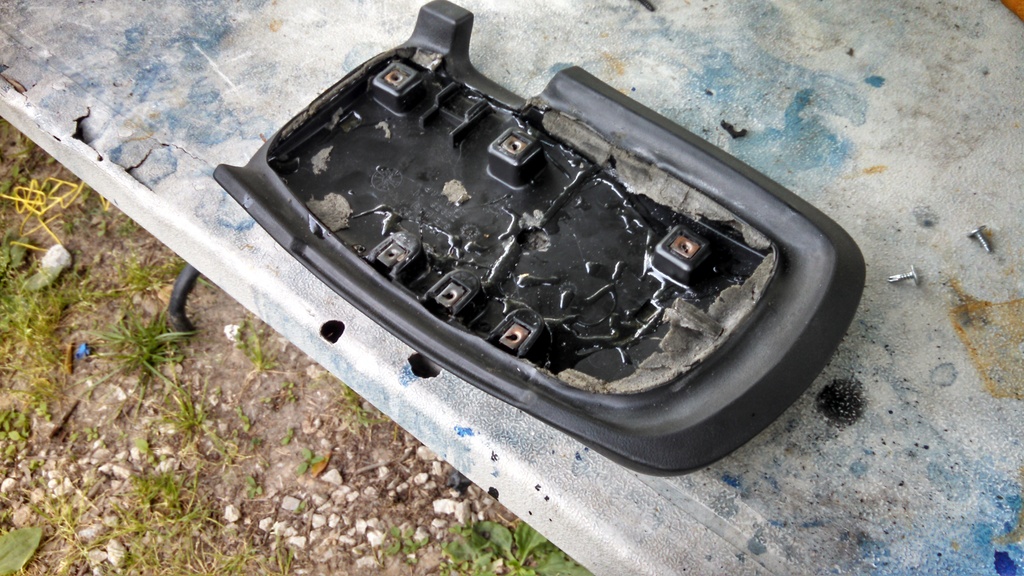
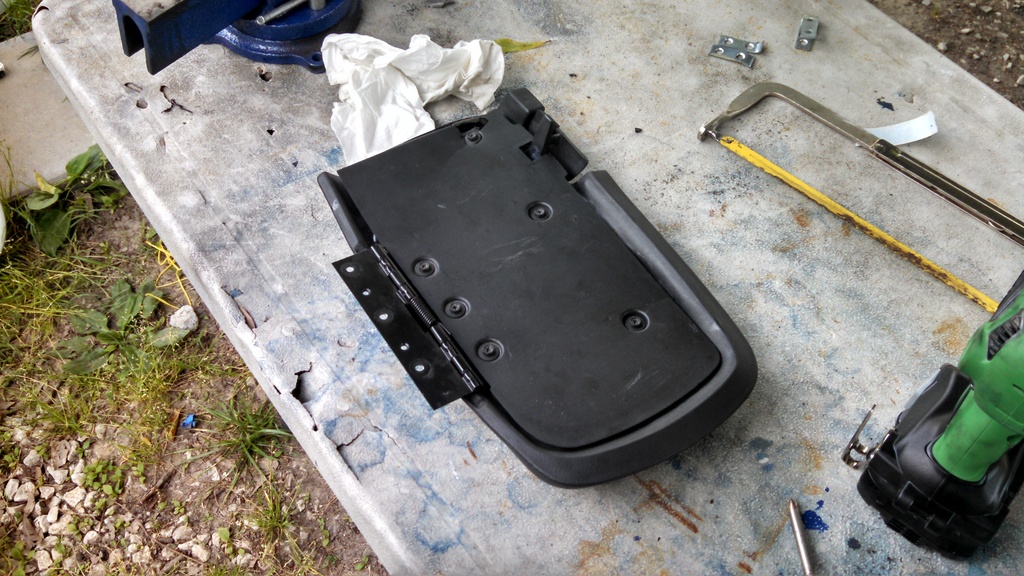
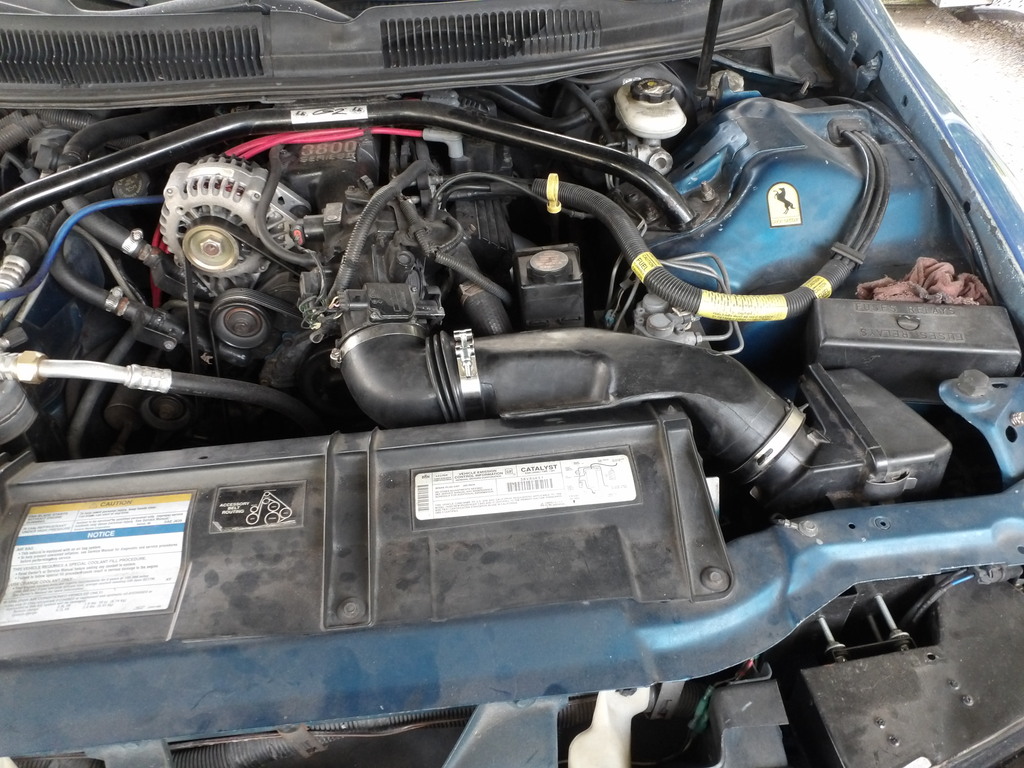
From the collection of parts I got from my memphis visit Laura gave me her stock filter box. I also found a 3.4 connecting tube that is almost an exact fit for a 90 elbow.

It came in the day before I left for GA. It looks pretty good to me. I like the fit and the ease of access too.

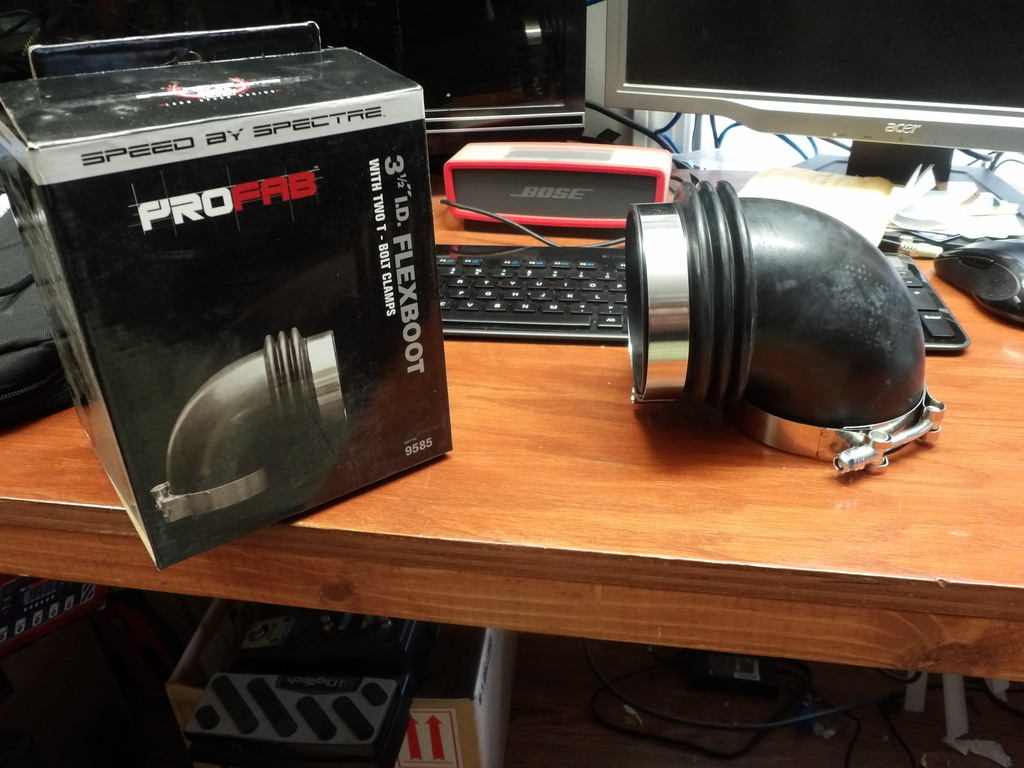
The 3.4 tube had to be trimmed about an 1in to connect to the elbow.

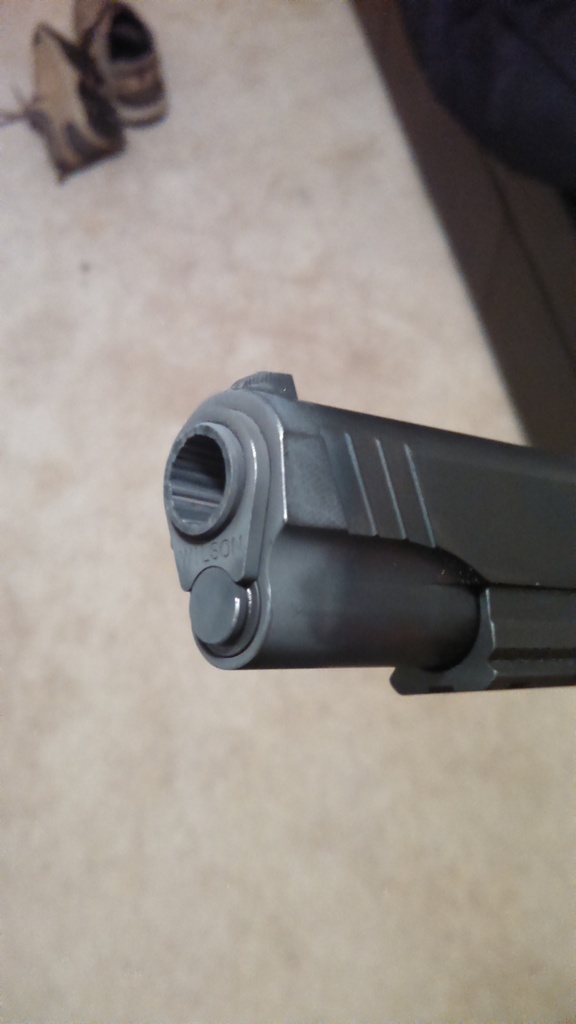
When I got to the Bone Manor/D’casa Nossy. When wrenched hard on the bone for 2 days. Then decided it was time to vent with some good ole gunpowder and lead.

The bone took a lot more time than we thought mainly because I’m getting old and slow.

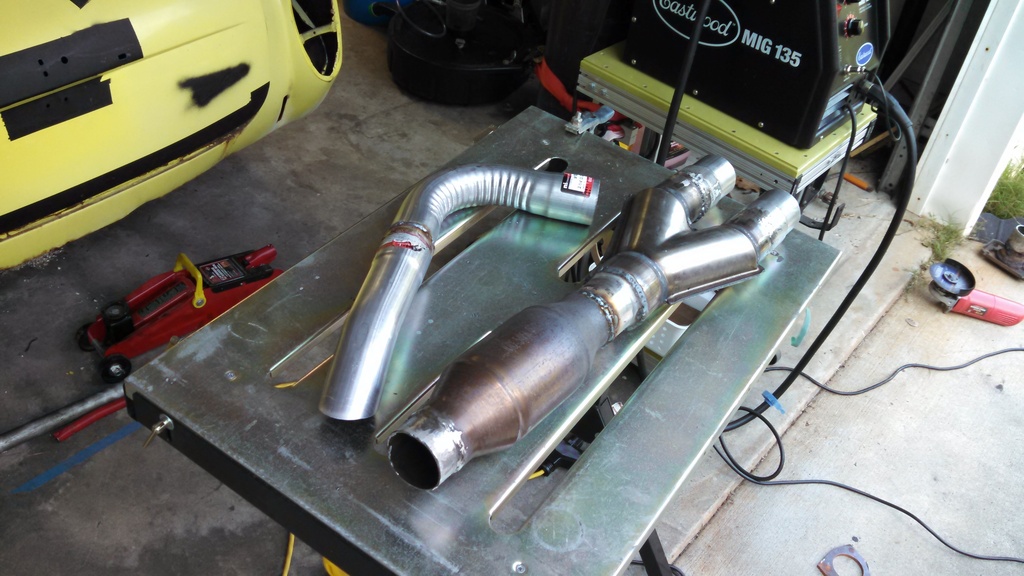
But we went ahead and chopped up my exhaust to weld in a MagnaFlow Y-pipe. just to see if all this talk about the flow of the y-pipe causes most of our rasp.

I got it up off the ground, looked at what we needed, and ran to the parts store

Jim was adamant that this wasn’t to big or too ricey. I failed to see his point.

Point of no return, chopping the pacesetter y-pipe.

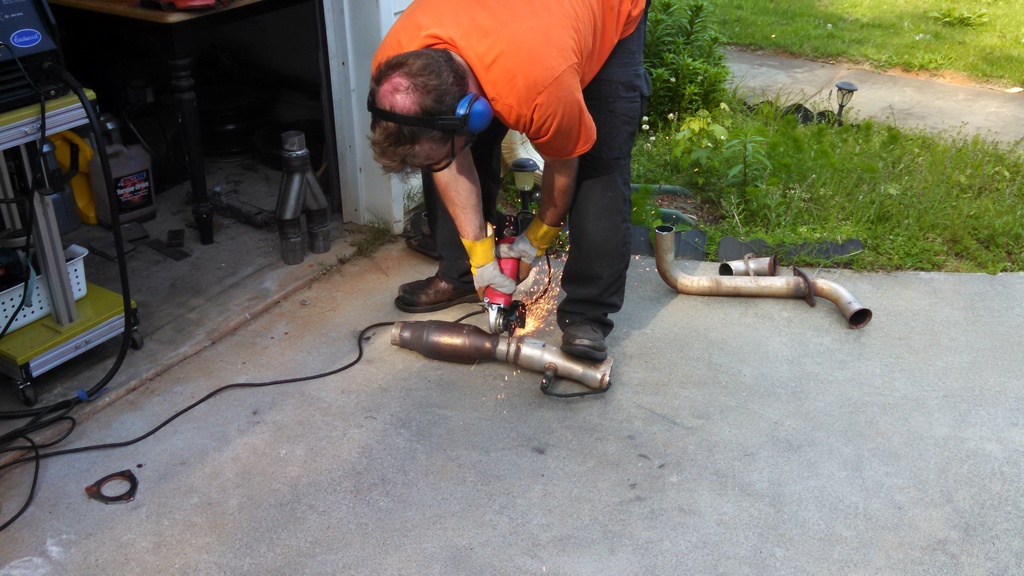
Jim began welding up the pieces

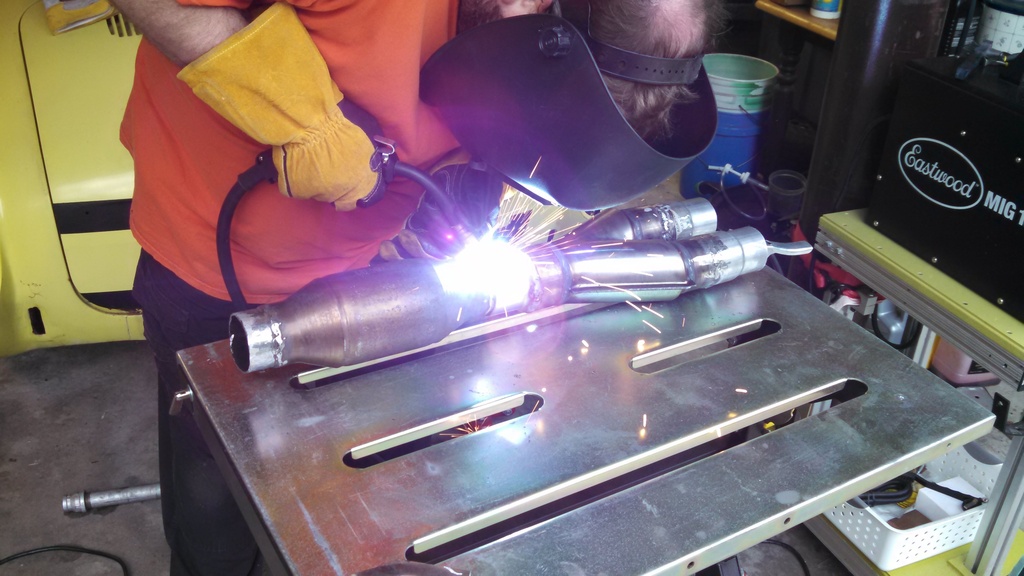
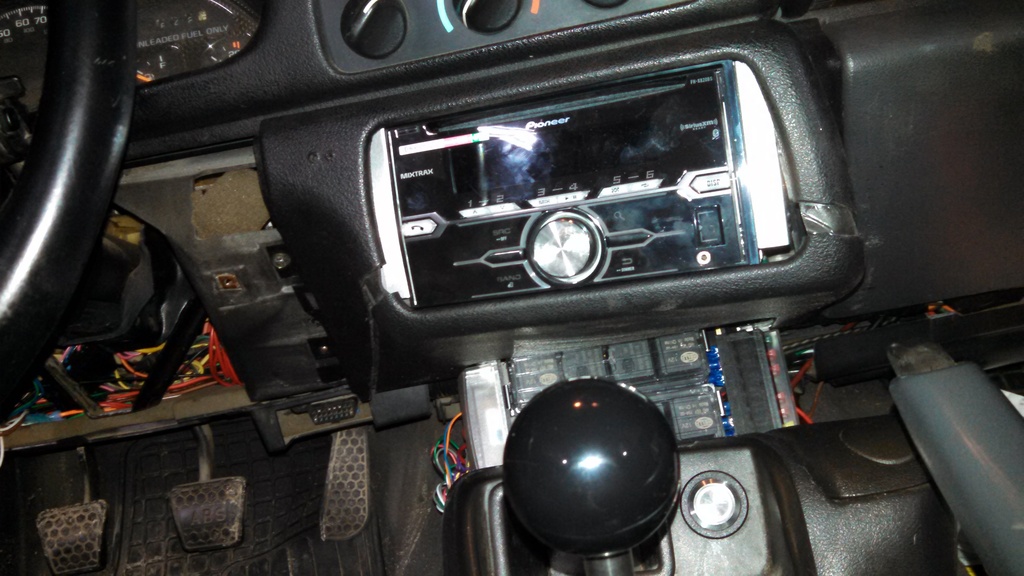
This was also something we were going to change. This here makes way to much noise inside the car.

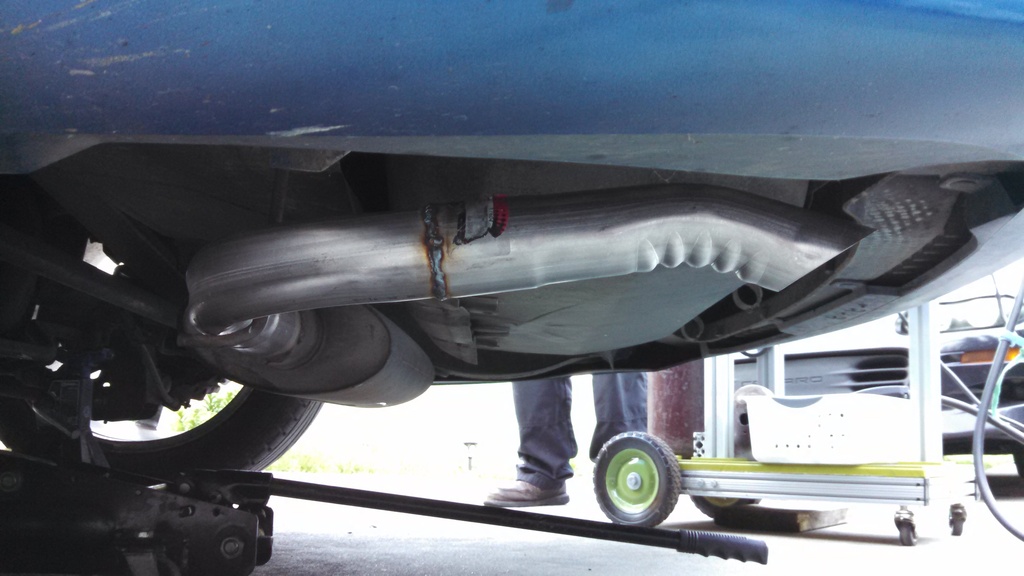
We got the Y-pipe and cat welded as well as the after muffler pipe.

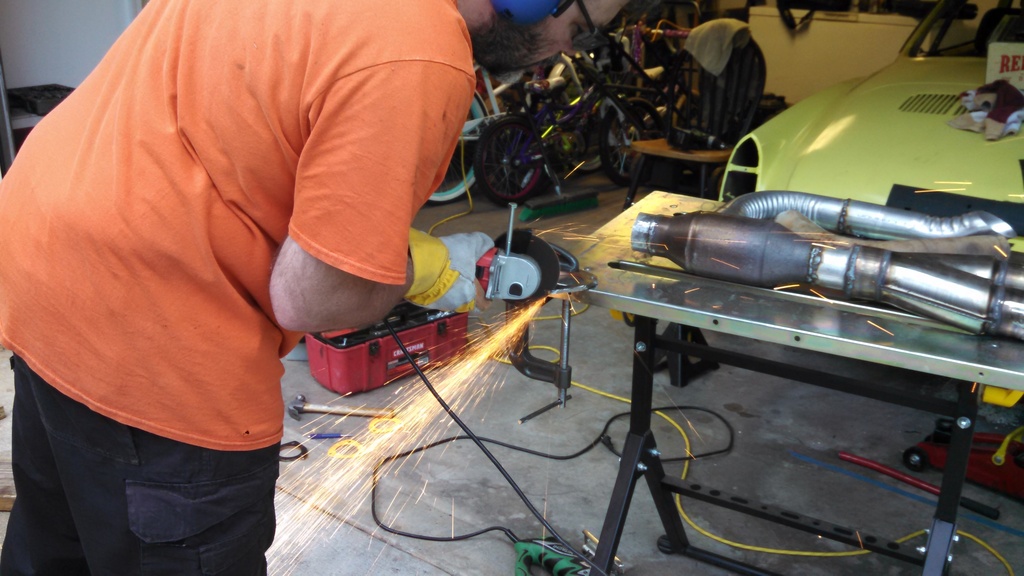
We also cut and welded a flange to bolt the new y-pipe in instead of welding it to the stock cat back pipe. Here are some gratuitous action shots with the cutting wheel.

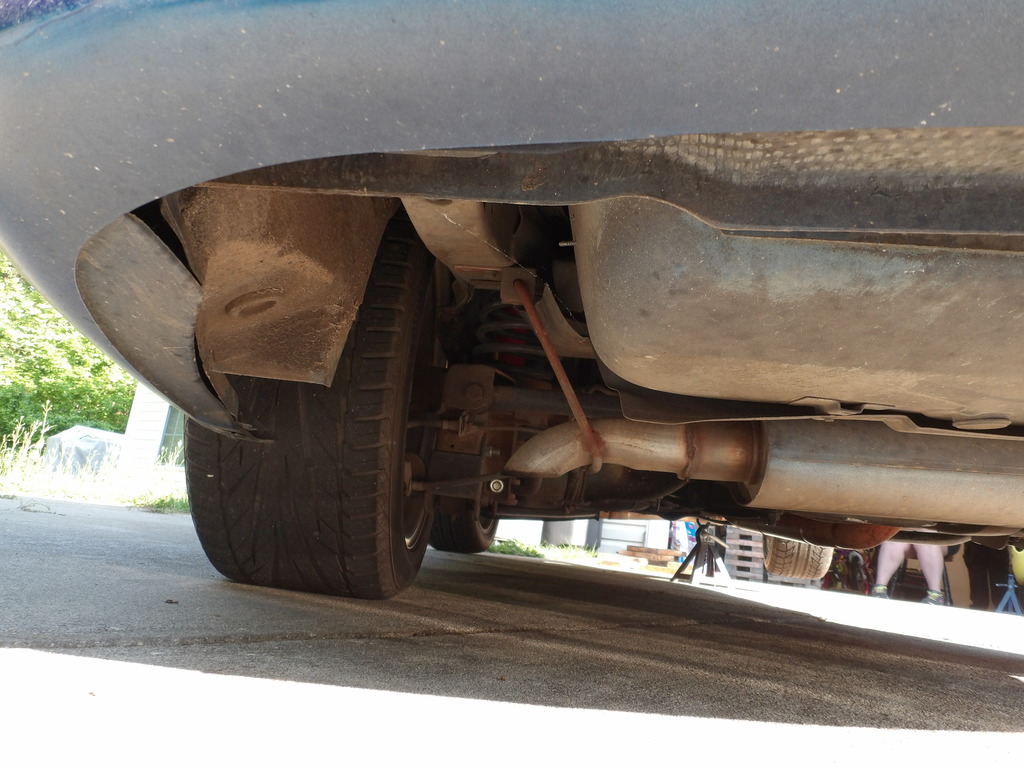
We got the rear pipe installed. This makes it so much quieter in the car. I can actually hear the sound of the exhaust vs the drone of the sound hitting the ground.

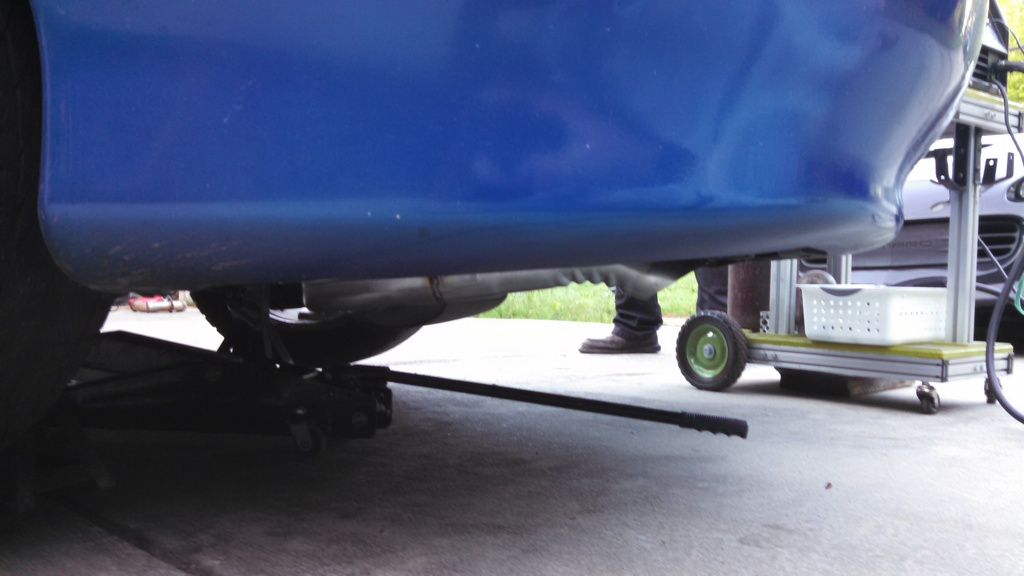
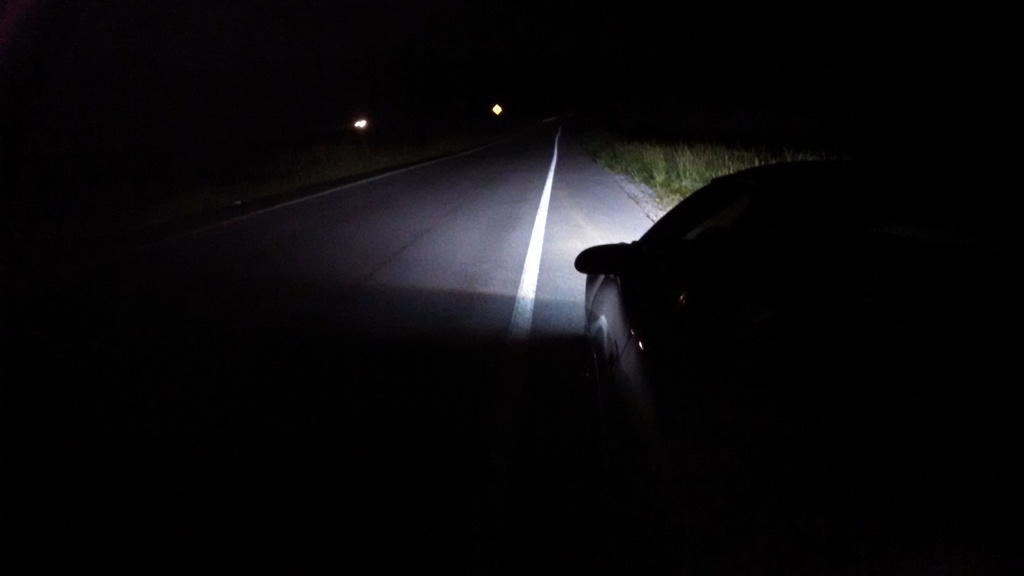
We got the y-pipe installed at about 10pm on sunday. I had to be back home for work the next day. :-\ It was a long ride home.

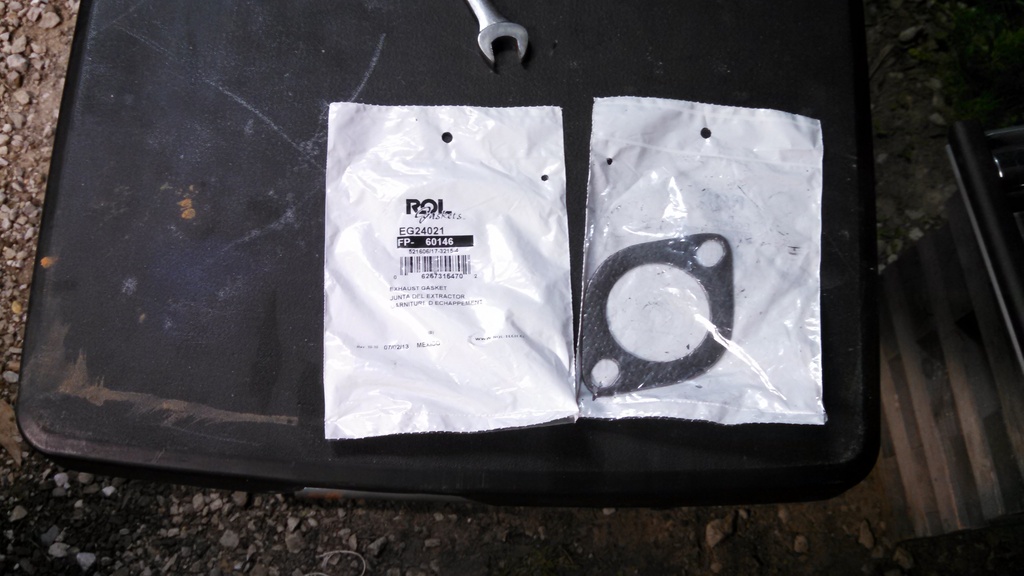
Last night however I got a chance to work on sealing the headers because we had to ditch the factory donuts.

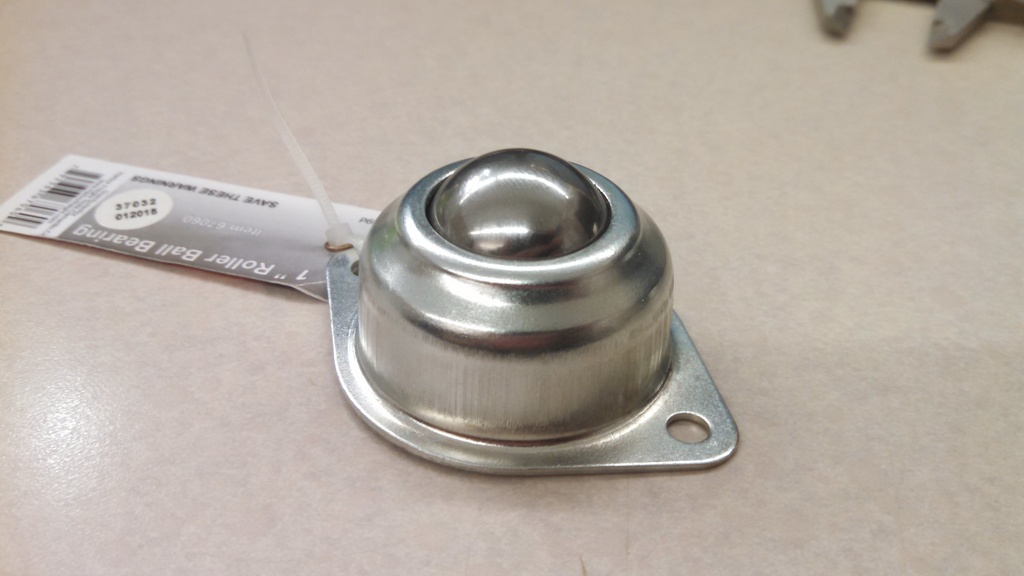
I got a couple 2 bolt flange gaskets to stick between the ball and flange. it seems to seal them up pretty good.

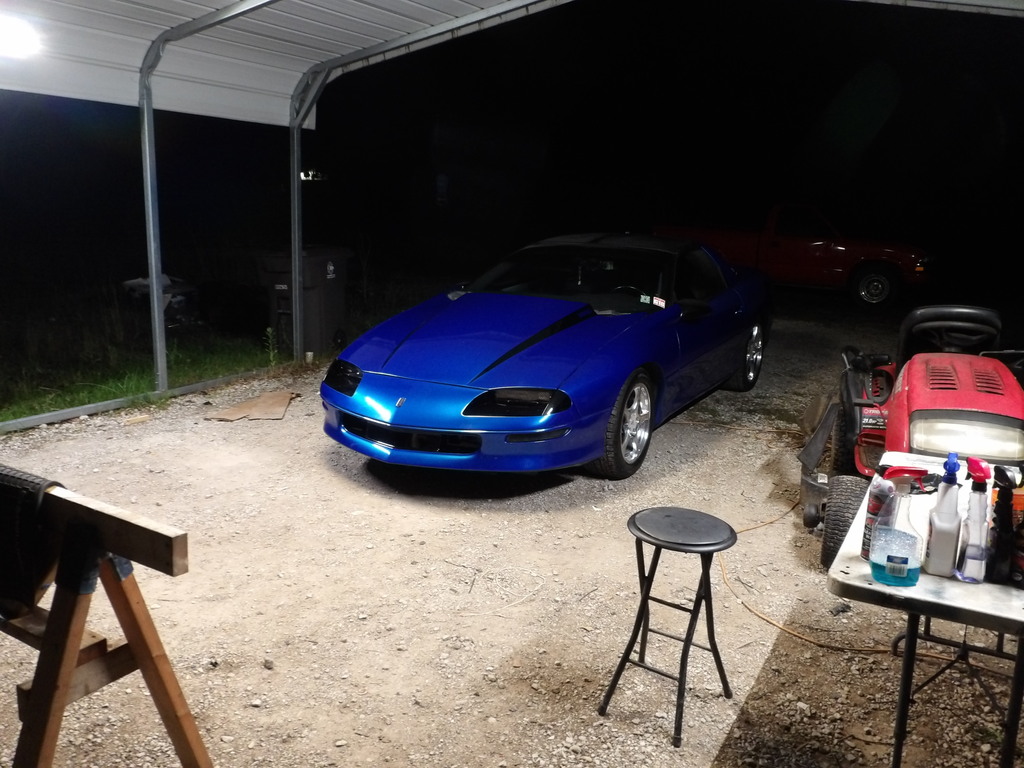
I’m back in the camaro today. The exhaust sounds completely different and the underside looks pretty good. I’ll have to get some new exhaust video very soon.

Day 1783 “Time for a Wiring Diagram”

I received all the pieces to rewire my accessories and everything to redo my stereo.

Like before, here is the wire and relay boxes

Here is the new headunit, double din. It’s time to cut up the dash and wire the relays and fuse panel.

2 fused connectors for the switched and unswitched power.

Next few days will be busy. I have to pretty much draw out a wire schematic. before I get started.

Day 1785 “Cut the Double DIN”

I’ve started the rewire and Double DIN conversion.

First, I removed a lot of wire from years of stuff going in and out.

Cut the web under the dash:

Now I have plenty of room for a double DIN.

Sliced a radio bezel in half to modify for double DIN.

Day 1792 “What’s in the Glove Box”

Yesterday, I got started on my amp relocation to the glove box. It’s a tight fit.

Chopped the glove box I scored from the junkyard.

I fitted it some.

I got the amp and crossover mounted onto it. Now I just have to re run the wires

You can also see the edge of the double din mod I’m working on. It’s not completely finished yet.

I also broke the lids some more when I was taking out the console. I decided to try and fix it.

I got material from WLS headliners to reupholster my headliner.

I don’t know if I mentioned it but I’m looking at a new design for my sub box to make it multi-position. I essentially want to make a sub box that will fit in the trunk yet be able to move up behind the back seat when I want to take the tops off.

This is hopefully one component that will fit into my design.

Day 1796 “Fuel Leak Discovered”

Very productive weekend except for the shitty weather which made half of saturday and most of sunday a bust. the rest of the week looks pretty crappy as well. Hopefully it’s not going to prevent me from doing the rest of my list.

Where I left off was the console lid. After the epoxy had cured it was pretty solid. I’m curious to see how long this holds.

I began the time consuming process of wiring.

Hiding this turns out to be a little difficult.

I haven’t wired the fuses panel in with it yet

I took a swing in the dark as to my fuel pressure problem. The pump that Matt and I installed, whilst I was stranded in AL, came with a factory like hose.

I didn’t start to leak down until a month or so after I got back and drove it daily.

I decided to swap back to a rubber hose instead. Oddly enough we swapped it and it still wouldn’t hold pressure. That is until I marked it off the list. Then it magically held. It was quite annoying. In any case the pressure holds now when the car is off. Which means my push button start doesn’t require me to cycle the button to prime the fuel lines anymore.

This is an unusual problem that some people with cams and a low idle might be interested in.

(Edit: the following information is related to amp draw. The alternator actual cuts the charging off when The idle dips below 500 or so. I’ve got more information about that in a later post)

I have a problem where my ac is going and my blower is full blast and my voltage, when I come to a stop, drops due to all the power draw. My idle is set at 700 which is 50 below factory. So as my cam lopes it can hit anything from 650 to 750 rpm. Factory alternators are designed for 750 rpm. Which if rev the throttle slightly the voltage will go normal.

My solution or attempt at a solution is a new pulley for the alt. I got one that is slightly smaller diameter.

The gold pulley is a factory diameter

Factory circumference = 7.54
New Circumference = 7.00

New rev ratio vs factory = 108%

(Edit: This isn’t exactly the way you should calculate the RPM of the alternator. Pro tip: do it the right way)

So at 650 rpm the new pulley will simulate the engine running at 700 rpm. This may not be enough but it will help for sure. And I lower the idle to 675 hopefully as well.

I swapped the phone dock charger from a chopped up plug in charger to a better 1.2A wired charger made for bikes and such. Hopefully my phone will charge and run nav at the same time. The nav seems to drain a lot of juice and the old charger barely keeps up.

it fits nicely.

The following is probably the best cosmetic improvement.

Headliner:

I managed to find a decent headliner at the pull a part with Laura and Jeff. It needed to be recovered but the headliner itself was in good enough condition to use.

Scrubbed off the old foam:

The rain started to pour so I threw it into the hatch for safe keeping.

I managed to install it after the rain stopped. it’s been a very long time since I had a headliner. The material came from WLS headliners. The graphite color is pretty dead on for the graphite interiors.

Day 1797 “Wiring Gone Crazy”

Getting all this wire sorted out is about as crazy as it looks.

I’ve got the components sorta mounted together.

The wires in the back are organized.

I spent hours taking all the rest of the car and sorting that wire. There isn’t a whole lot of space in a Camaro.

I’ve only got today and tomorrow to really hammer out these mods. Then, I have to spend time really cleaning it out. The gathering is getting closer quicker than I would like.

Day 1800 “Ready for G19”

The wiring really took up all the time I had to work. Not to mention the weather was shit too. I skipped a few not required mods like a new sub box, which is probably a good thing. I need more time to think about it.

But I did managed to get my door panels on which makes the interior look really good now. I’m finally completely swapped to graphite. I also installed, but not pictured, my graphite sun visors. They aren’t great but they were better shape than mine and the right color.

I also didn’t get to spend any time on putting the radio bezel back together. so I had to settle with some adhesive stuff I had laying around. I’ll likely get more fiberglass resin and put it together with that.

This is how I’ll be rolling to G19. She’s clean and polished