1 2 3 4 5 6 7 37

Welcome to My Blog!

Welcome to Operation X!

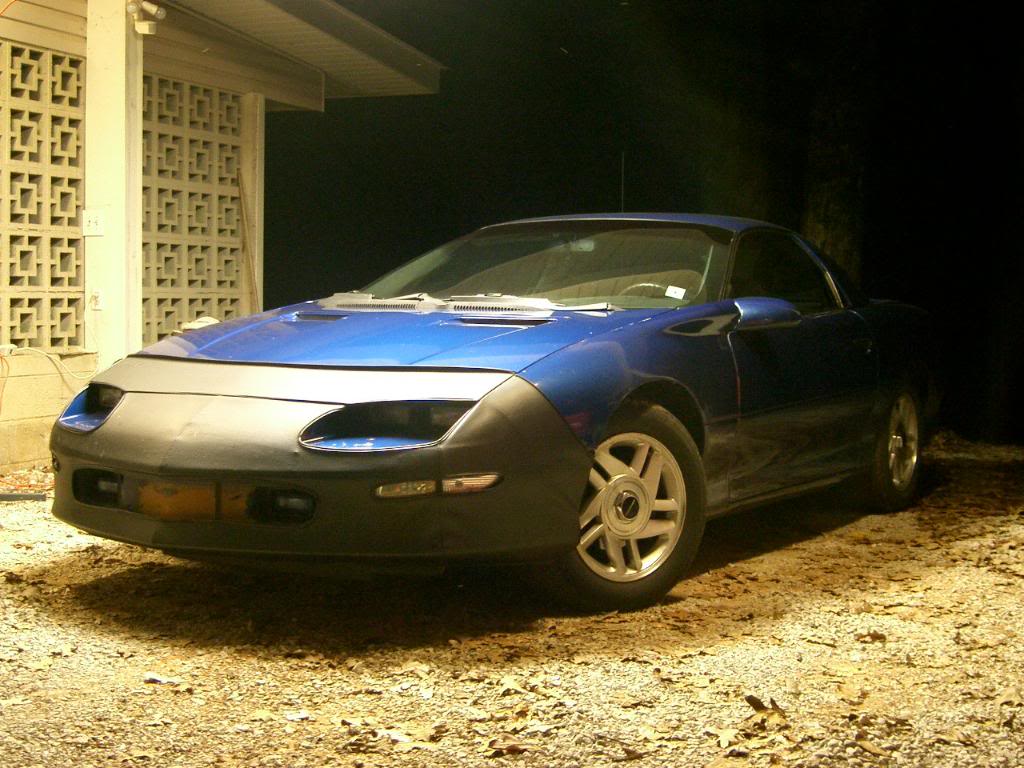
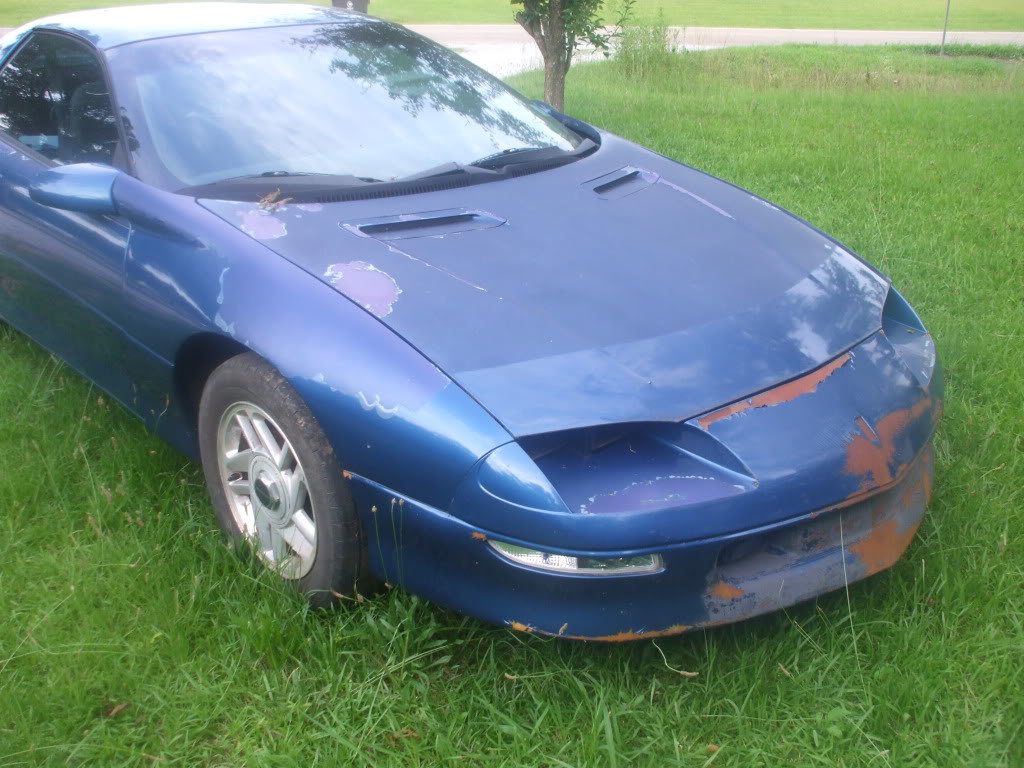
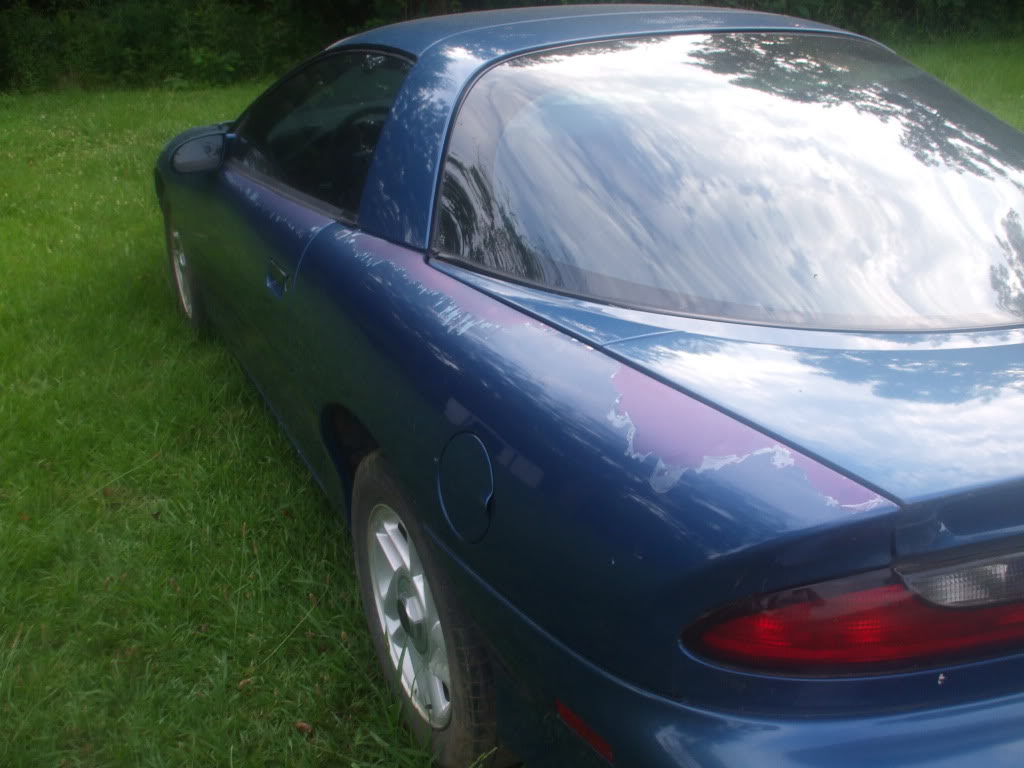
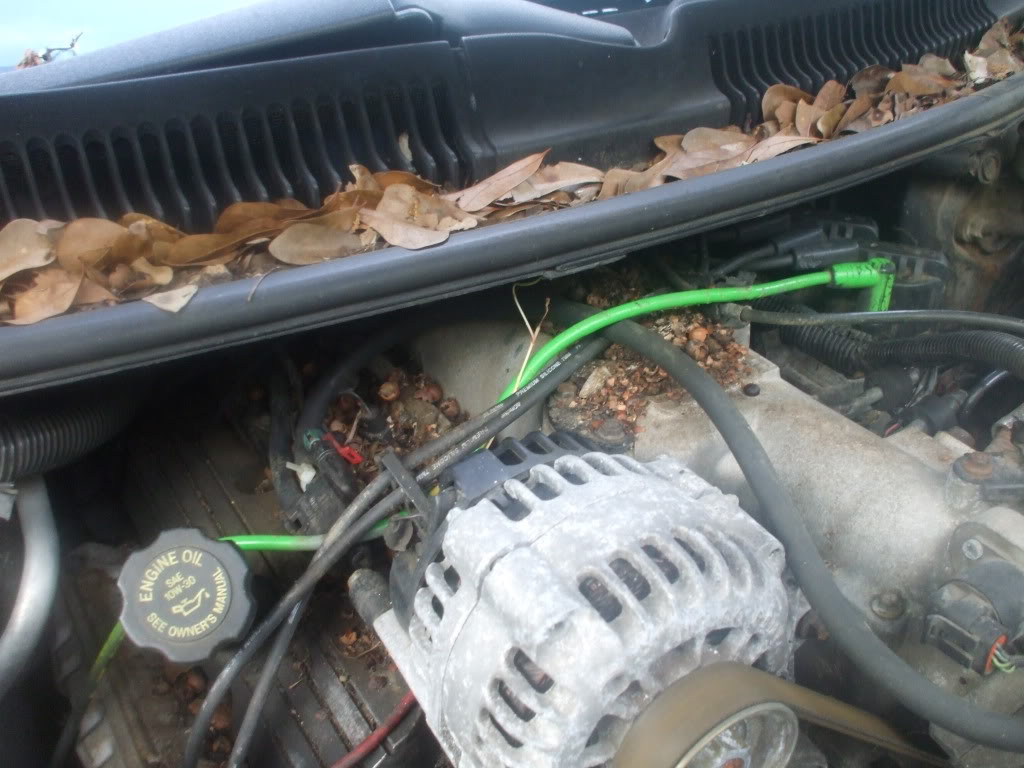
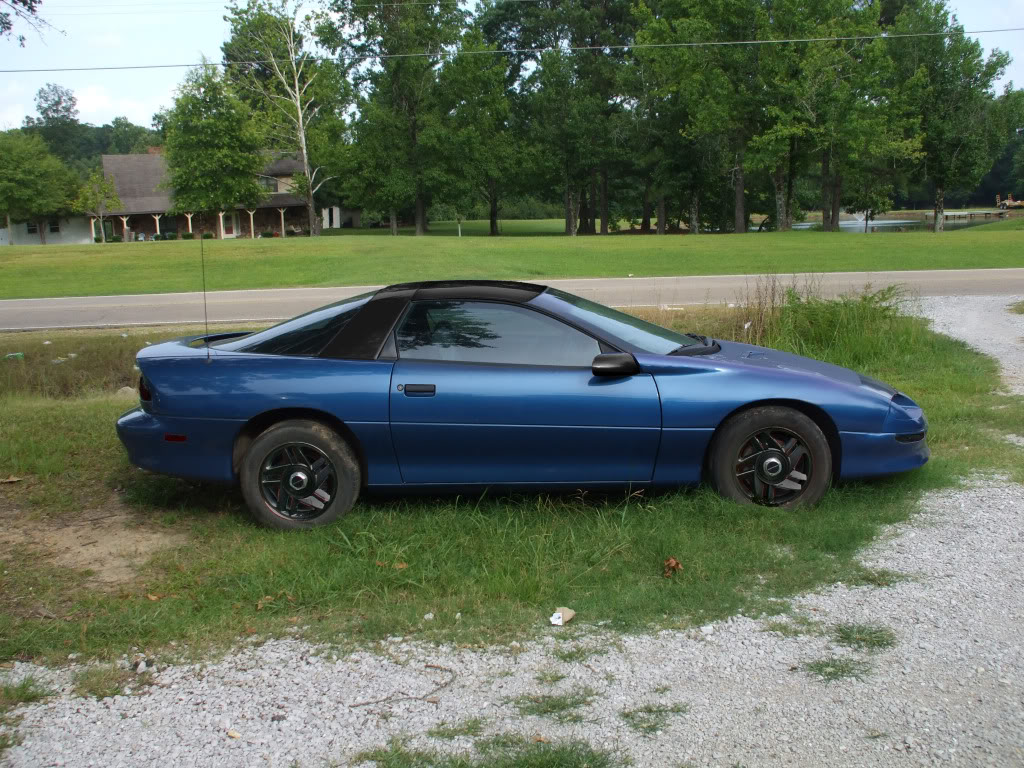
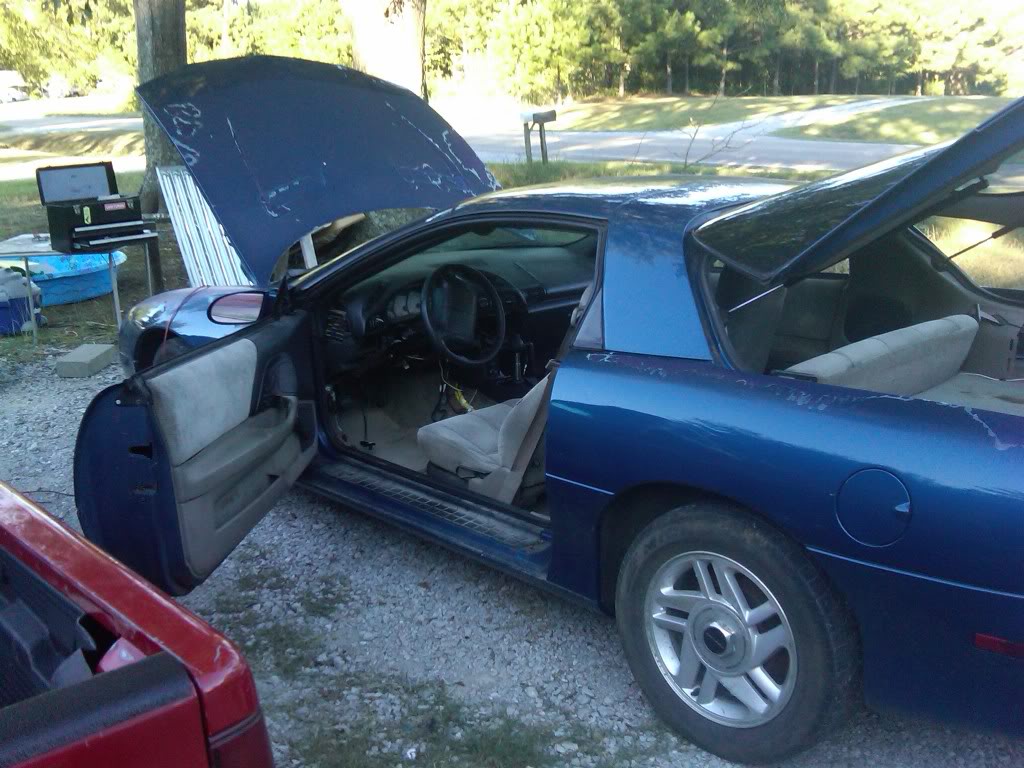
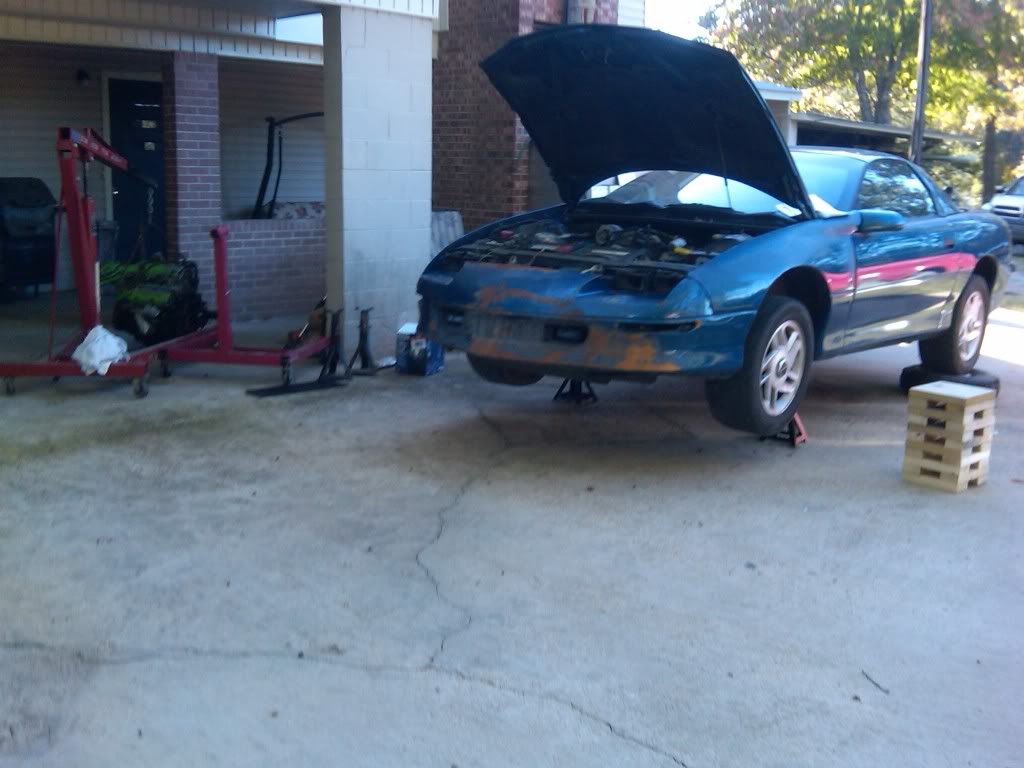
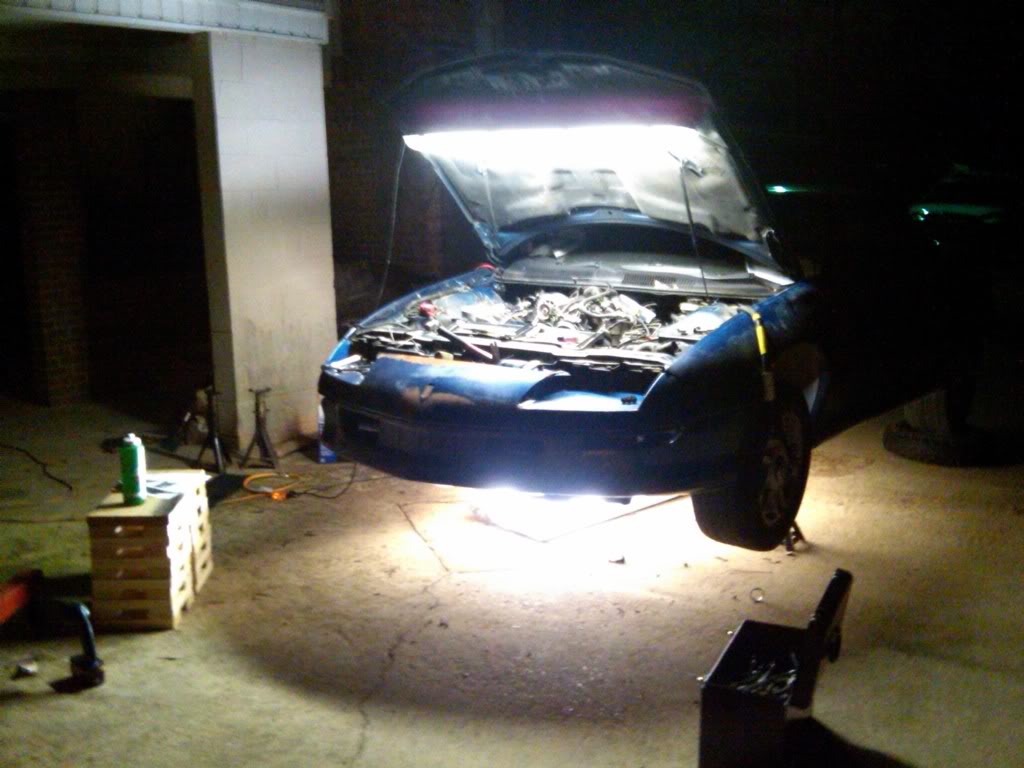
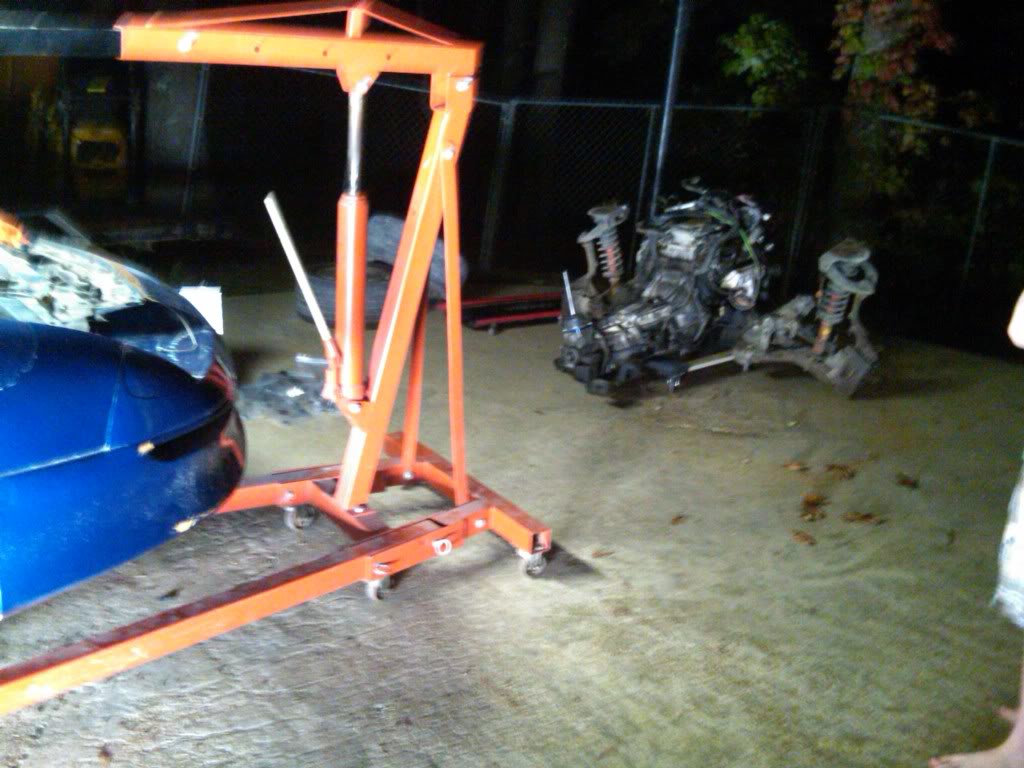
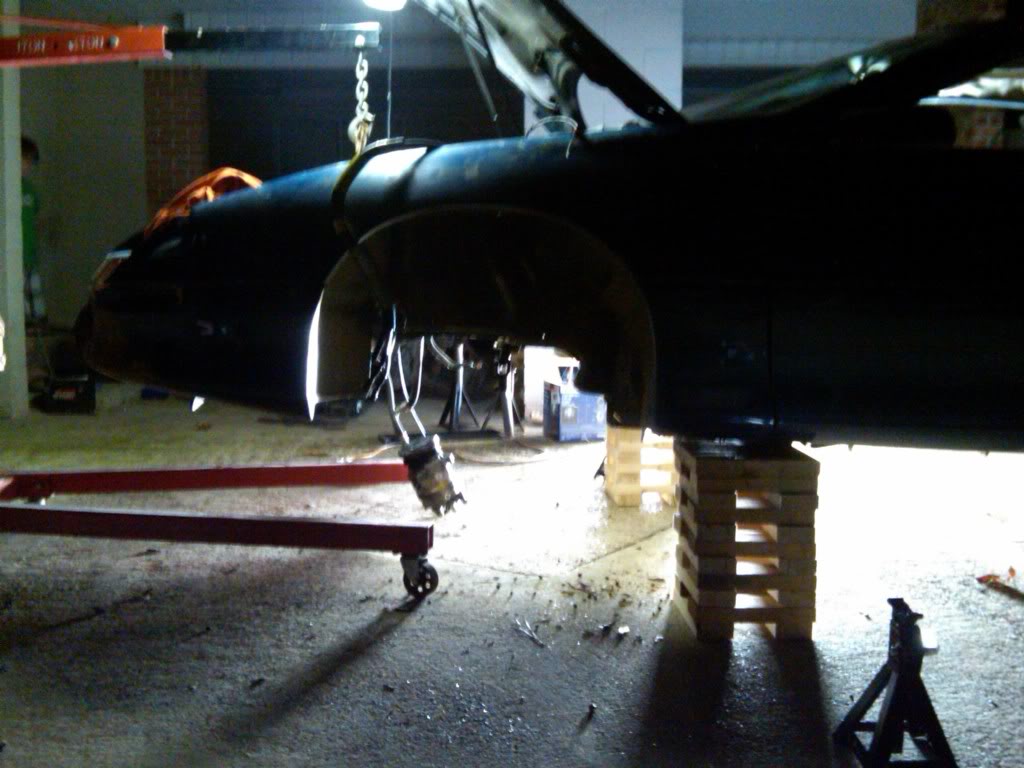
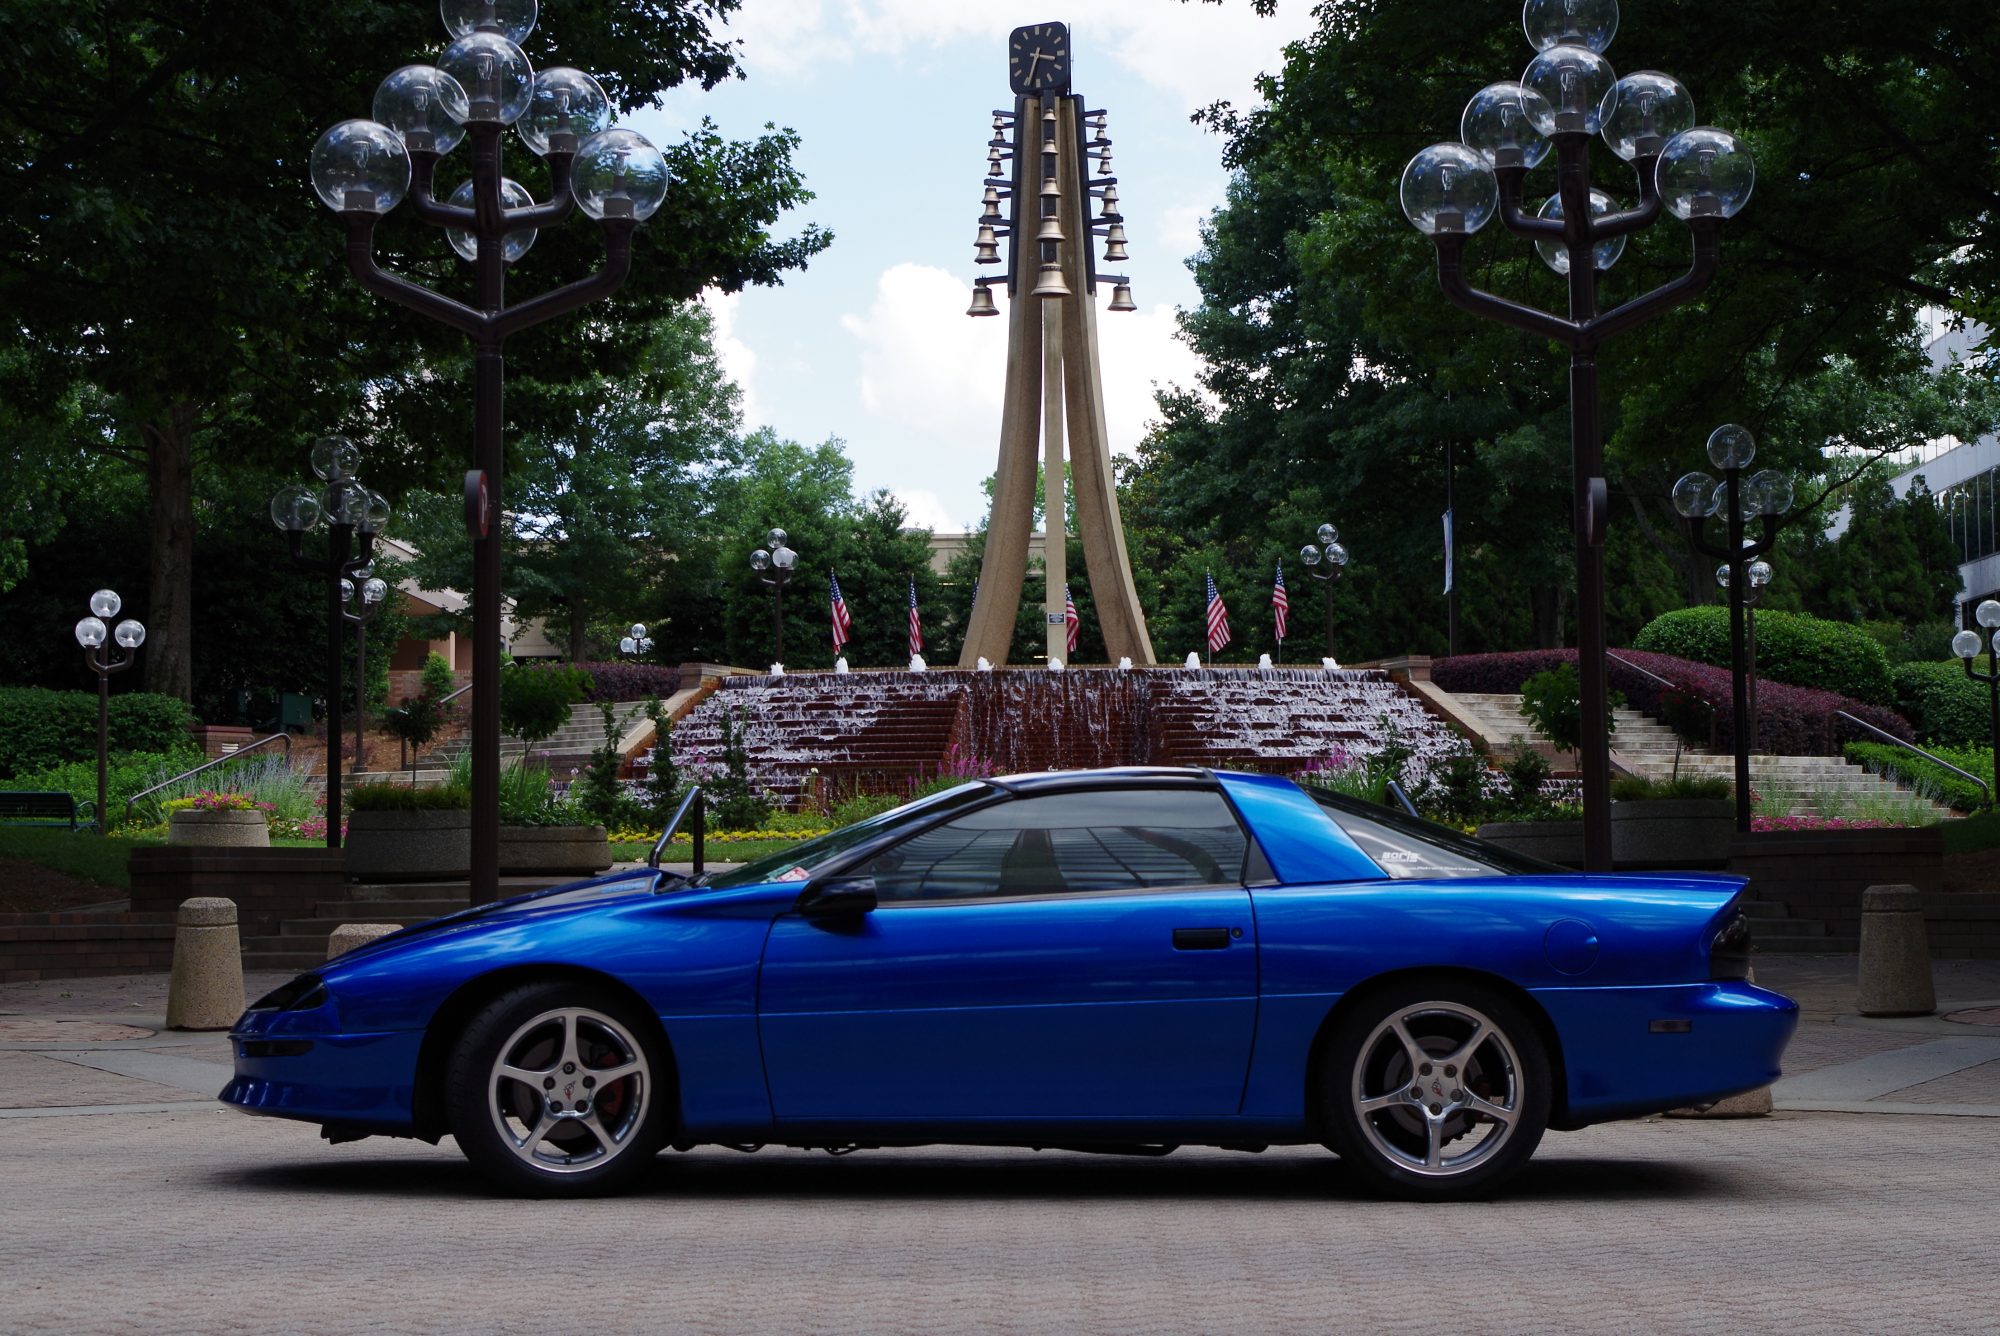
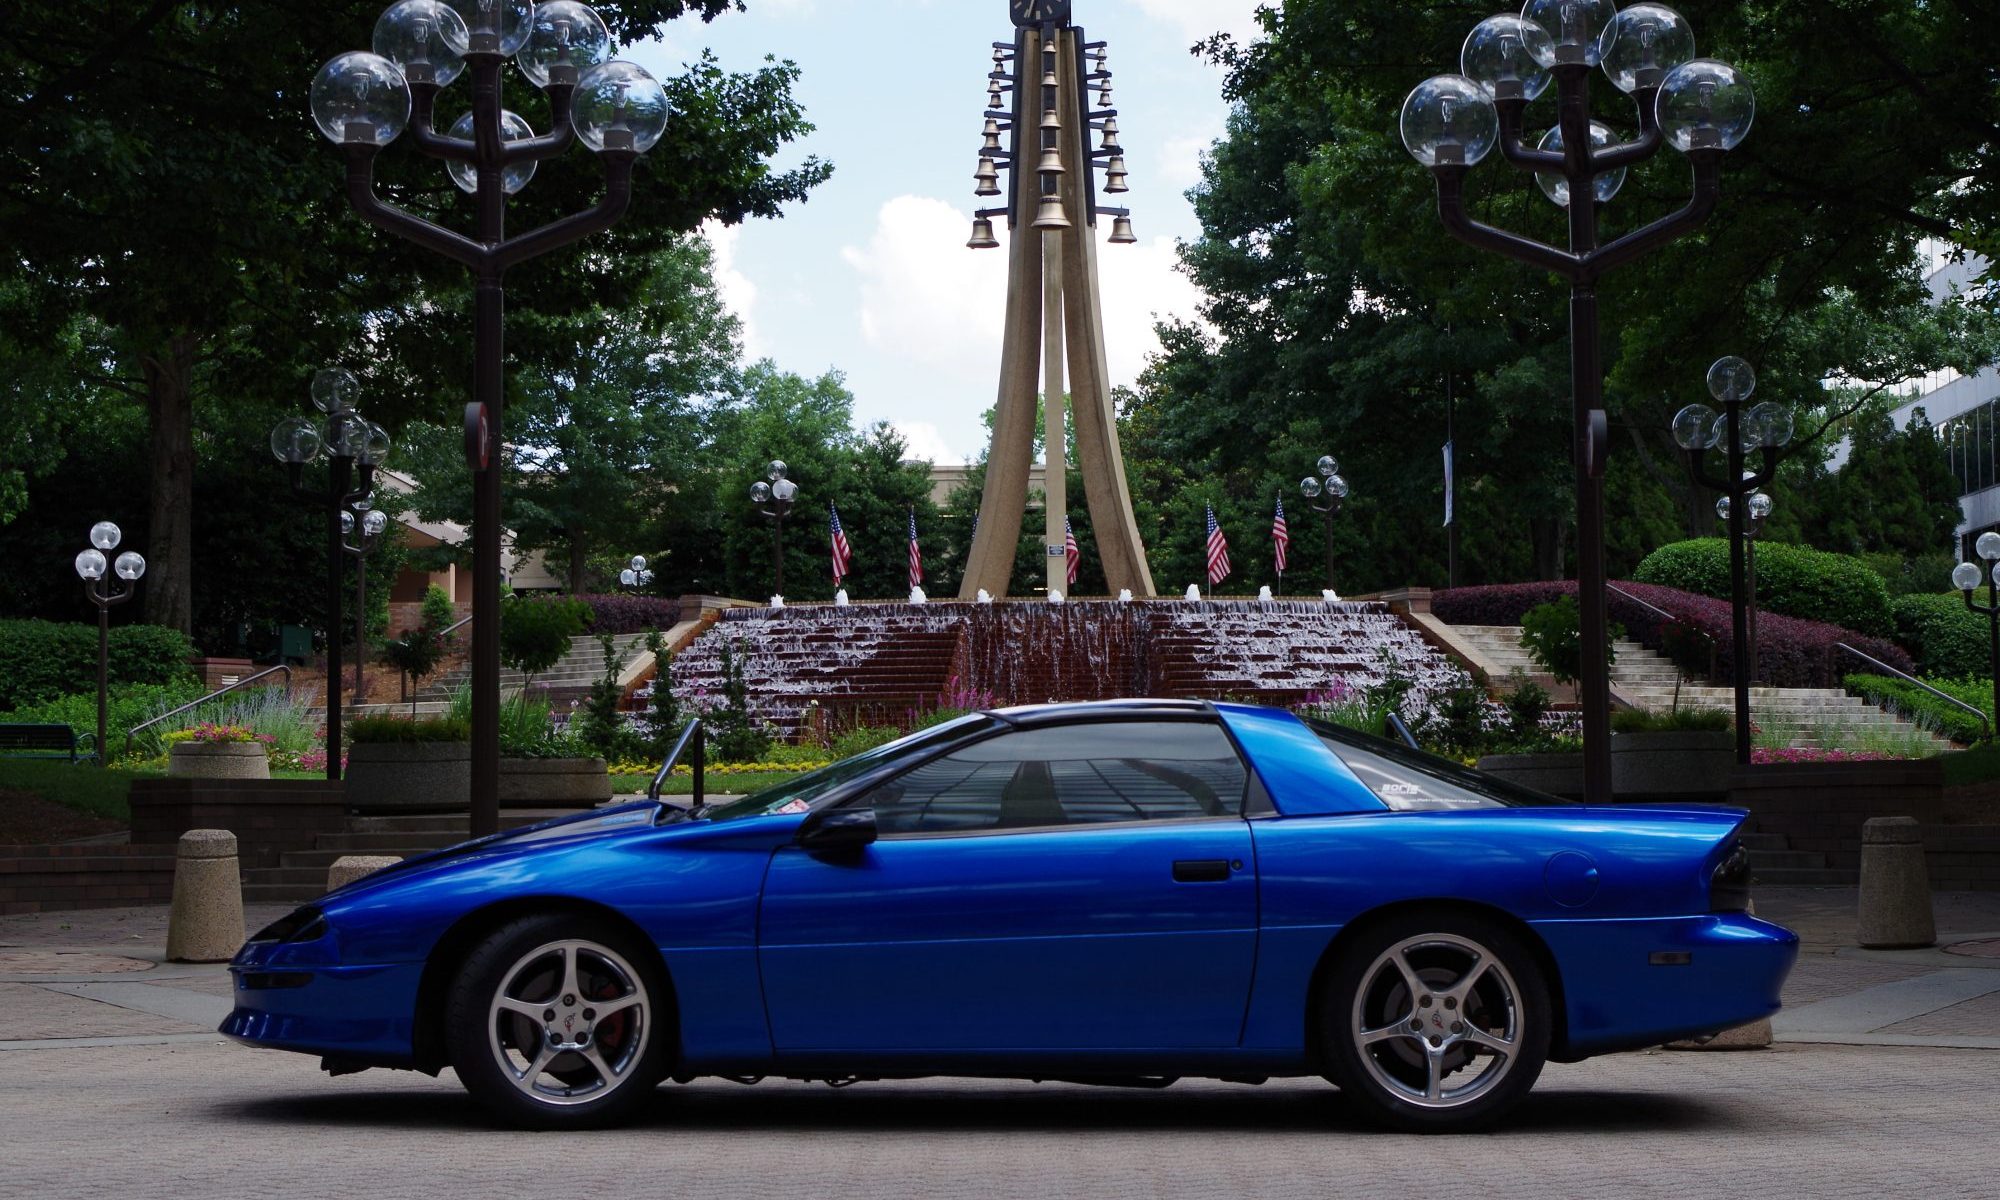
On Nov 1, 2017 I decided to convert my thread on V6F-Body.com to a blog.  This blog showcases my 96 Camaro that I’ve been working on since 2010. You will see the whole build from the beginning to now.

Feel free to check the about page for more information on how Operation X started.

To see the latest posts pick the last page from the page numbers navigation above.

You can look at the forum thread here as well. The posts are up to date both here and on the Forum.

Here are all the social media sites for this blog if you want to use them

Facebookwww.facebook.com/FrankForged

Twittertwitter.com/xpbr2000


Thanks,

-Xpbr2000

FrankForged.com


Day 1 “The Introduction”

Well, its time.

To give you a history of my 96 camaro, I bought it back 2003 with 160,000 miles on it. It was all stock, coupe, 3800 v6, manual trans, and no power windows or seats. Man, It felt good to drive it home. I did some mods here and there, but nothing serious. I had transmission problems, cooling problems, and A/C problems. It didn’t bother me. I spent a lot of time, having fun, working on her and keeping her problems at bay. She ran strong too.
After a few of years and 50,000 miles the motor finally had a enough of the cooling issues and blew a head gasket. (STUPID HEATER BYPASS ELBOW!…lol) At the time I didn’t have the money or the time to fix it, but I wasn’t going to let her go. I moved around a bit and bought a house. I took her with me each time I moved. 4 years have passed now. She’s in bad shape, visually. I recently had the misfortune of my truck breaking down and so I gambled and bought a used motor for both. Turns out, I fixed my truck and now have a motor sitting there to put in the Maro. It’s been a few months now and the weather has warmed up. So I have decided to begin “Operation X”

So far I haven’t done much but work on getting it to start. The gas has been in the tank for 4 years and needs to be emptied. My fuel pump isn’t working. Squirrels I think have made a home under the hood and in the trunk. I have had my shop-vac out there cleaning up the mess and taking all my stereo equipment out getting it ready for operation.

I’m sure this will be a year long or maybe two year long project. But I hope to get her back to her prime or hopefully better. I’ll be keeping the updates here to help me stay on track. My goal is to get it back to the condition or better than when I bought her.

Here’s a pic of a year or so after I bought it. The best she has looked since I have own her. I’ll post current pics this afternoon. They will be awful so be nice.

First pictures after I purchased it in 2003

Day 1 “The Starting Point”

Well as promised here are the current pics. I cut a hatch for the fuel pump but haven’t made a lid for it yet. I used the Fuel Pump Test Connector to prime the rail. She wanted to start but the Fuel pump is inoperable. Next steps are to build a lid for my hatch and get a new fuel pump. Then its time to pull the motor.

This is where the squirrels lived. 😀
I also cut hatch

Day 25 “Photoshop”

I spent most of the afternoon editing this picture in Photoshop. I think it worked out well. Let me know what you think.

Mods:
Painted stock rims
T-top Conversion
Painted side mirror housings and sail panel
Night Shade markers and taillights

Day 48 “She Breaths Again!”

I install a new Walbro fuel pump today. I was hoping this would get her to running again before I tear her down. I spent the afternoon in the heat and got it installed. Fired right up like it was yesterday. but really its been a year since she was started last. lol. Now time for the major task… swapping motors.

I also got bored and did a audio clip here. This is with the old motor with a blown head gasket and 210,000 miles lol still running smooth.

Old Pump
New Pump

Day 80 “The Clean Up”

On Sunday marked Day 80 of the rebuild. Not much has happened. I’m still waiting to pull out the old motor. But I did ride it down the road one last time to say good bye to the motor. Still runs like a champ….but coolant was drowning a cylinder. I wanted to clean her a bit so I stripped her of all the extra wires. Stereo, Light’s, LED’s, everything…… all back to stock. You’ll see how much junk I had put in that damn thing, it’s pitiful. Anyway she look lots better on the inside and I can’t wait to get that damn motor out lol.

I’m thinking about starting to touch up some spots on the paint but first thing is to drop that other motor in!

Before
After

Day 121 “The Tear Down”

Due to being unsuccessful at finding a friend with a shop and a car lift that could help me, I decided it’s long over due. I’m pulling the motor!

I got a late start today but things went smoothly until I ran into a problem. The Brake line will not come loose. They are seized somehow. I’m rounding off the head. Anyhow, after that I decided it was late and time to get some rest.

I’ve disconnected the harness from the car & the steer column. Unbolted the AC compressor and moved it out of the way. Undone everything on the front side of the motor (radiator hoses, Air box, fuel lines, etc.).

Tomorrow I will be unhooking the drive shaft, and the transmission support, etc. and hopefully drop out the motor….. sometime afterwards I’ll figure out how to disconnect my brake line without destroying them.

If all goes well I’ll be stripping the motor. After I get it out I’ll paint the UIM and valve covers, replace all the seals on the new motor, and assemble the motor until its ready to drop back in, hopfully by next weekend. Then, maybe, turn that ignition over and start that baby up.


Current busted knuckle count: 2


Night fall Came quick too. It’s a little chilly at night.

Day 122 “It’s out!”

I have successfully remove the motor from the car. It took me more than a few hours by my self but its done. This week i’ll be stripping down the K member and getting the new motor ready to put back in next weekend. YES!

And I believe I’ll be making a full write up specifically to 3.8’s, with pics.

Day 125 “Getting Closer”

I’ve replaced all the gaskets and seals except for the rear main, LIM, UIM, and the Valve Covers. Just got through painting the LIM, UIM, Valve covers, the coil pack plate & bracket, and AC compress bracket. I’m taking the UIM to my friend to see if he can machine the “3800…” on the top to show the letters. I’ll show pic Asap. Tonight I’ll be assembling the rest of the motor. The motor is looking good. Its very clean. I am happy with the purchase now after seeing the motor has been taken care of. Any-who, I took a few snap shots of the motor before I painted the parts.

Preview before painting. New motor with original valve covers, and intake


Put all the green junk on the old motor.
Painting

Cleanliness!

1 2 3 4 5 6 7 37