I’ve been working on the list the past couple weeks.
Power windows are installed.


I have to replace my front control arm bushing :-\
I have the push button start and locks now. the RF Fob is on its way
Don’t have a photo of the push button start
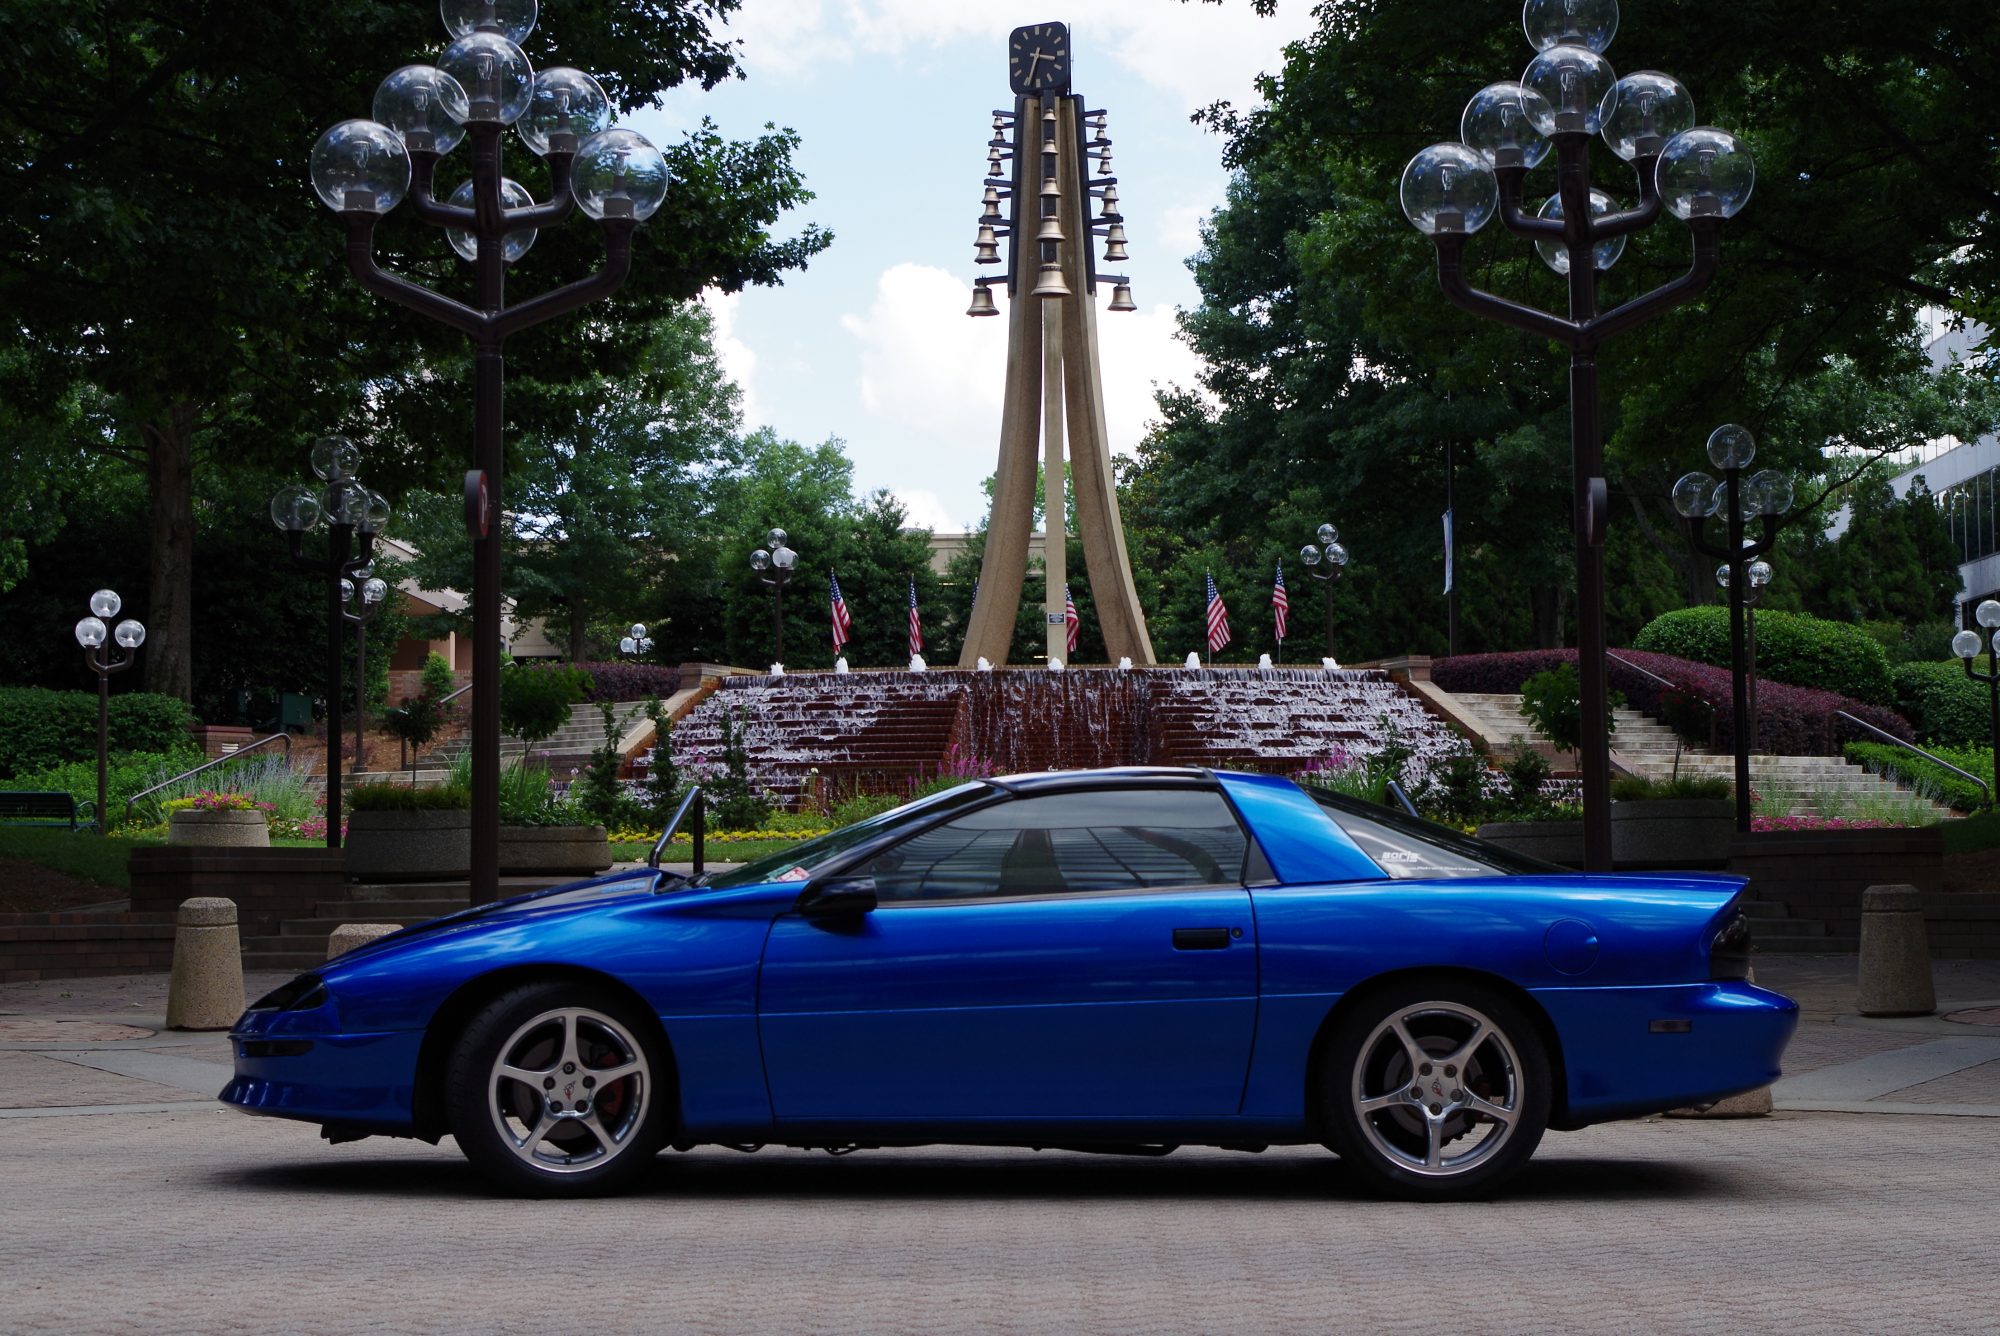
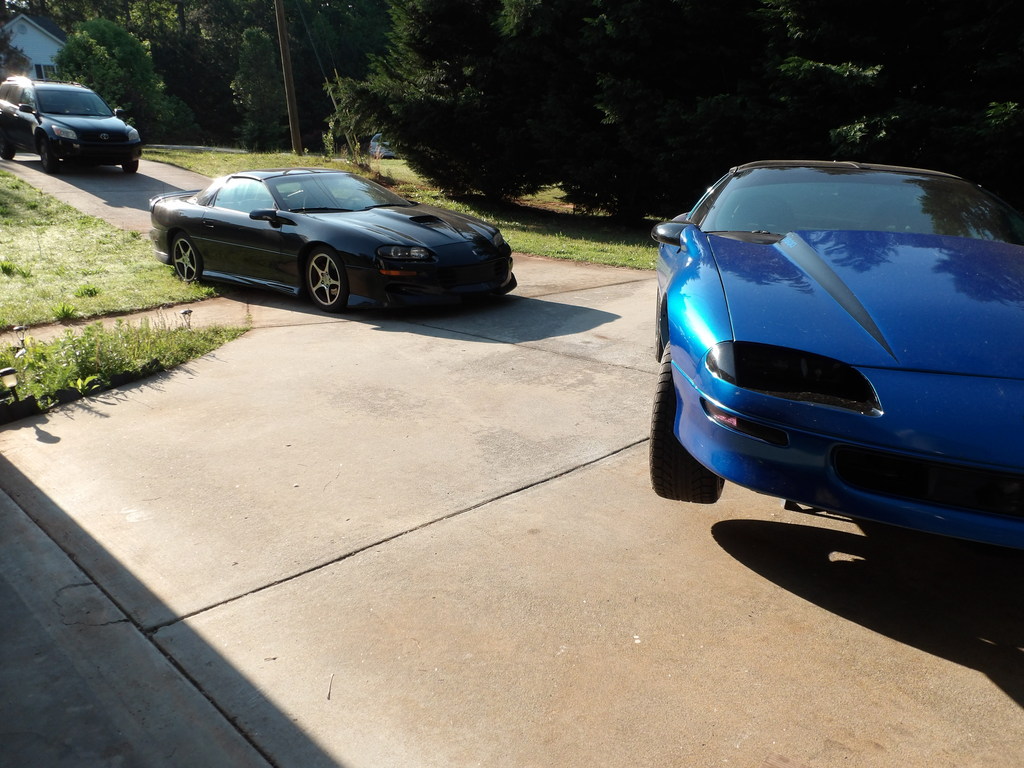
A 96 Camaro Build
I’ve been working on the list the past couple weeks.
Power windows are installed.
I have to replace my front control arm bushing :-\
I have the push button start and locks now. the RF Fob is on its way
Don’t have a photo of the push button start
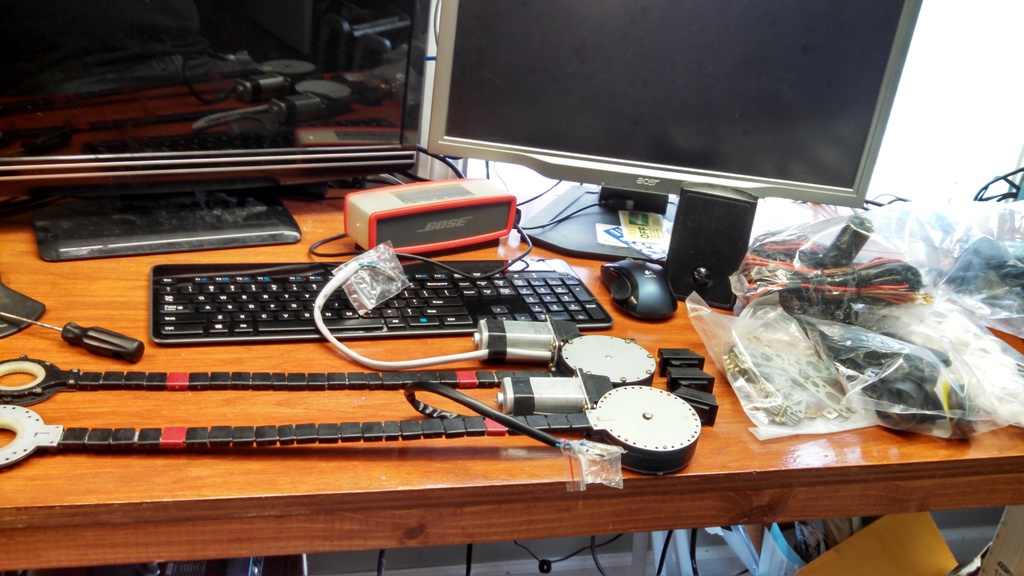
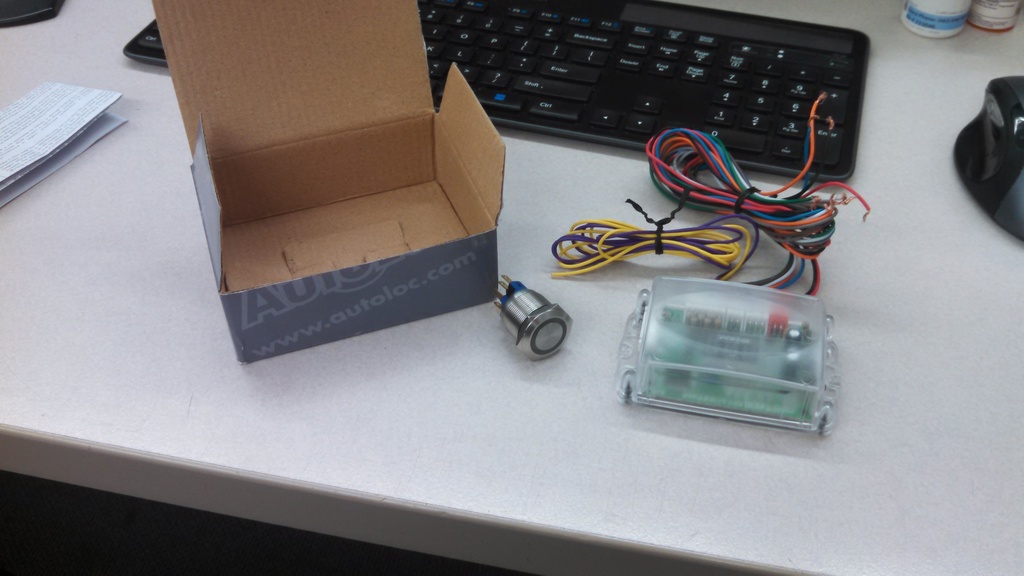
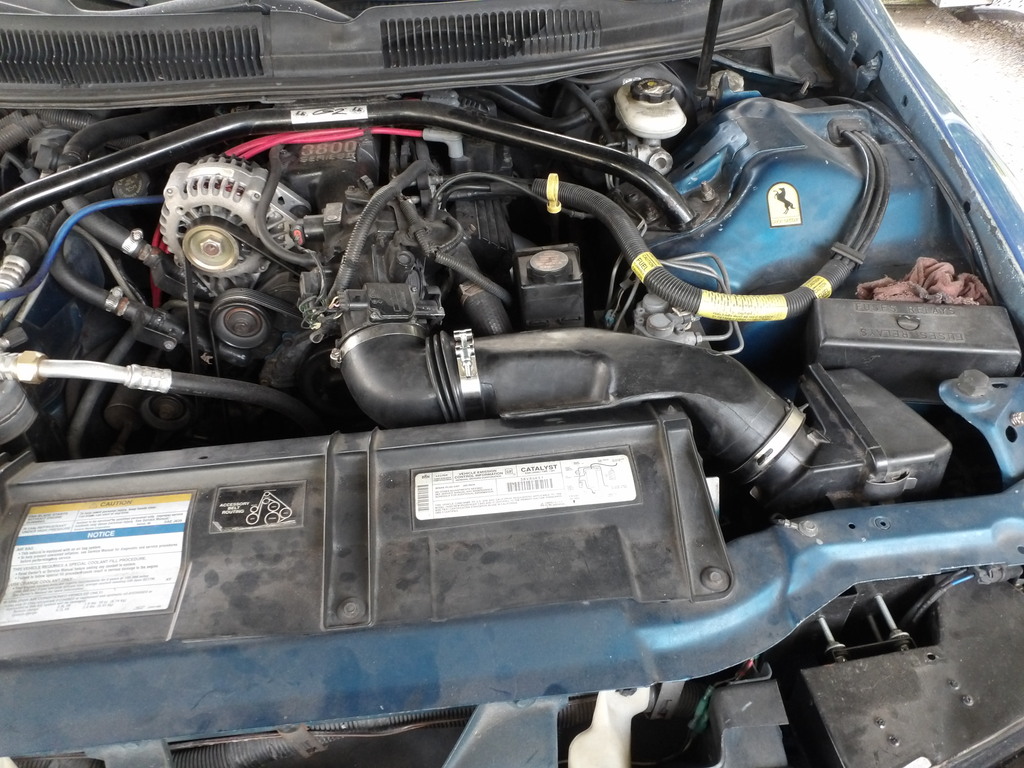
Here is the push button and engine control unit.
Here is the power windows video I shot this morning.
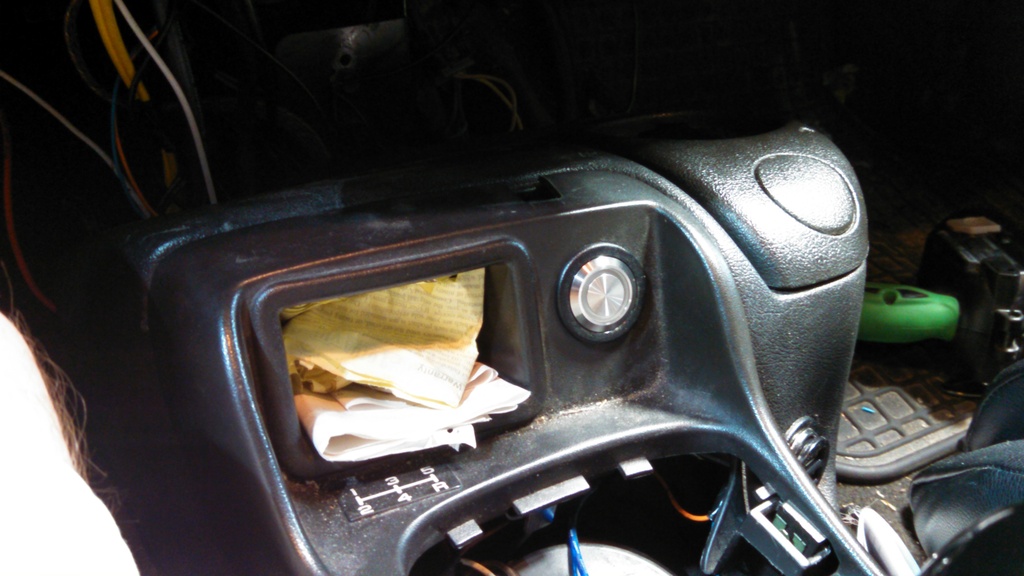
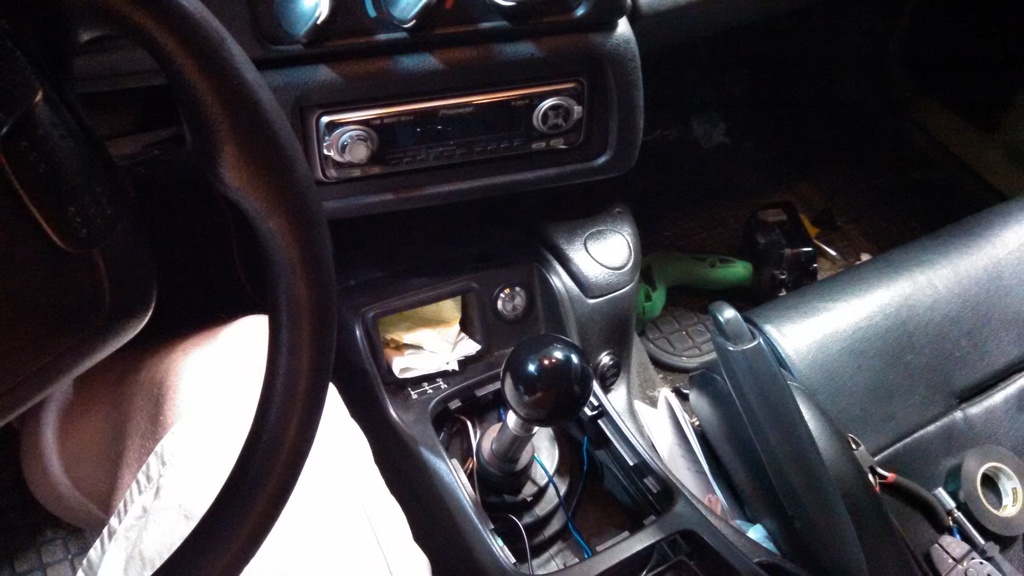
Installed the Push button start.
And I finally have a power outlet after several years without.
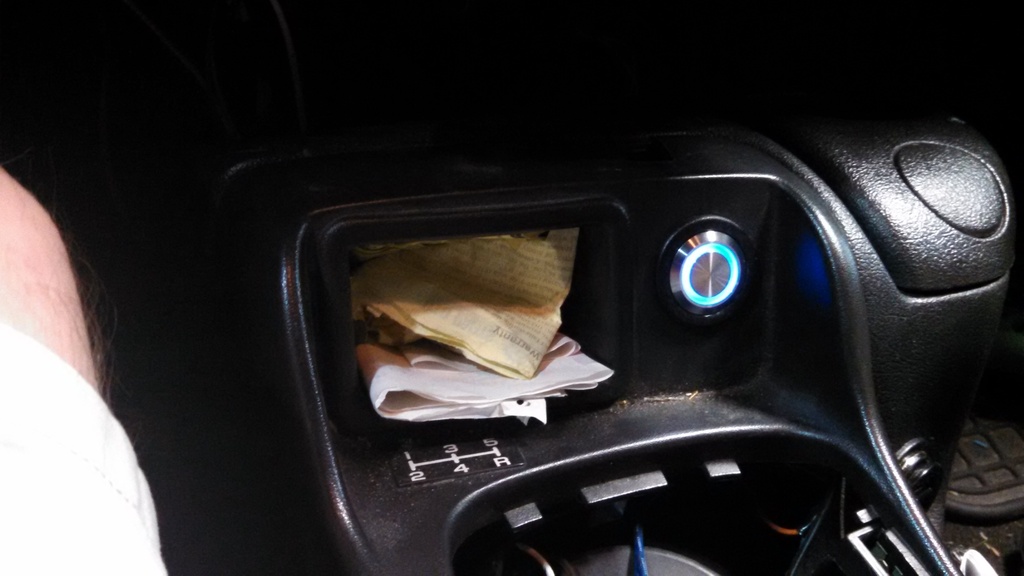
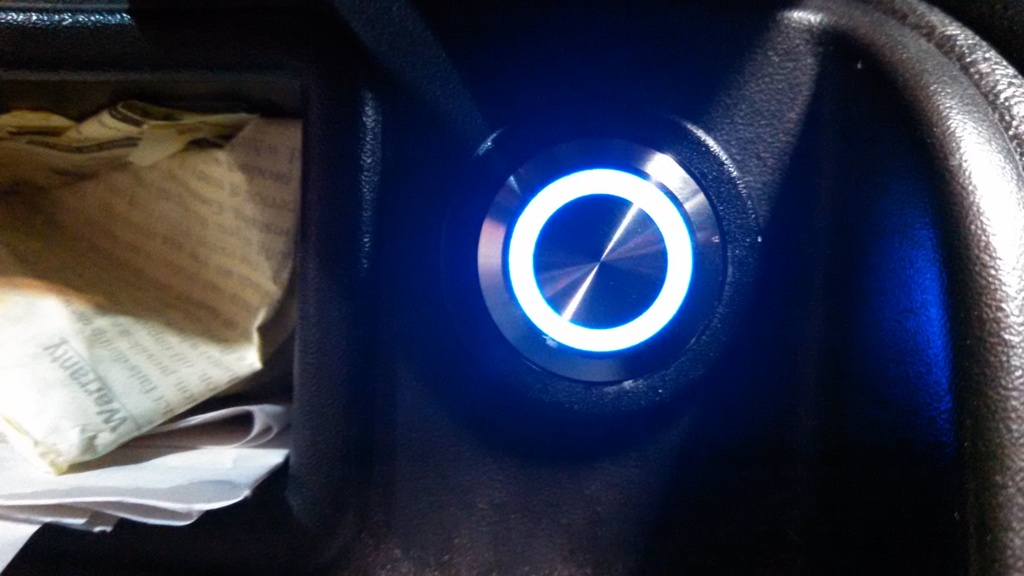
Its programmable.
-Length of button press
-Time between ignition on and start
-Start duration
My settings
hold for .5 sec = On
On for 2 sec before start (to let my fuel pump prime)
So I’m almost 100% converted. I have everything installed. I just need to tweak it a bit to get things to operate to my satisfaction. The door locks were just about the easiest thing i installed. I have my RFID working as well.
When I walk away is disables the push button start and when I return it will unlock the doors and enable the push button.
I have to put together a circuit to lock the doors when I leave and then it’ll be just about done. I may do some other things like turn on some lights when I approach. I haven’t decided.
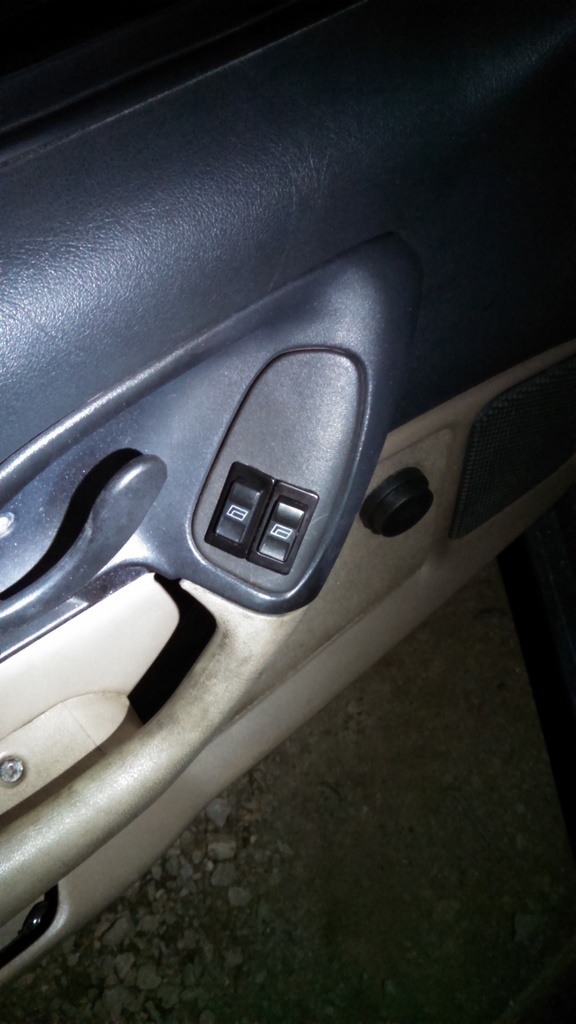
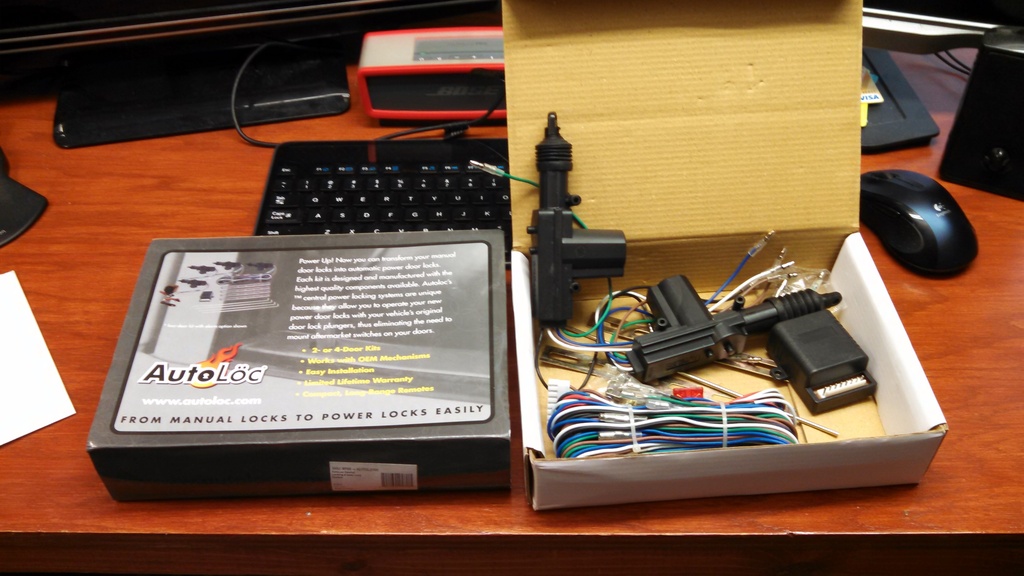
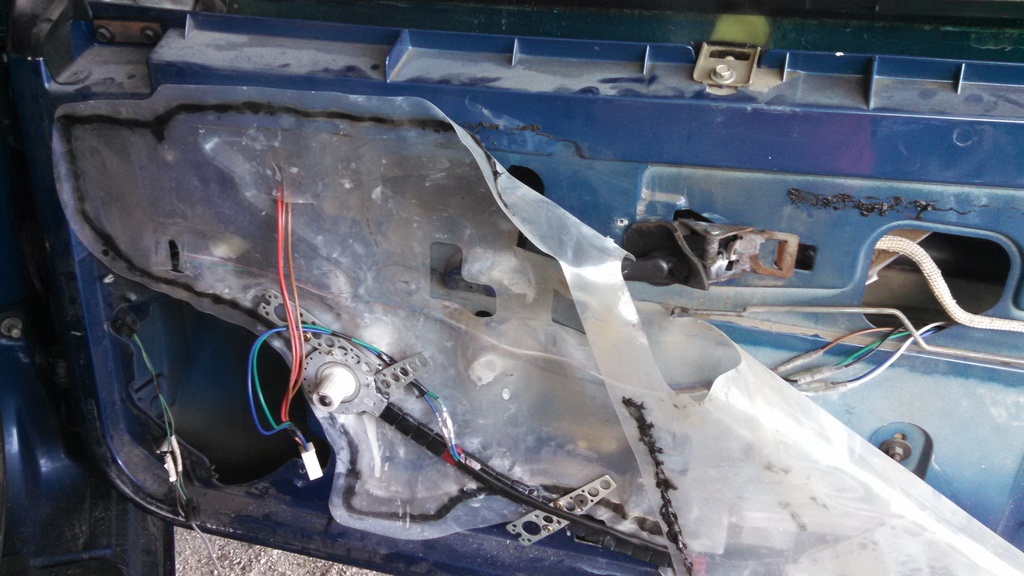
Here are pics of the door lock system. It a very nice system. The system will lock or unlock both side if you manually push the door lock or with a key. so both doors operate at the same time.
Looking for a place to mount the Actuator:
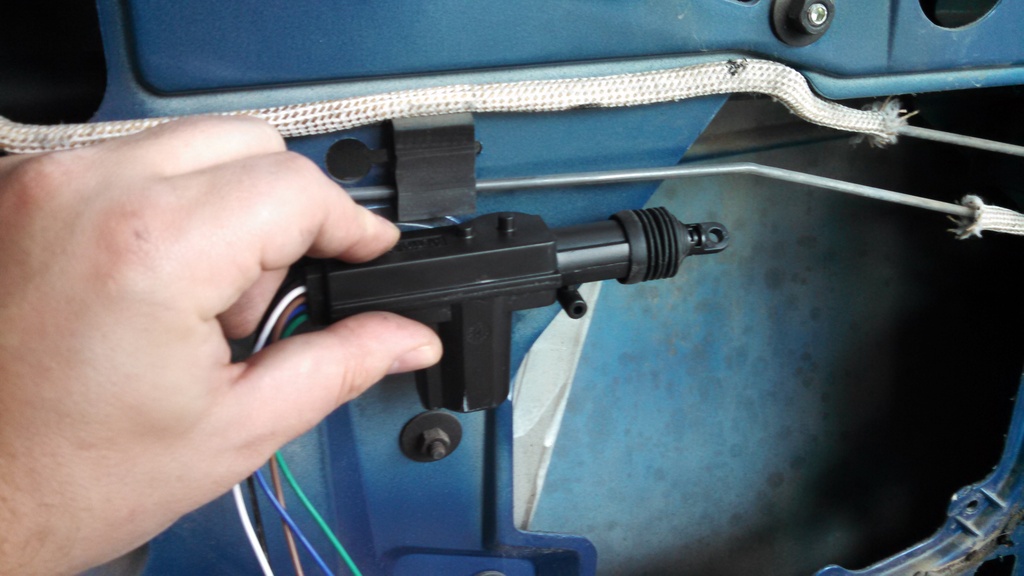
Drilled holes and mounted behind the door:
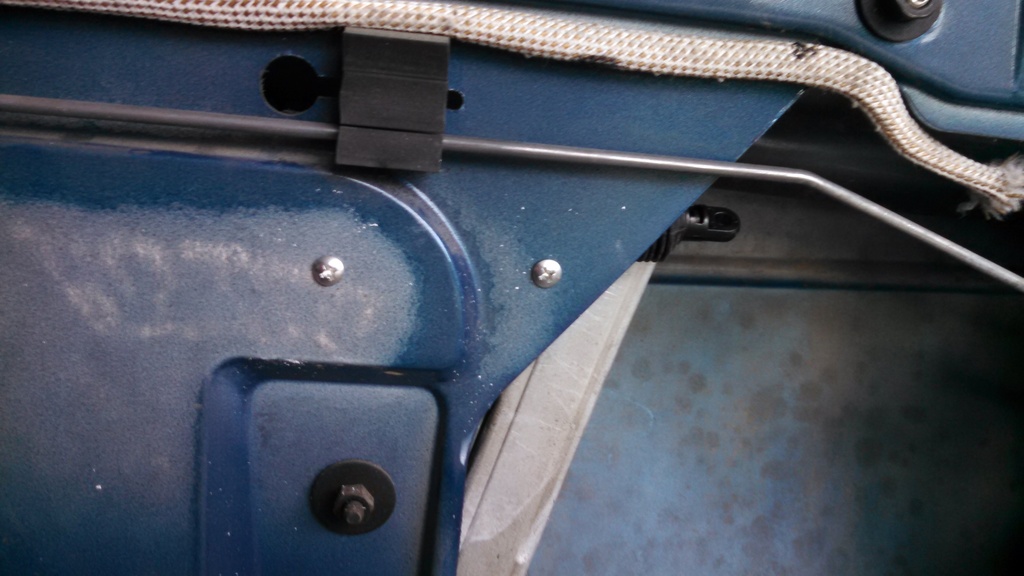
It fits very nicely between the window guides and the door.
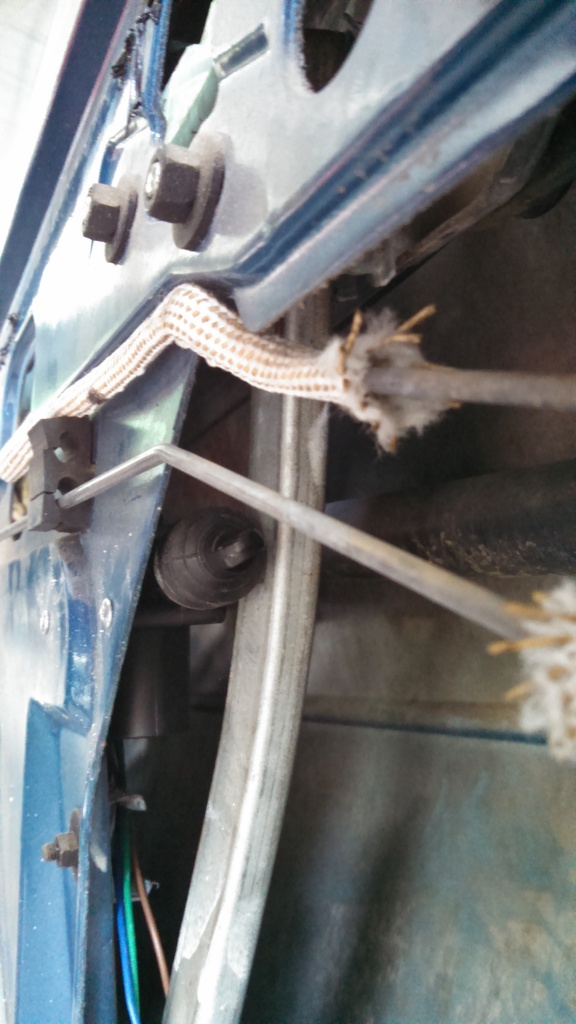
The wires were just long enough. I’d hate to try install on a longer door. Not there is a longer door in existence anyway, but…
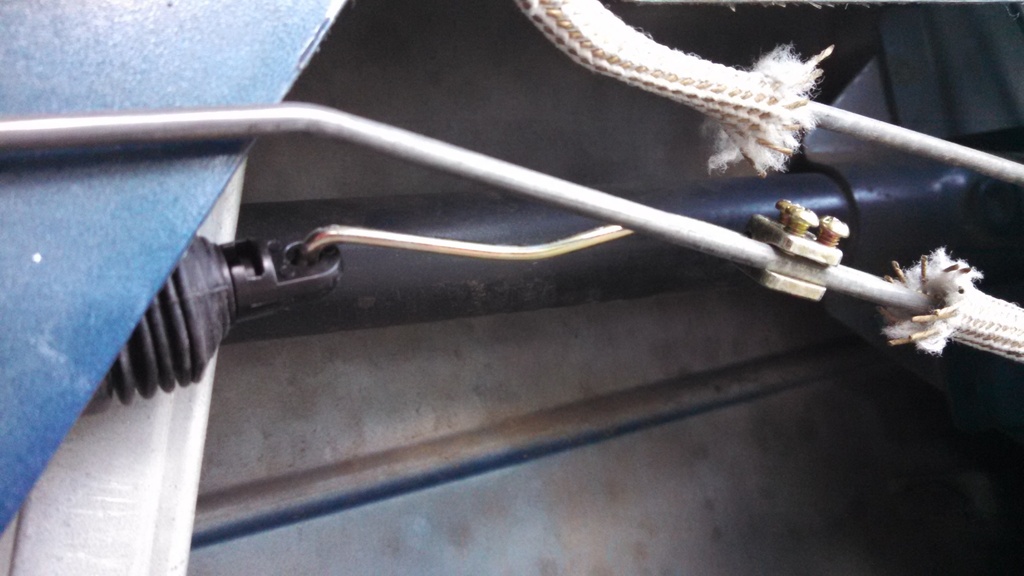
The easiest part was connecting the 2 together. These rods are bendable and you bend it to bolt to your existing lock rod. Worked no problem. I have been spraying some white lithium grease on the locks inside the door and window hardware too to help to get them moving a little easier.
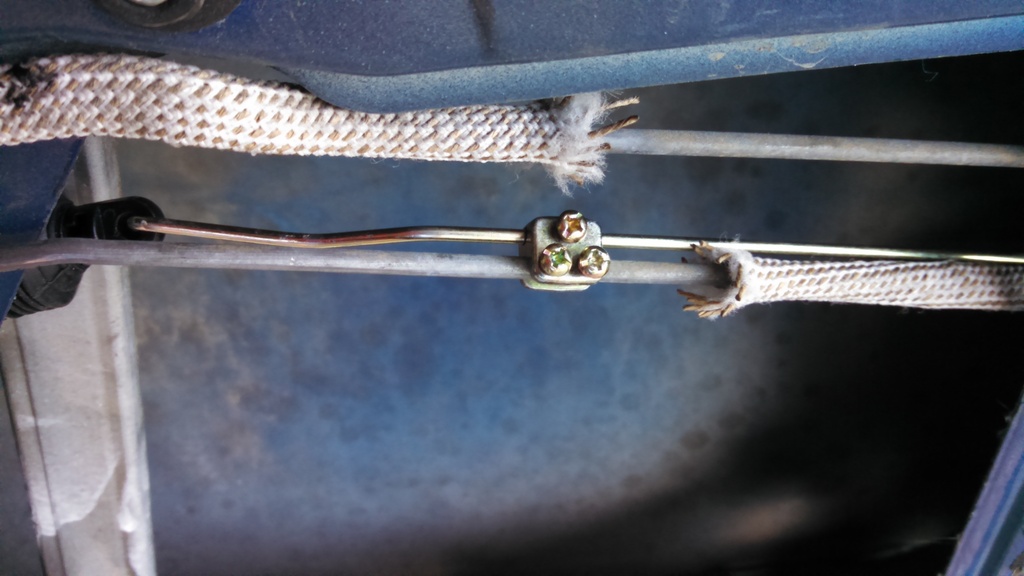
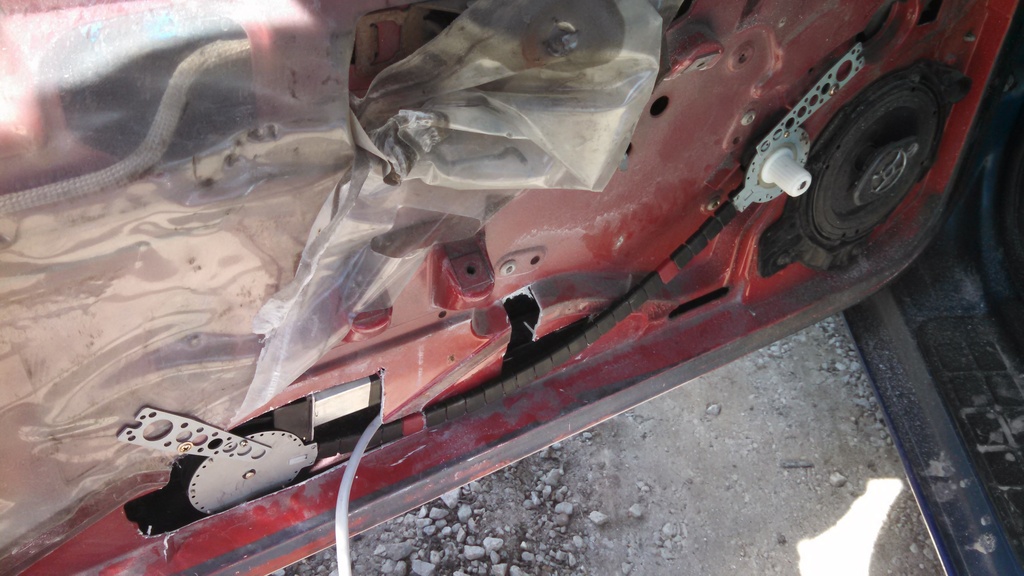
This weekend I fixed an important problem. A front upper control arm bushing had been compromised.
We had to sand and melt the old rubber out of the collar that holds the bushing. We pretty much had a control arm barbeque with some acetone. we got the rubber out for the most part. We had to get creative of course.

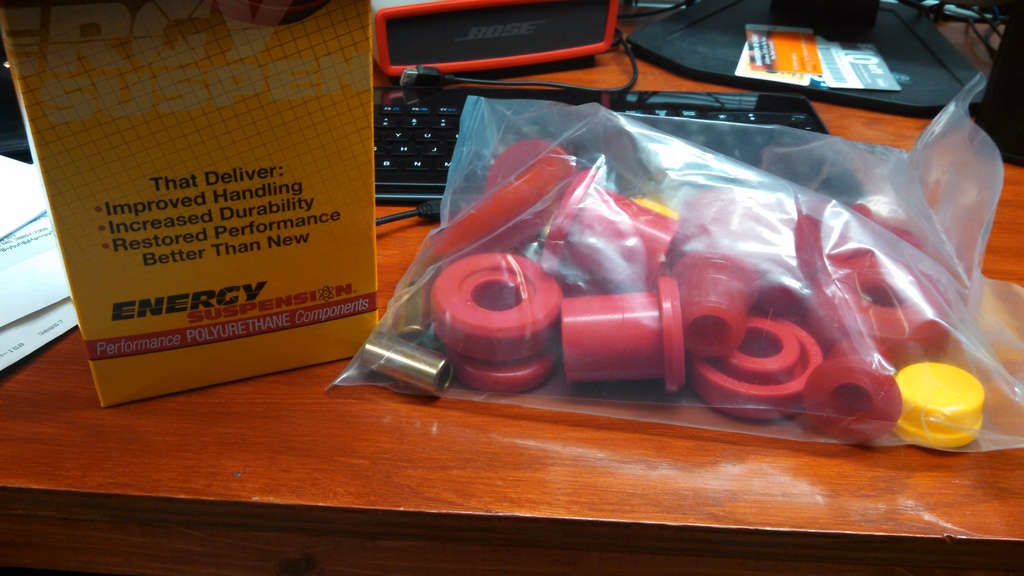
New bushings! I’m only doing these 2 because the rest seem to be good enough for now.

So my to do list for G19 is slowly getting smaller, I think. I can’t tell if I’m adding more stuff as it gets closer or not
G19 List
Major items
-Autoloc conversion
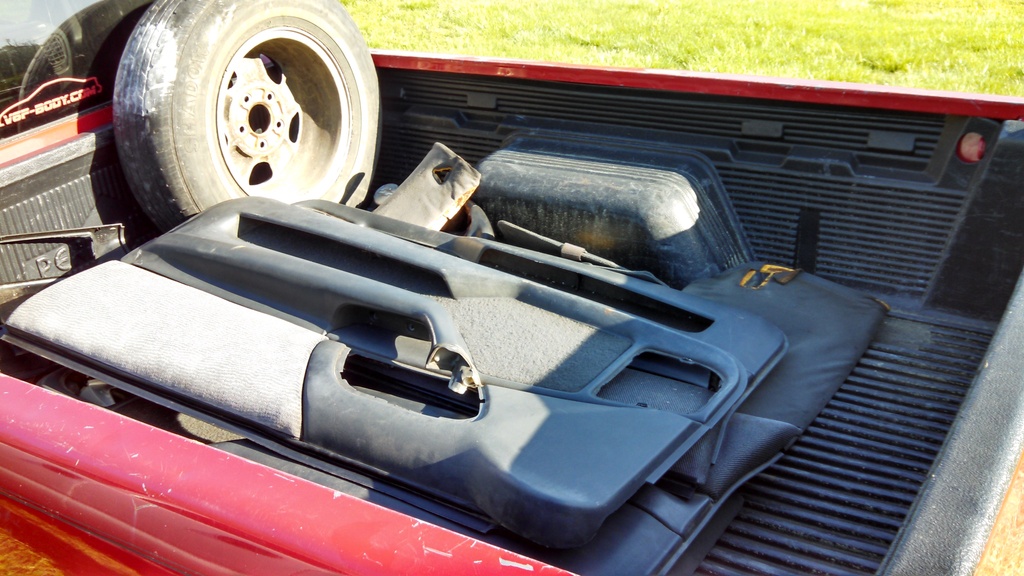
-Finish swapping the interior to Graphite
-Rewire sound system and power for accessories
-Swap back to stock filter box. (Just the filter not the rest. I don’t clean the current filter enough because its a pain to get to)
minor (but still important)
-Redesign headlight (needs to be updated)
-Visor plates
-Custom 3d printed defrost vent. (I’m going to try to model and 3d print a custom vent cover that covers the broken vent. One for me and one for Bone)
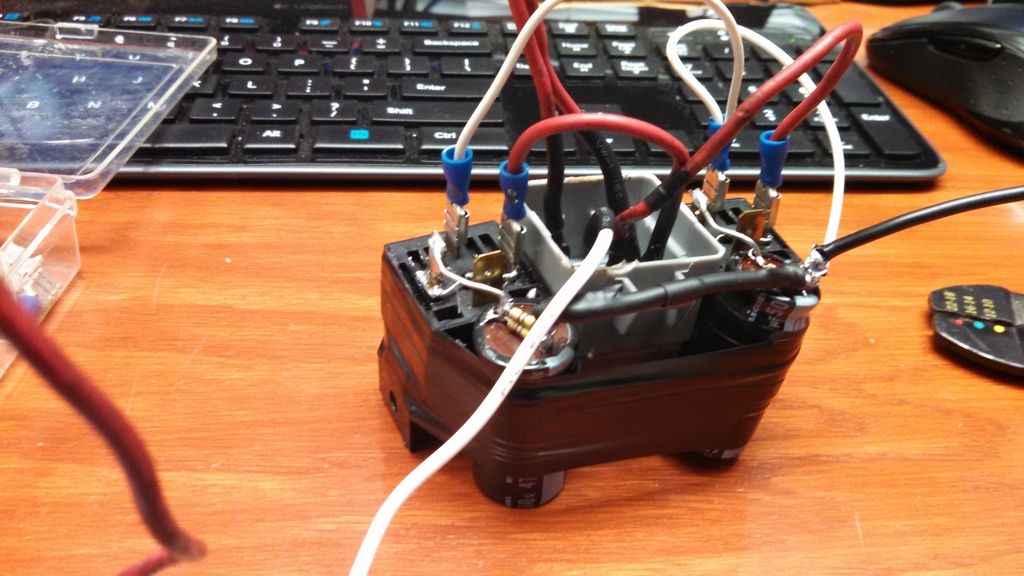
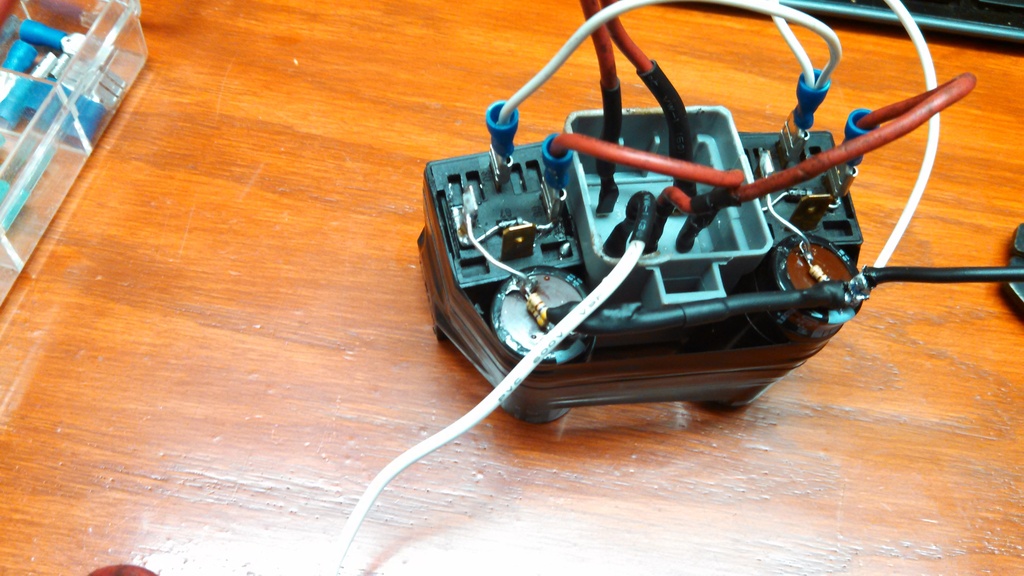
I got my relay mock up for the lock finished. Looks more like a bomb than a door locker.
It works great though. I’ve already ordered lots of stuff to rewire a lot of my car that I’ve installed. It will be very clean and organized.
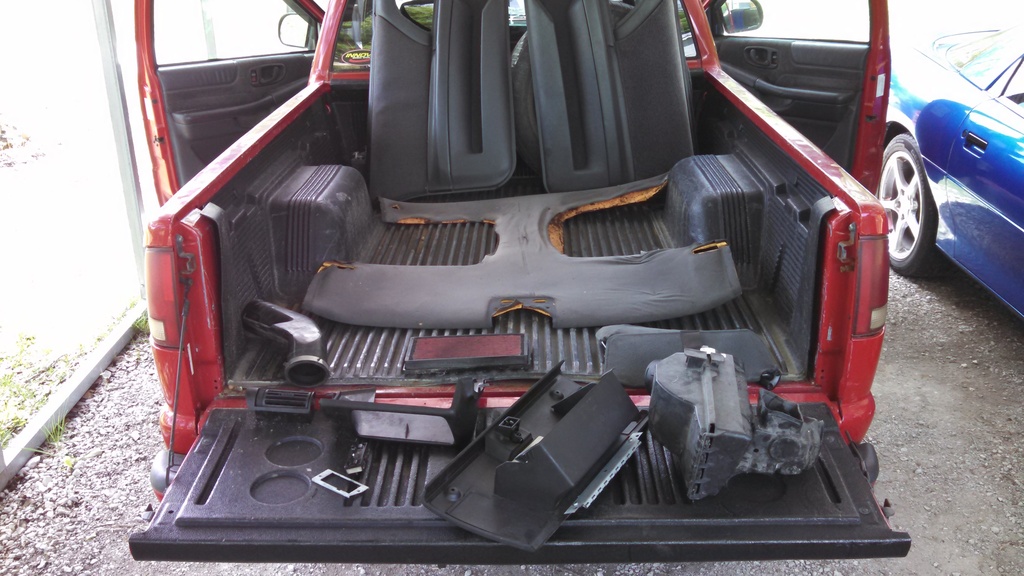
I spent my Saturday with Laura and Jeff in Memphis at the U-pull-it and Pull-a-part. I found everything I need for the rest of my interior swap as well as a number of other things. Thanks guys for letting me come to your place and take up your Saturday.
Barrel-o-fun:
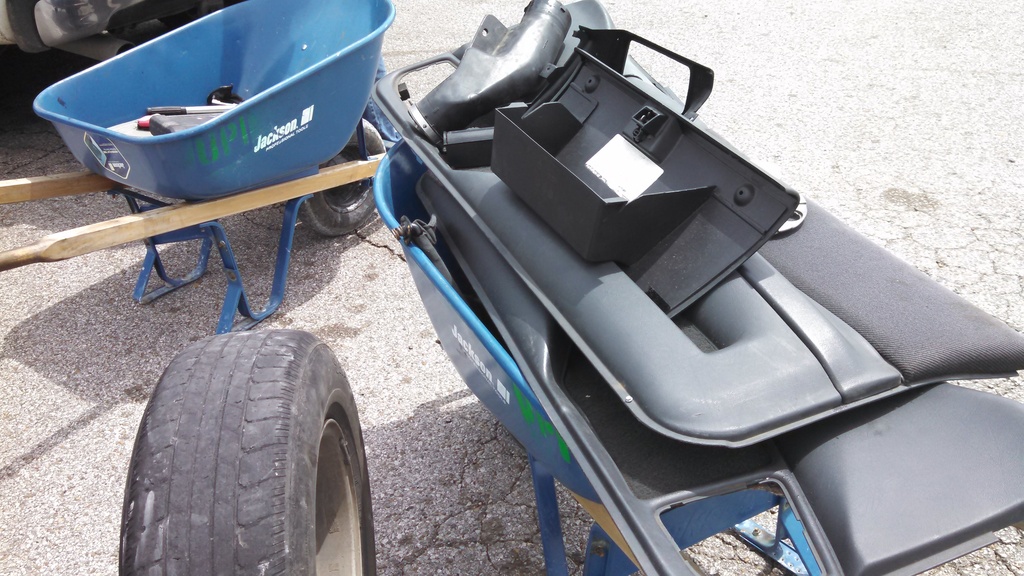
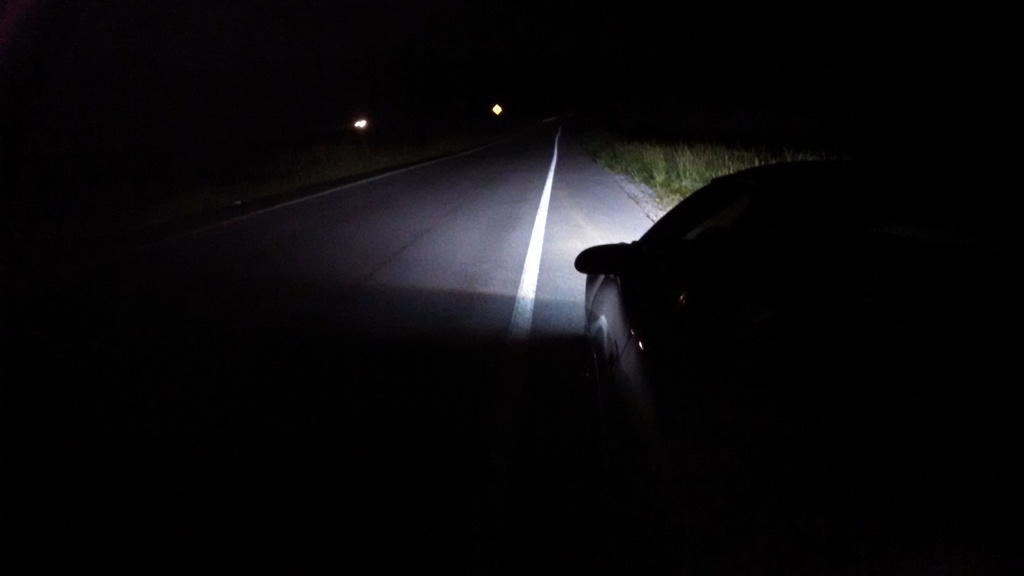
Ride home:
So I found several useful parts.
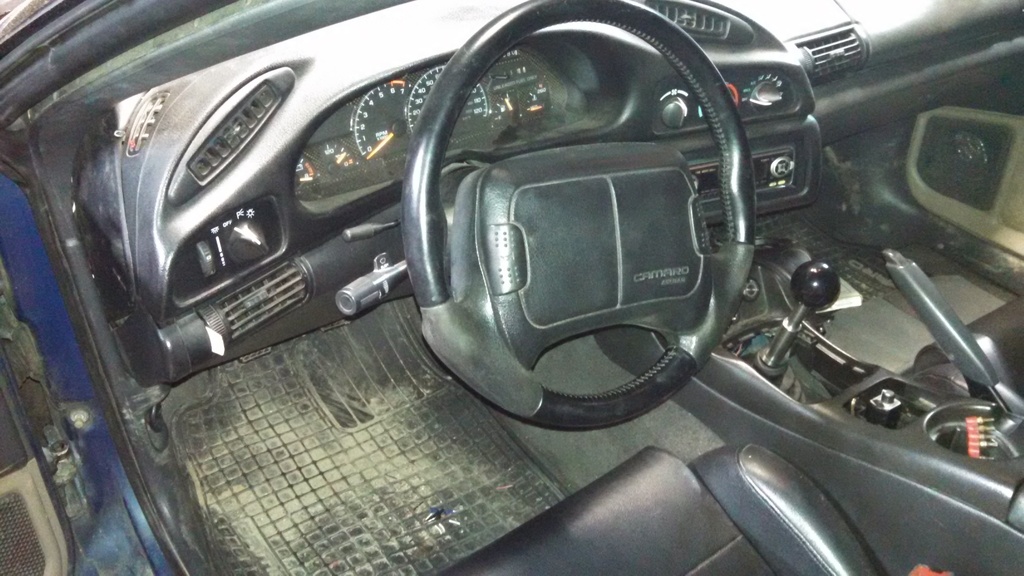
The biggest find this weekend was a leather steering wheel. in great condition.
I got 2 door panels. One has the right fabric but the other needs to be swapped. luckily Kyle sent me both panels for the doors when he sent my seats a couple years ago
I found some graphite visors that were in pretty good condition
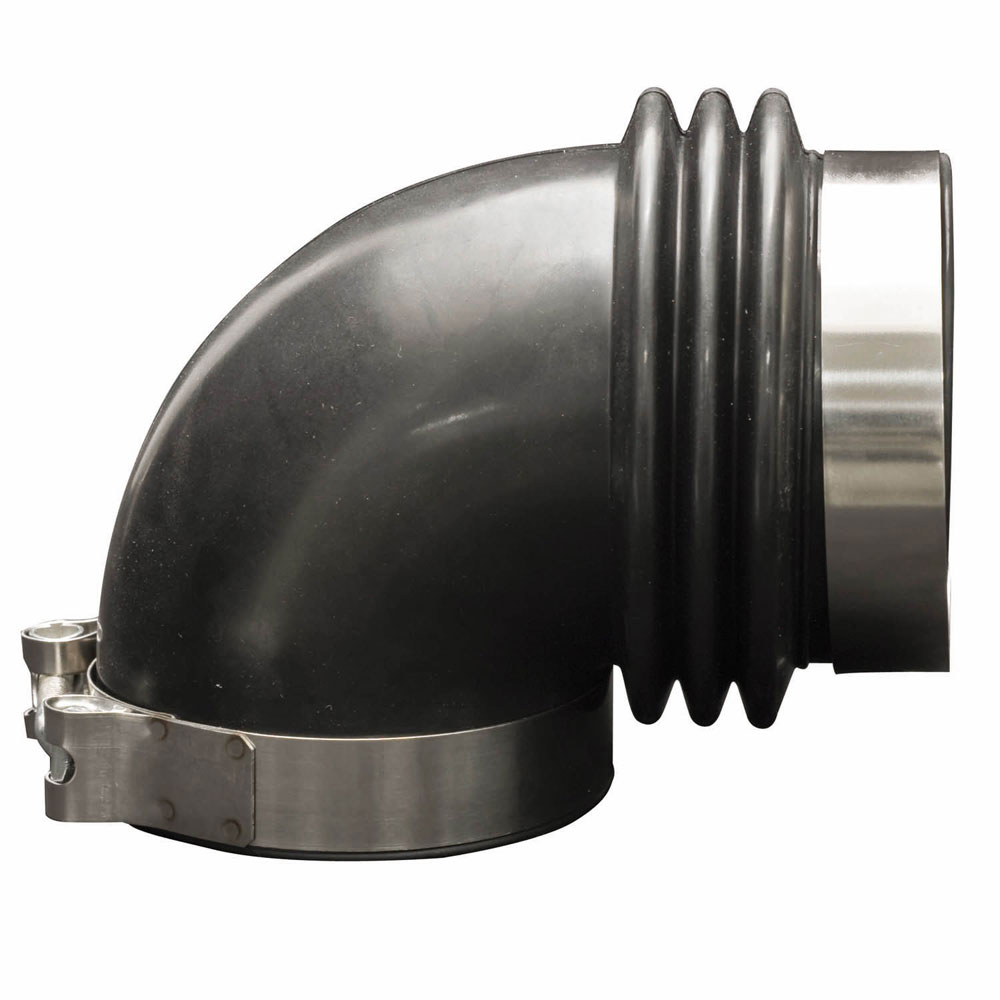
Laura let me have her stock filter box and I got a 3.4 tube to try and fit in place of my chrome intakes setup. I just need a sharp 90 deg elbow to make it work. going to search at O’reillys today.
I got a glove box for a special project.
Radio bezel to modify for double din radio that I ordered. I hope that works out well
I grabbed a seat switch to fill the gap on my seat where a switch is supposed to be even though I don’t have power seats. that’s just the panel that came with the seat. ( I just realized that I don’t have those seats in there any more. I’m such a moron )
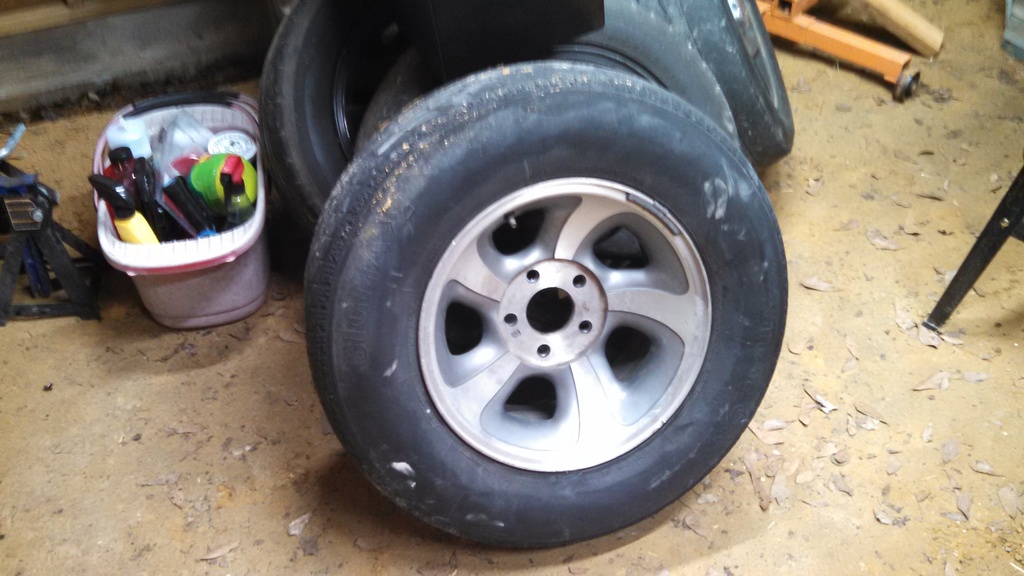
I found a rim to the truck while I was down there too
I had to install the Steering wheel first. It feels so much better than the dried out foam garbage I had.
The car is filthy to boot. I have some shit to do.
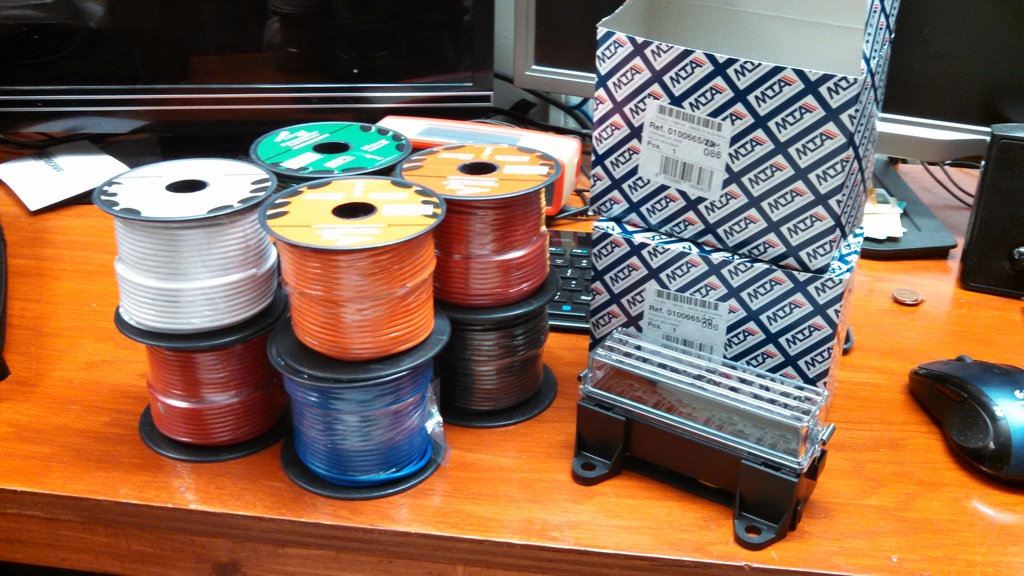
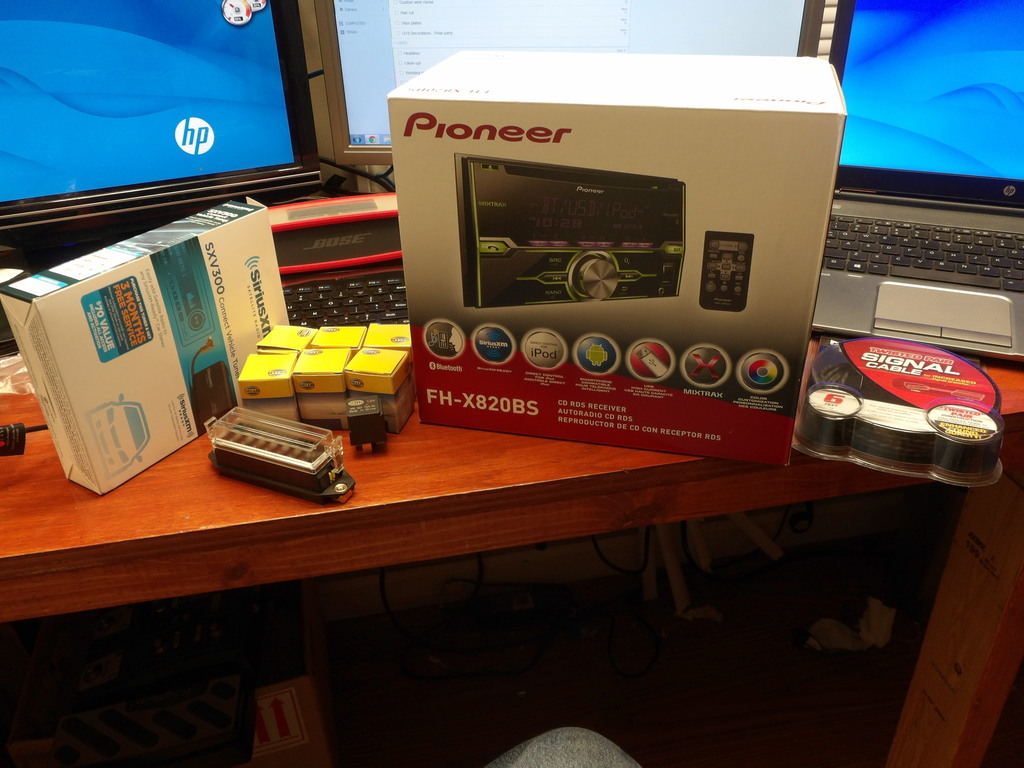
I received the first of many parts to go in the camaro.
There’s about 800 ft of wire and 2 relay junction boxes. This will hopefully clean up the mess of wire and the above relay “bomb” I have stuffed under the dash.
Here are the things that are on the way:
Spectre 9585
This should complete my stock filter box setup. I’m so glad to ditch that fender filter.
I’ve ordered a double din radio because I can’t get both BT and XM in a single din. I’m going to modify the dash and radio bezel to accept it.
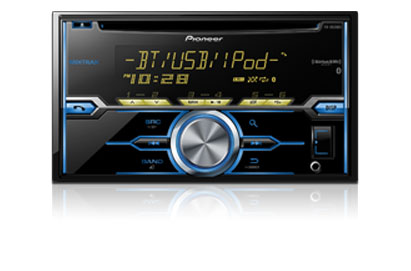
I got some rca’s and the Siriusxm receiver that connects to this headunit as well. Finally, I have hella relays, an 8 row fuse box, and a couple other things to help clean up the wires and electrical. It’s a mess of wire in there now.
Geez, what a weekend…
I took a few days to visit Bone and Nossy to try and work on the Bone. It was a busy weekend. We did get to weld on my exhaust some. Here is a progress report of the past few days.
From the collection of parts I got from my memphis visit Laura gave me her stock filter box. I also found a 3.4 connecting tube that is almost an exact fit for a 90 elbow.
It came in the day before I left for GA. It looks pretty good to me. I like the fit and the ease of access too.
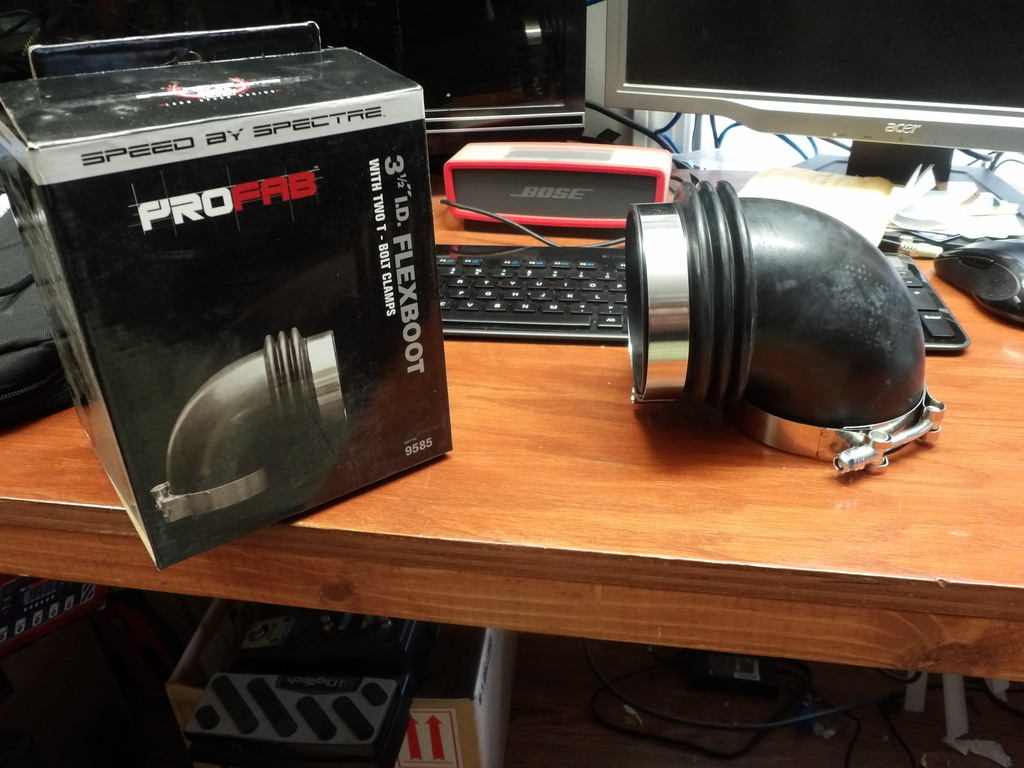
The 3.4 tube had to be trimmed about an 1in to connect to the elbow.
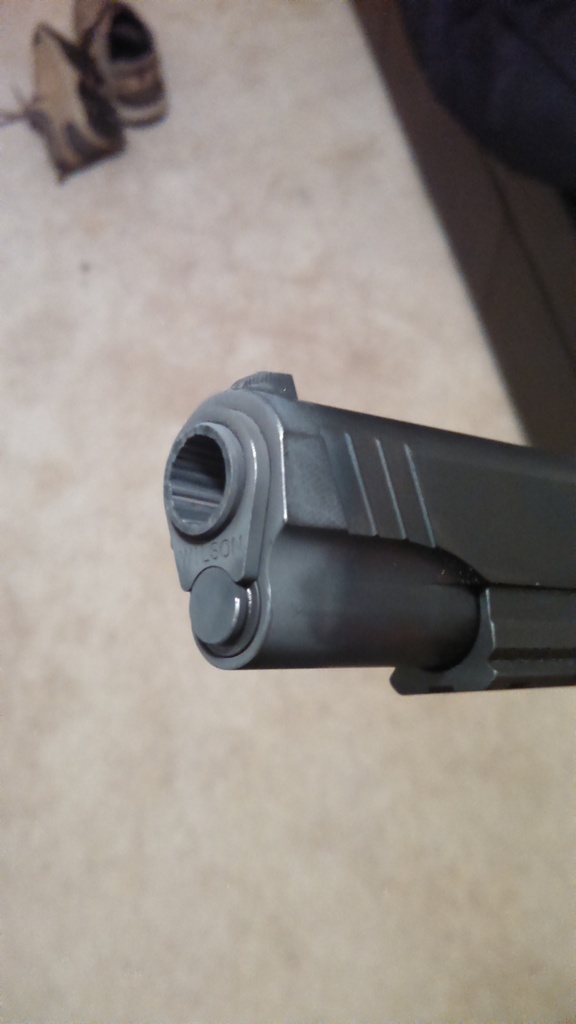
When I got to the Bone Manor/D’casa Nossy. When wrenched hard on the bone for 2 days. Then decided it was time to vent with some good ole gunpowder and lead.
The bone took a lot more time than we thought mainly because I’m getting old and slow.
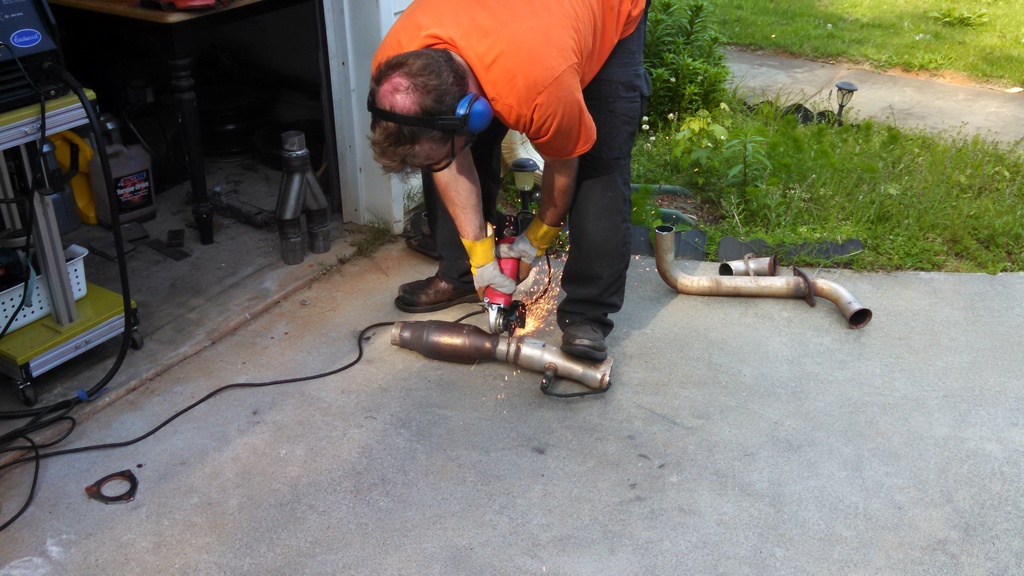
But we went ahead and chopped up my exhaust to weld in a MagnaFlow Y-pipe. just to see if all this talk about the flow of the y-pipe causes most of our rasp.
I got it up off the ground, looked at what we needed, and ran to the parts store
Jim was adamant that this wasn’t to big or too ricey. I failed to see his point.

Point of no return, chopping the pacesetter y-pipe.
Jim began welding up the pieces
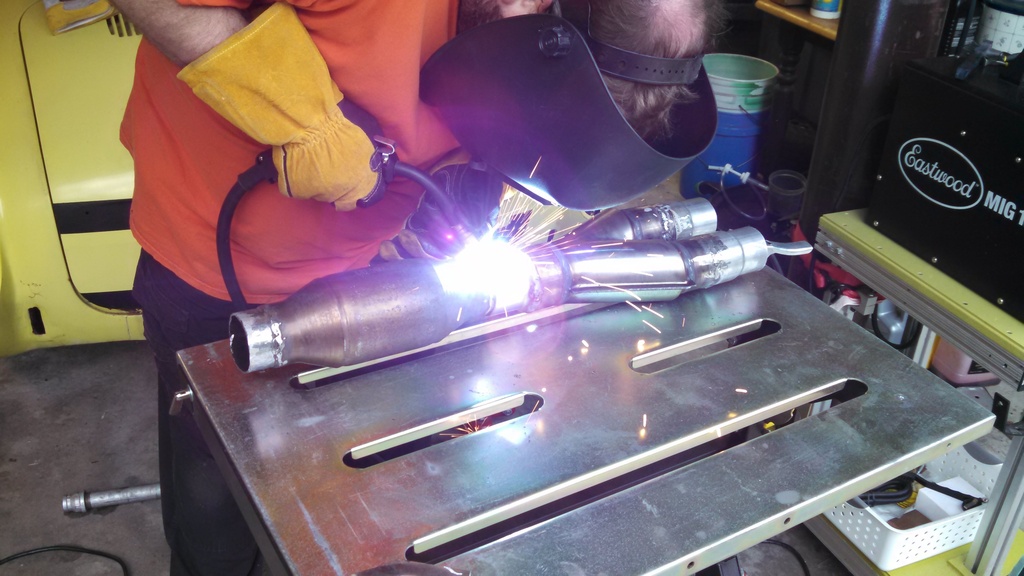
This was also something we were going to change. This here makes way to much noise inside the car.
We got the Y-pipe and cat welded as well as the after muffler pipe.
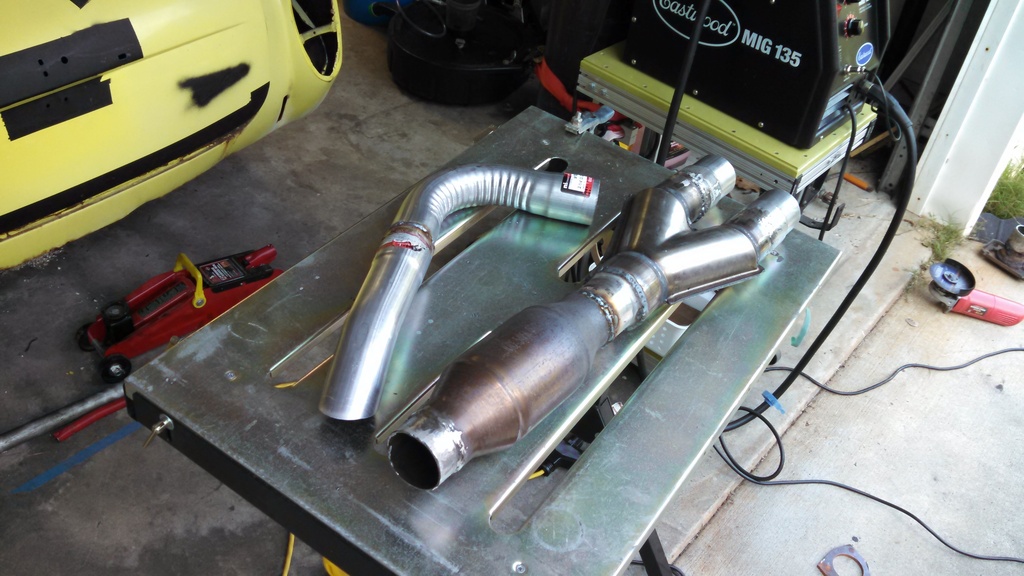
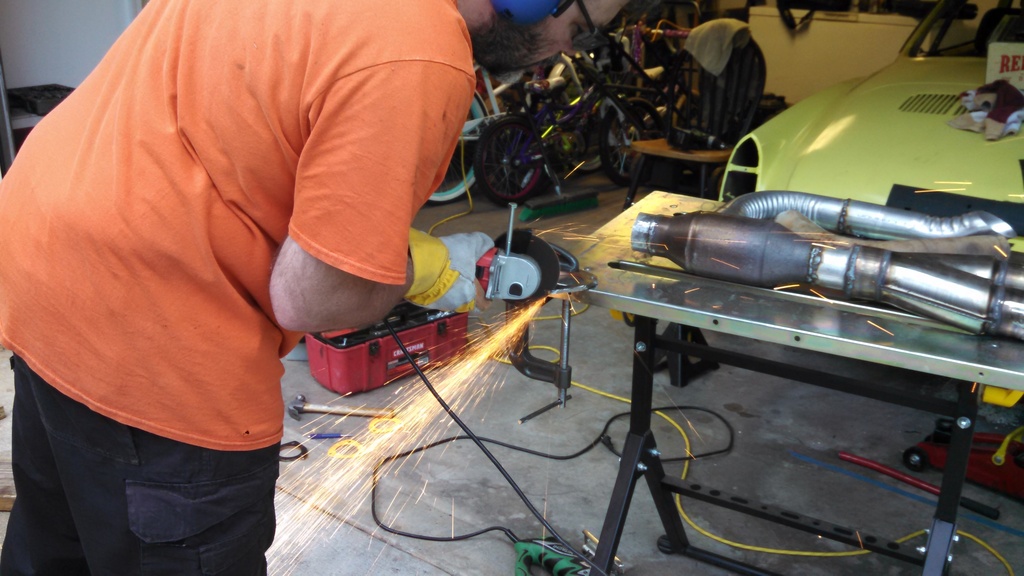
We also cut and welded a flange to bolt the new y-pipe in instead of welding it to the stock cat back pipe. Here are some gratuitous action shots with the cutting wheel.

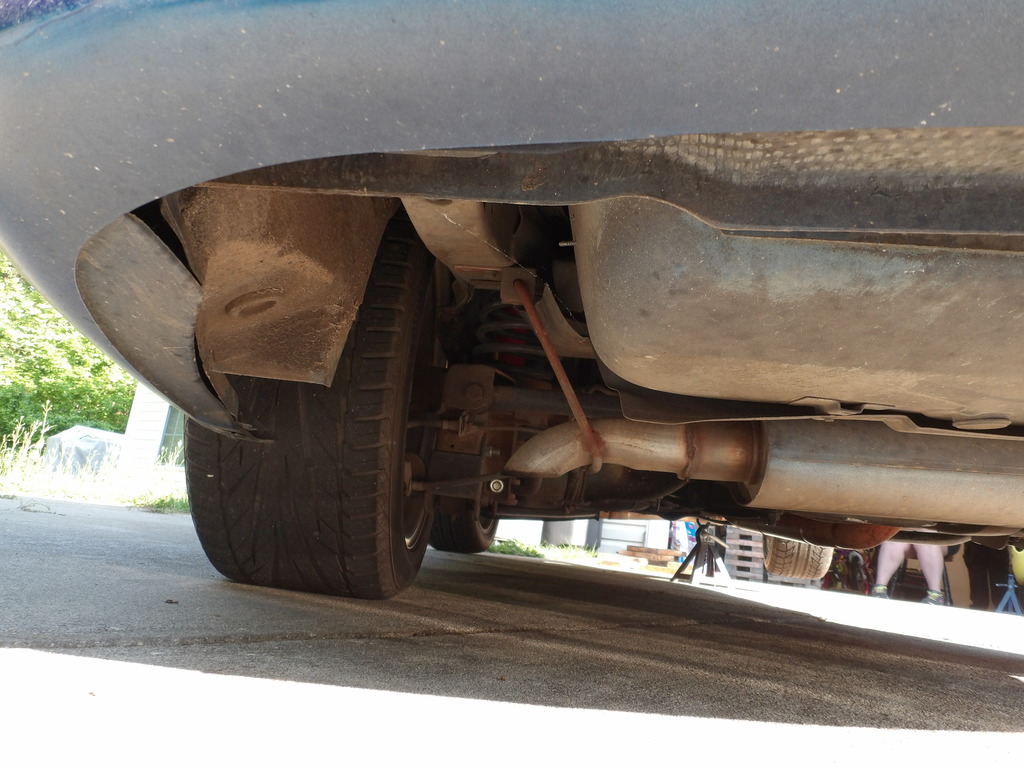
We got the rear pipe installed. This makes it so much quieter in the car. I can actually hear the sound of the exhaust vs the drone of the sound hitting the ground.
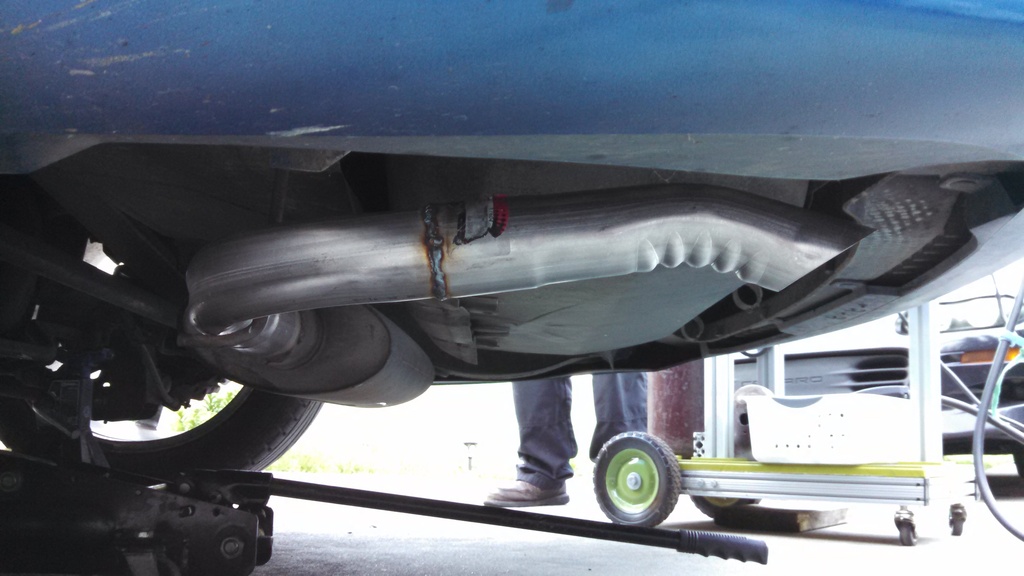
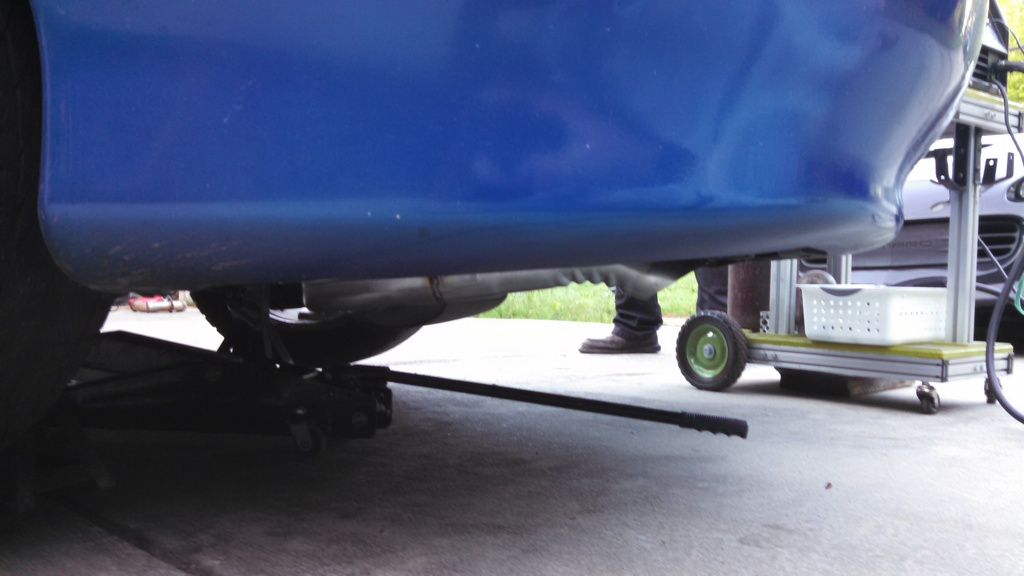
We got the y-pipe installed at about 10pm on sunday. I had to be back home for work the next day. :-\ It was a long ride home.
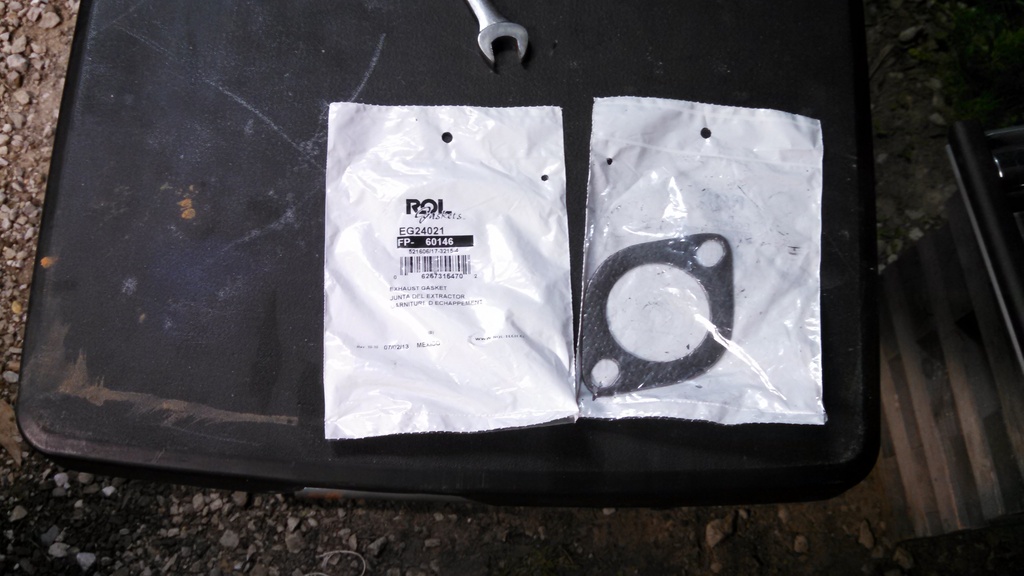
Last night however I got a chance to work on sealing the headers because we had to ditch the factory donuts.
I got a couple 2 bolt flange gaskets to stick between the ball and flange. it seems to seal them up pretty good.
I’m back in the camaro today. The exhaust sounds completely different and the underside looks pretty good. I’ll have to get some new exhaust video very soon.

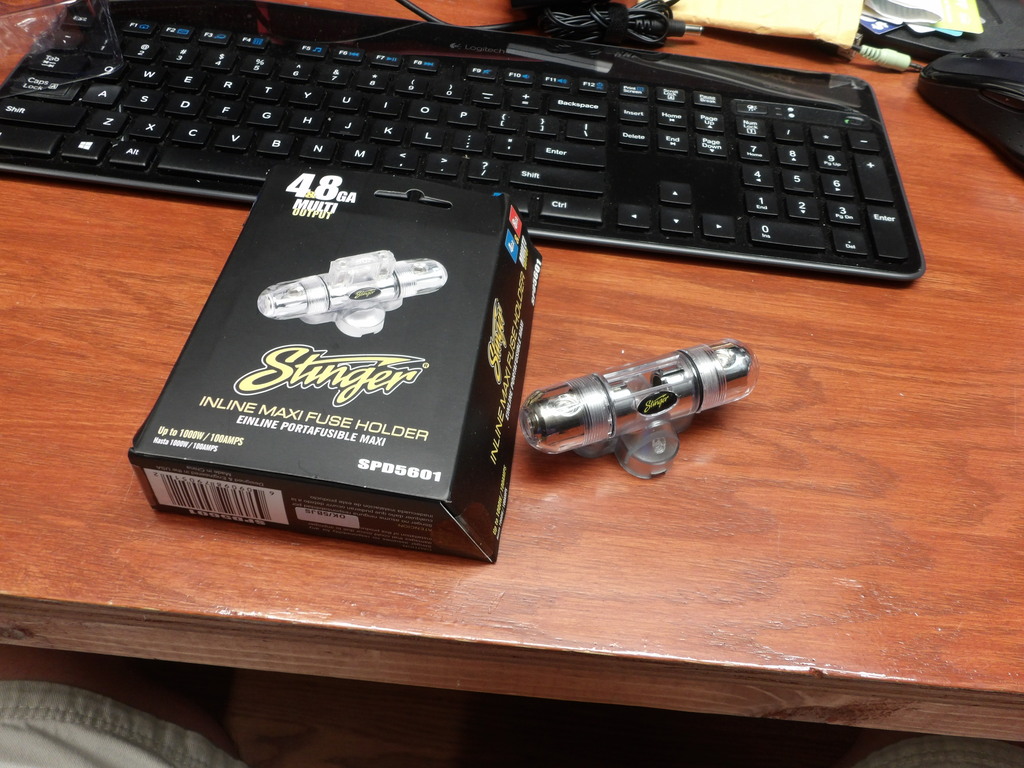
I received all the pieces to rewire my accessories and everything to redo my stereo.
Like before, here is the wire and relay boxes
Here is the new headunit, double din. It’s time to cut up the dash and wire the relays and fuse panel.
2 fused connectors for the switched and unswitched power.
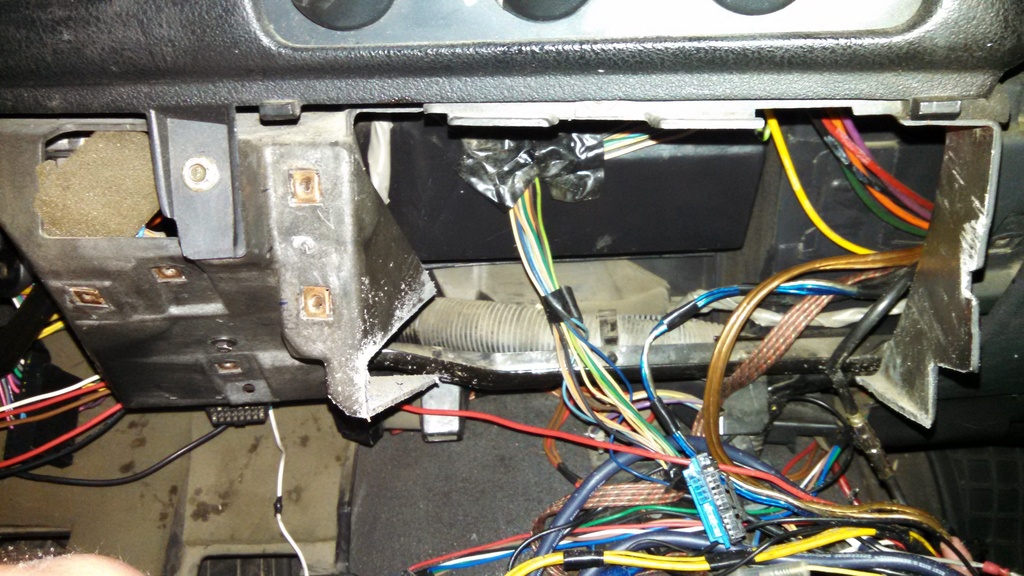
I’ve started the rewire and Double DIN conversion.
First, I removed a lot of wire from years of stuff going in and out.
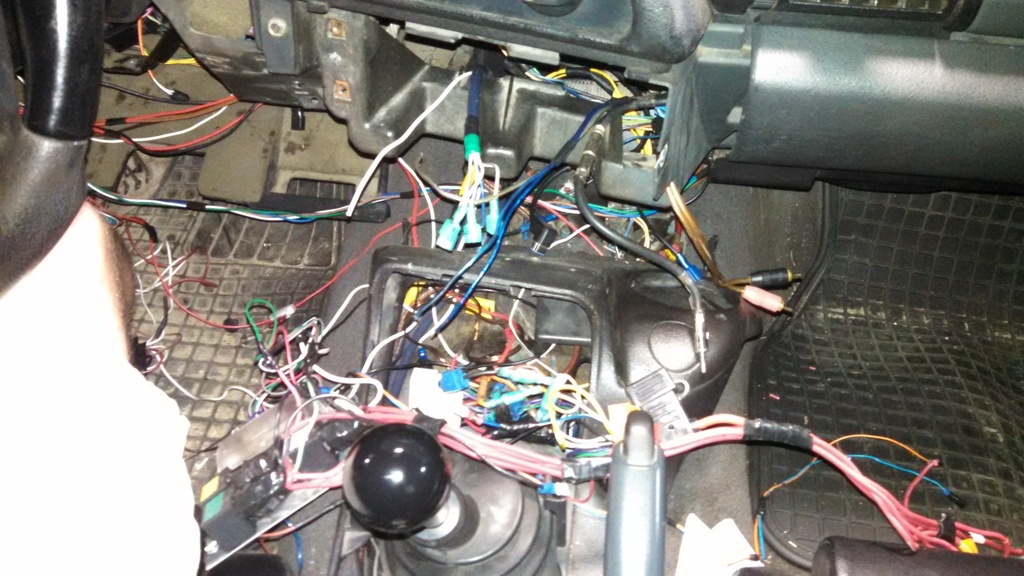
Cut the web under the dash:
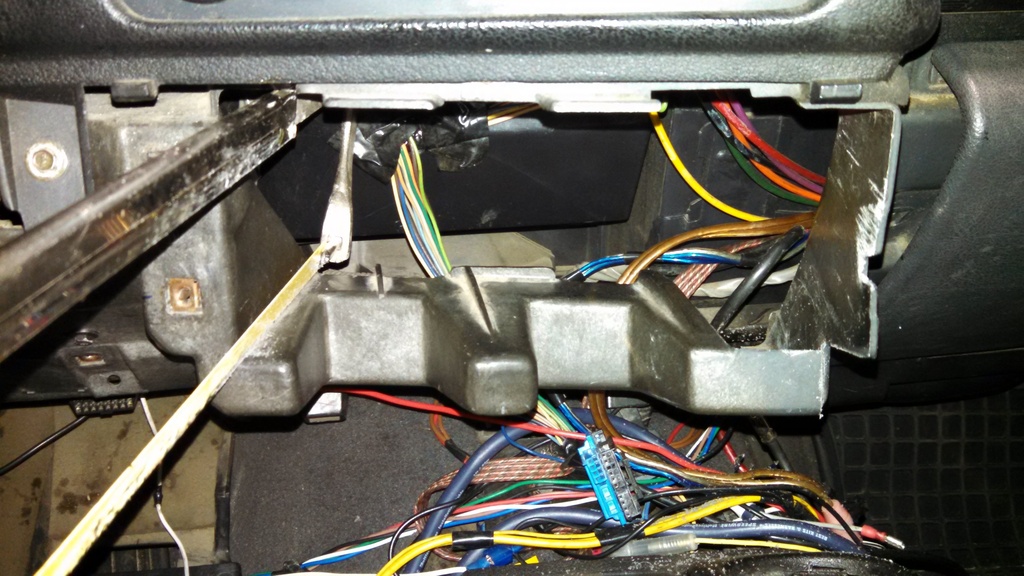
Now I have plenty of room for a double DIN.
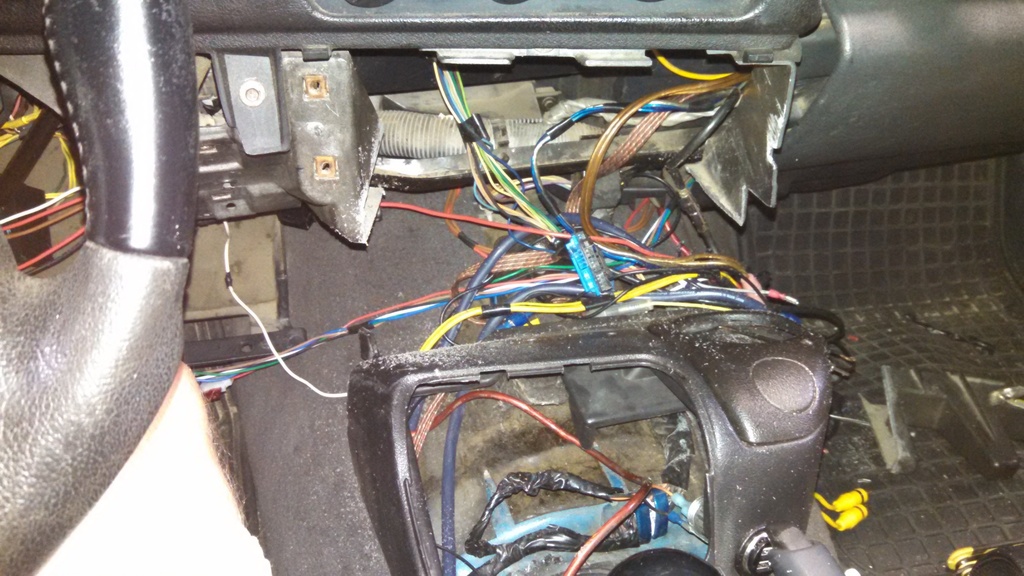
Sliced a radio bezel in half to modify for double DIN.
