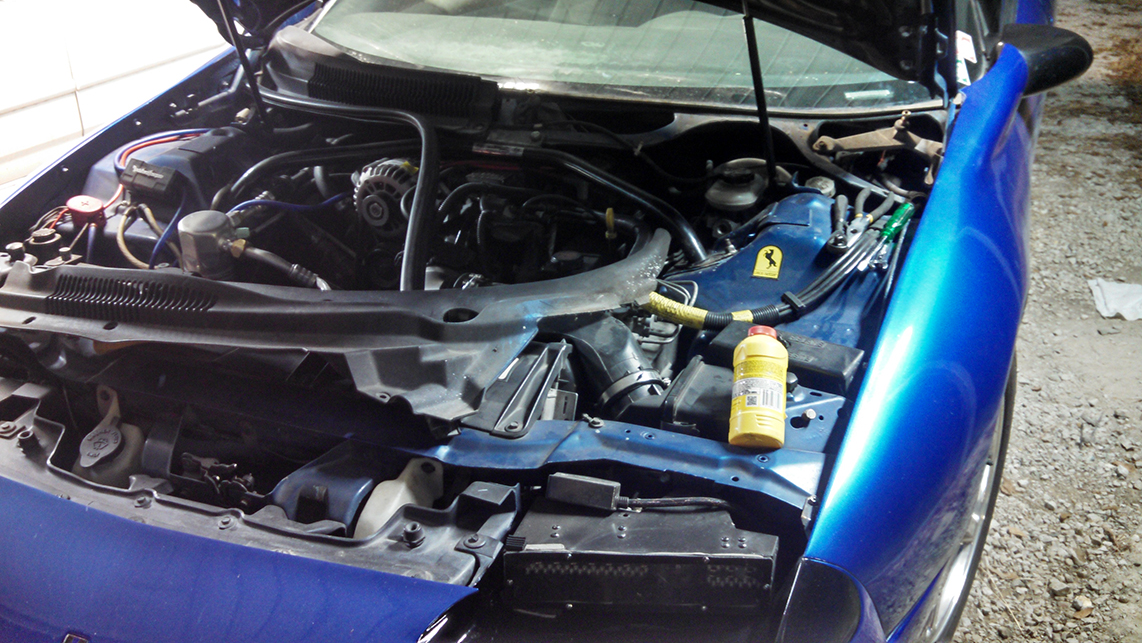
So in preparation of a possible cruise, I’m trying to go through my to do list for the car. It’s mostly just maintenance but here is the details of what I want done before then.
-First I have a leaky Clutch pedal. I lose a little fluid every day. These cold mornings are starting to be a problem because it take a while for the seals to start to hold. I’m probably going to have to pull the trans and swap the slave cylinder. It’s probably will be a good time to swap the master cylinder that I have had for a long time. It might also be a good time to replace the rear seal in the trans which shows a little leakage as well. :-\
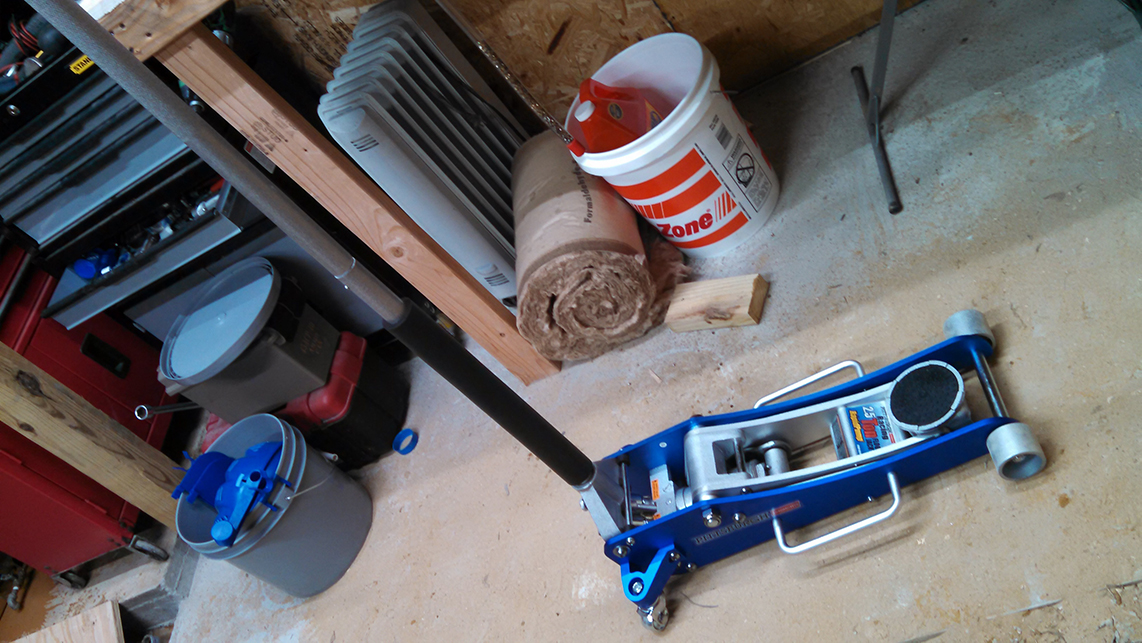
-Another problem I may have induced myself is the clutch. I may have burned it a little getting it up on the ramps this weekend. This morning it chattered a little bit. I hate to replace it again but I’ll check it out when I pull the trans.
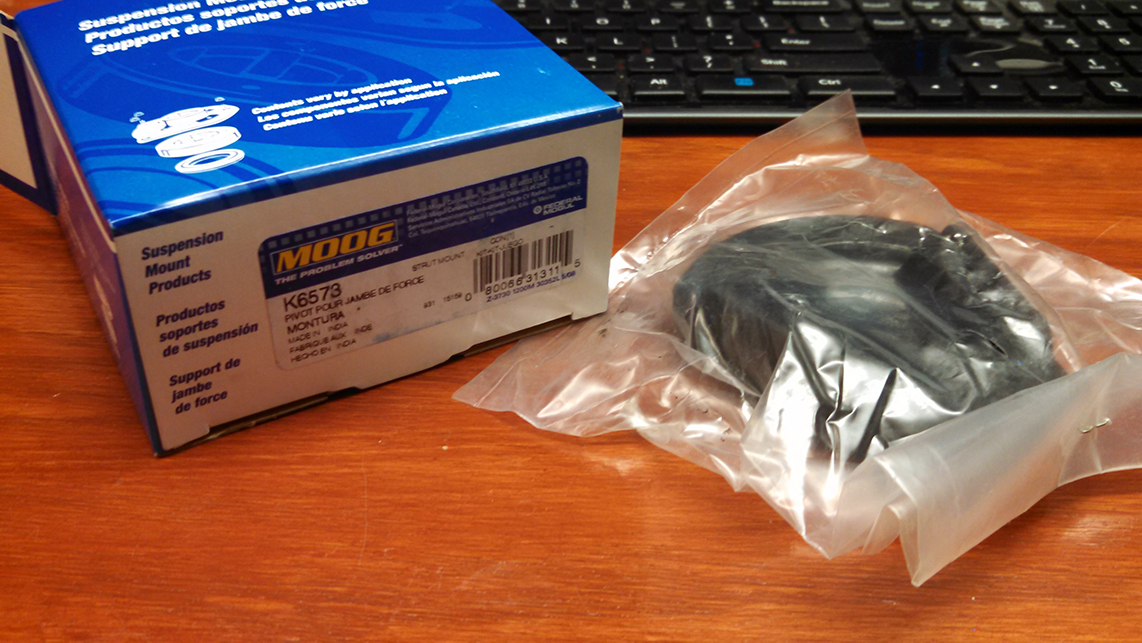
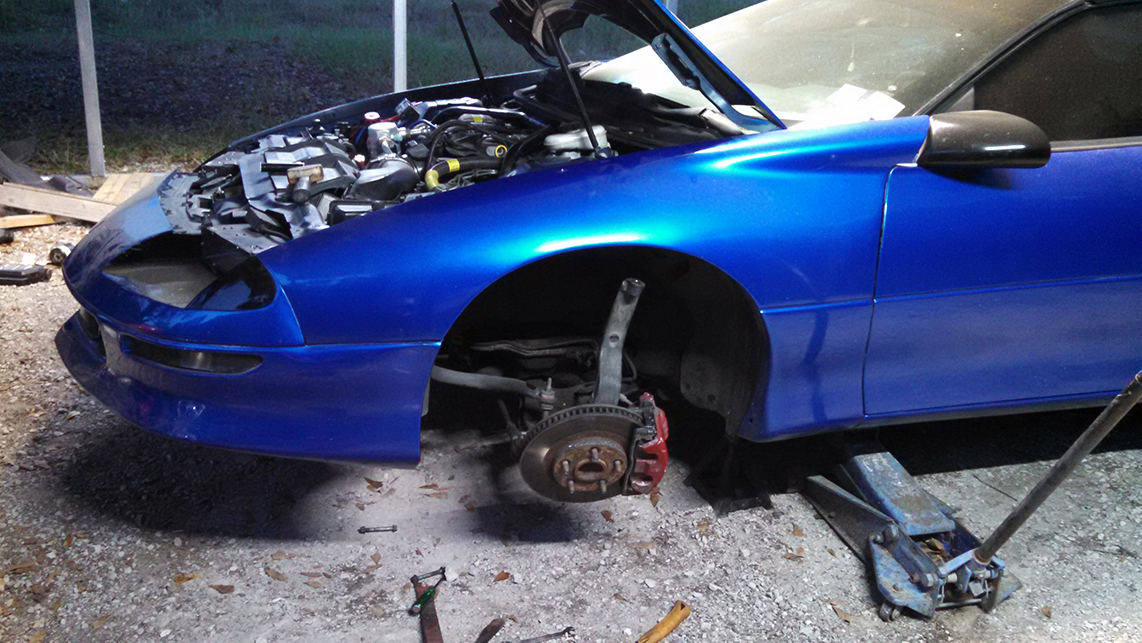
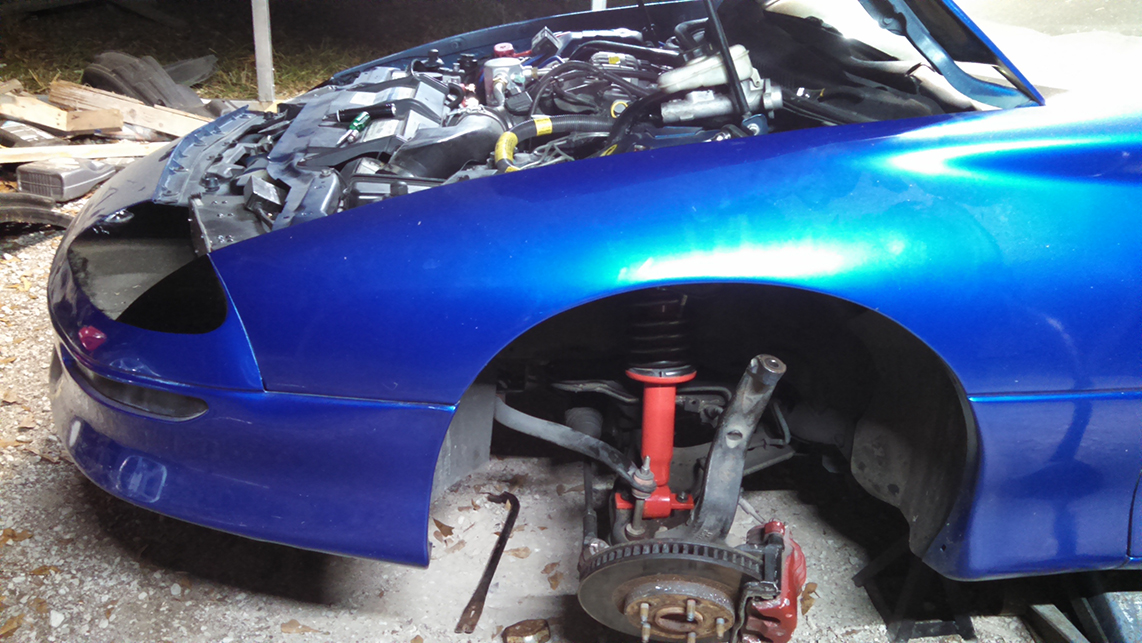
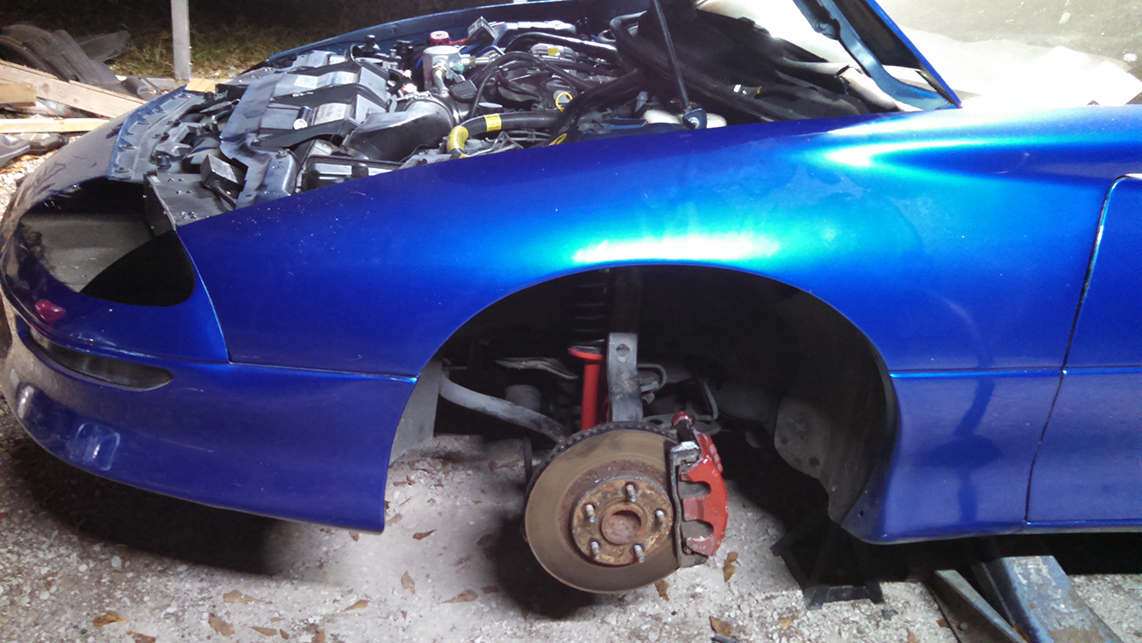
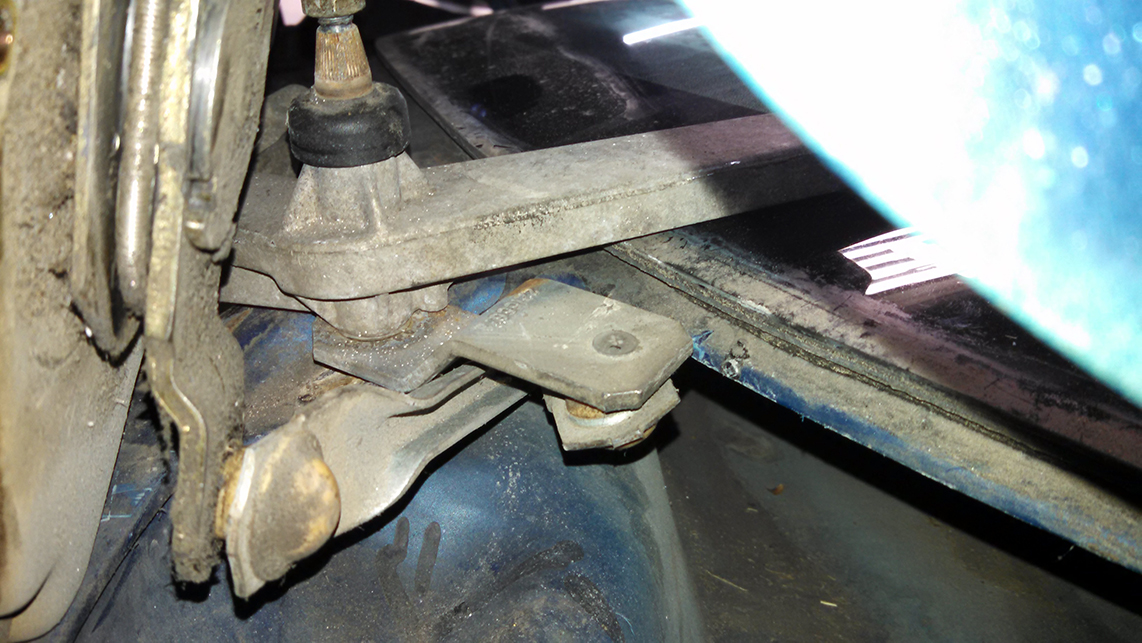
-I’ve only replaced the shock on the side that the mount failed. I plan to swap the other side as well.
-My rotors are a little warped so I’ll have to get them turned
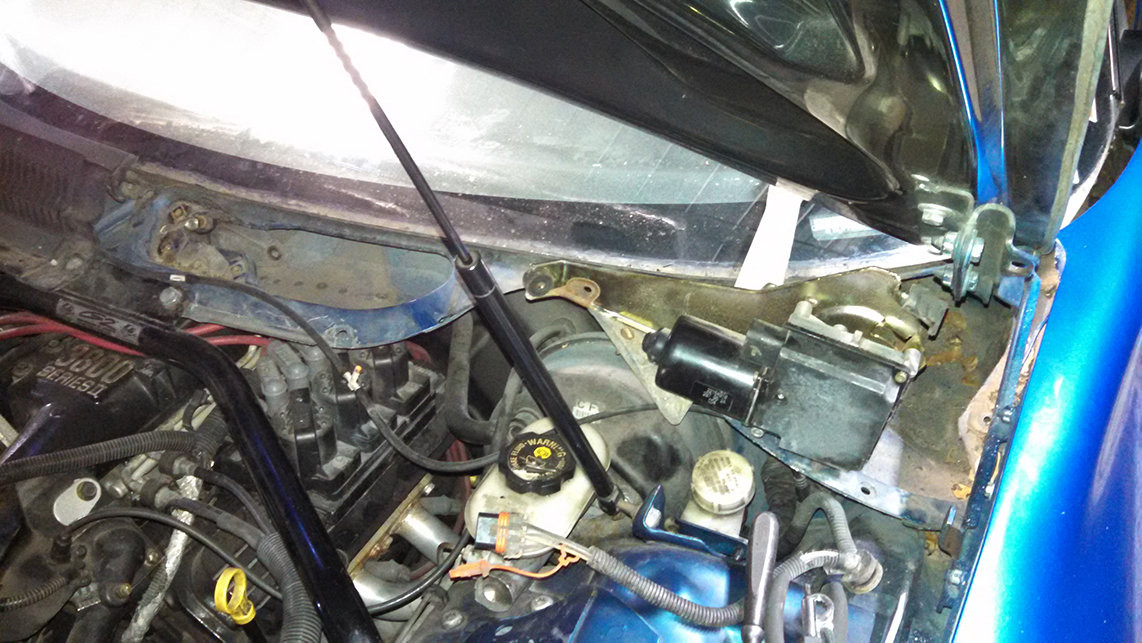
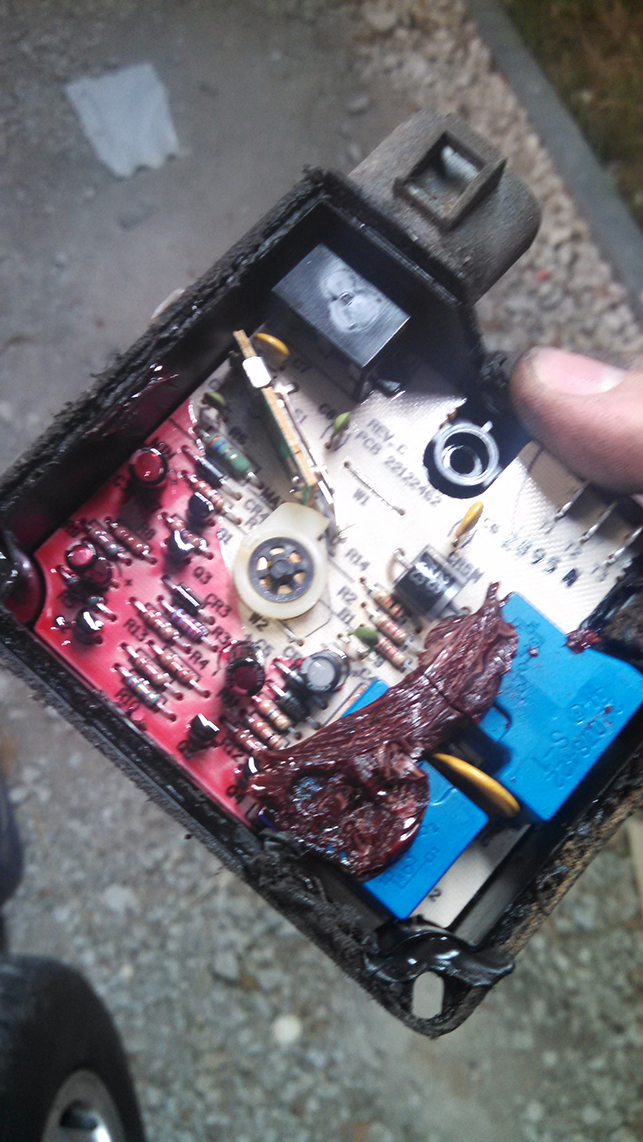
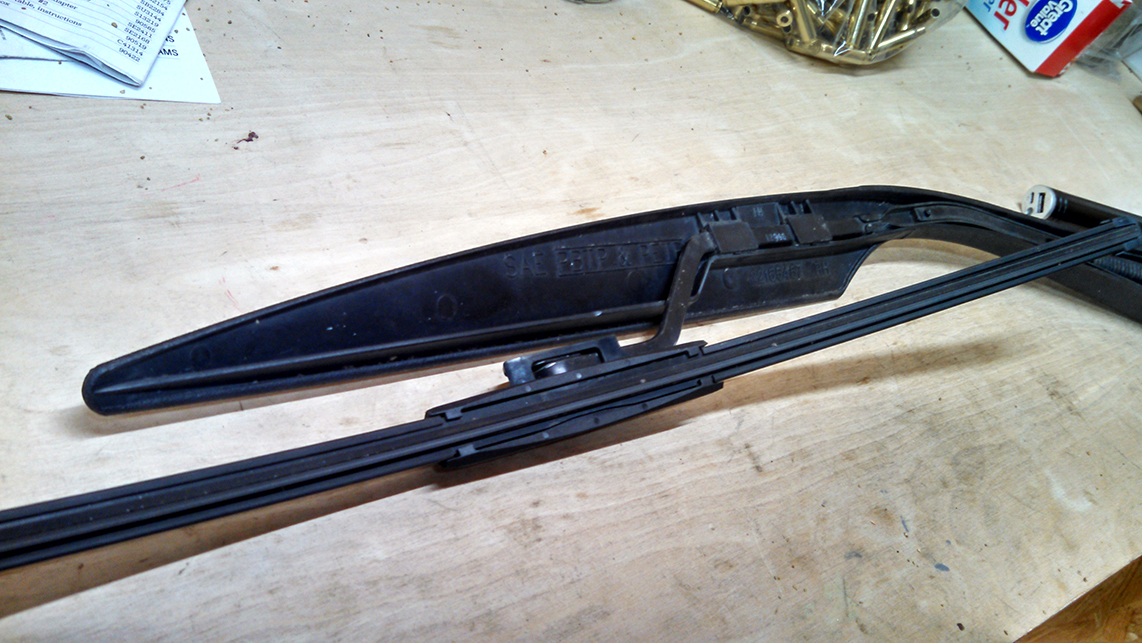
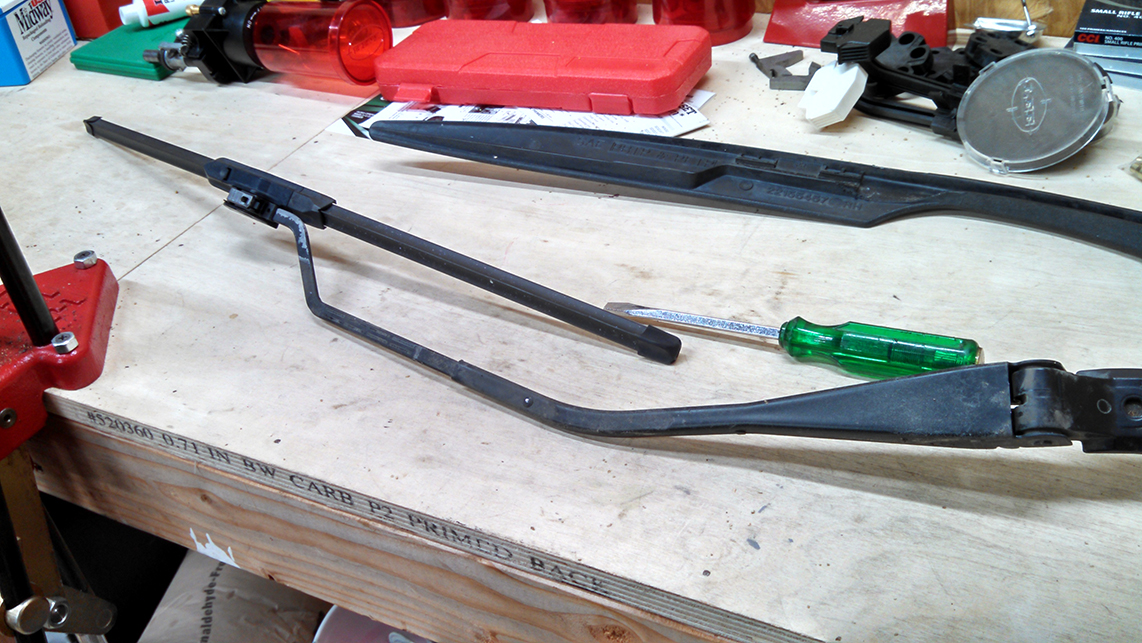
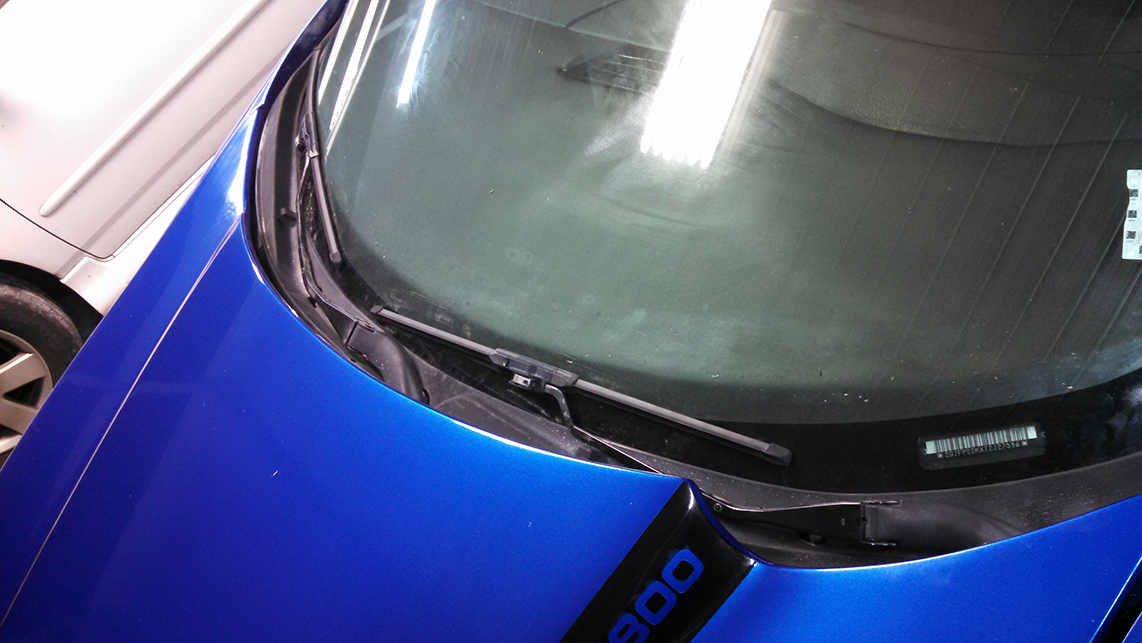
-My new pulse board is still sitting in the box. I’d like to get that replaced so my wipers are not a pain to use.
-I think I’ve got a set of plugs I never installed. :-\ I might as well swap them too.
-And I have a few misc other things like seals and such.
I want to try and squeeze my new headlight design in as well. The design will not be different from the front at first. I may sneak in a little appearance tweak but atm I just want to make improvements to the mounting to reduce the shakiness and make it easier to aim.
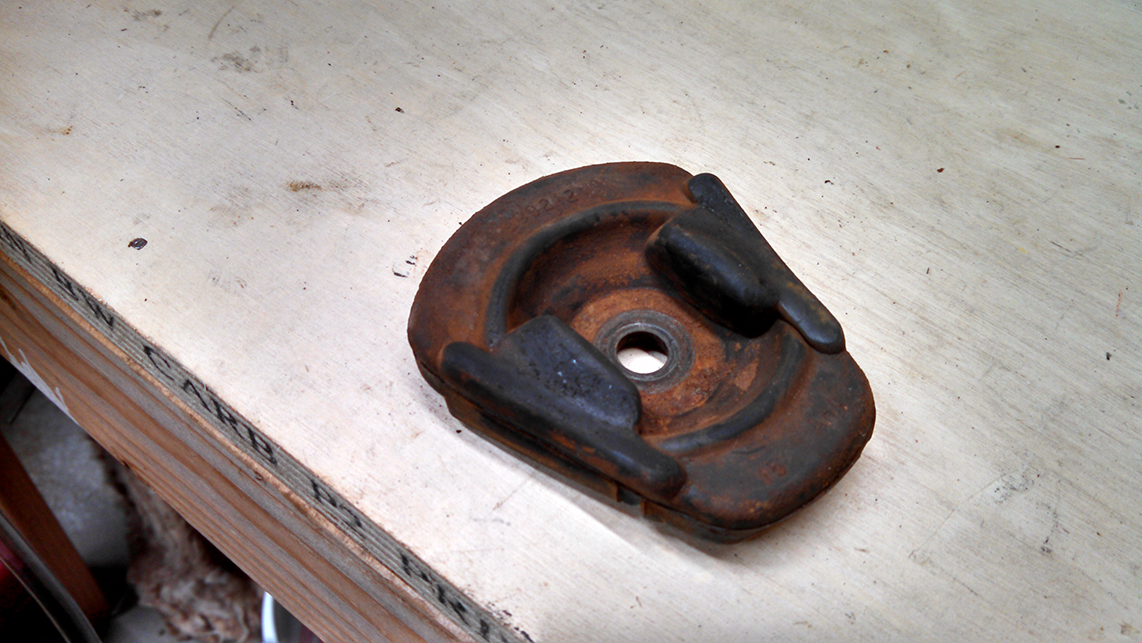
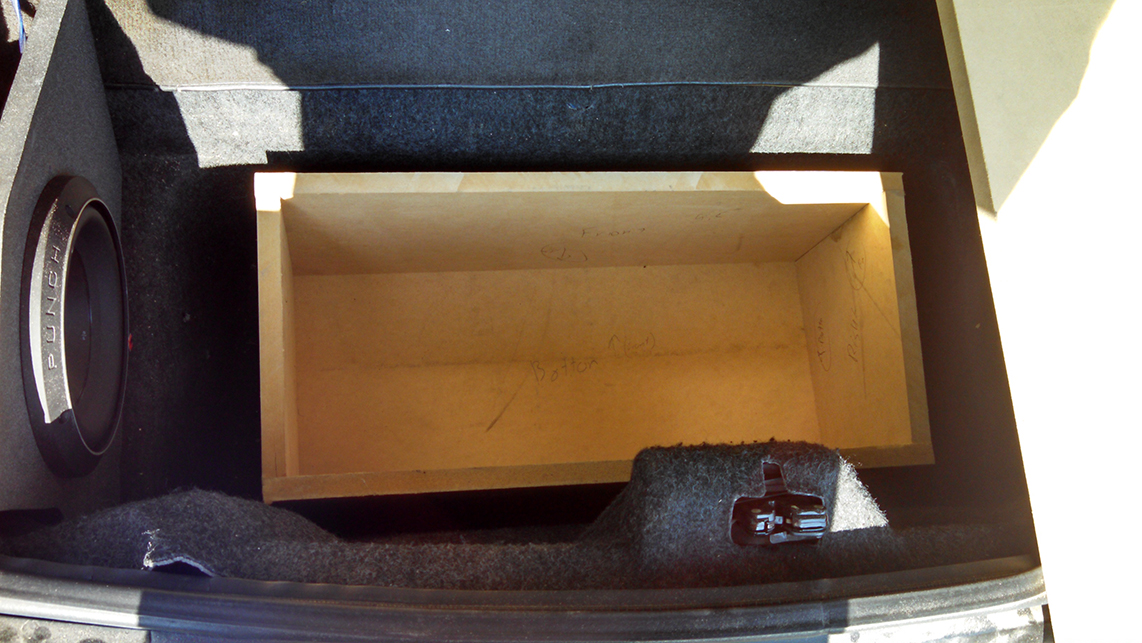
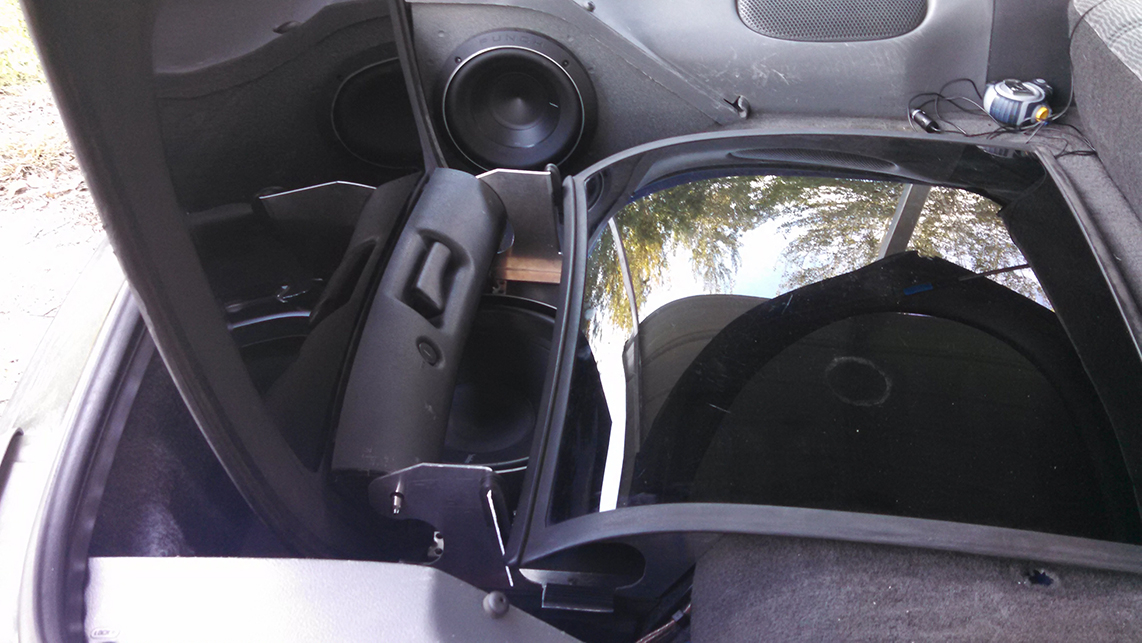
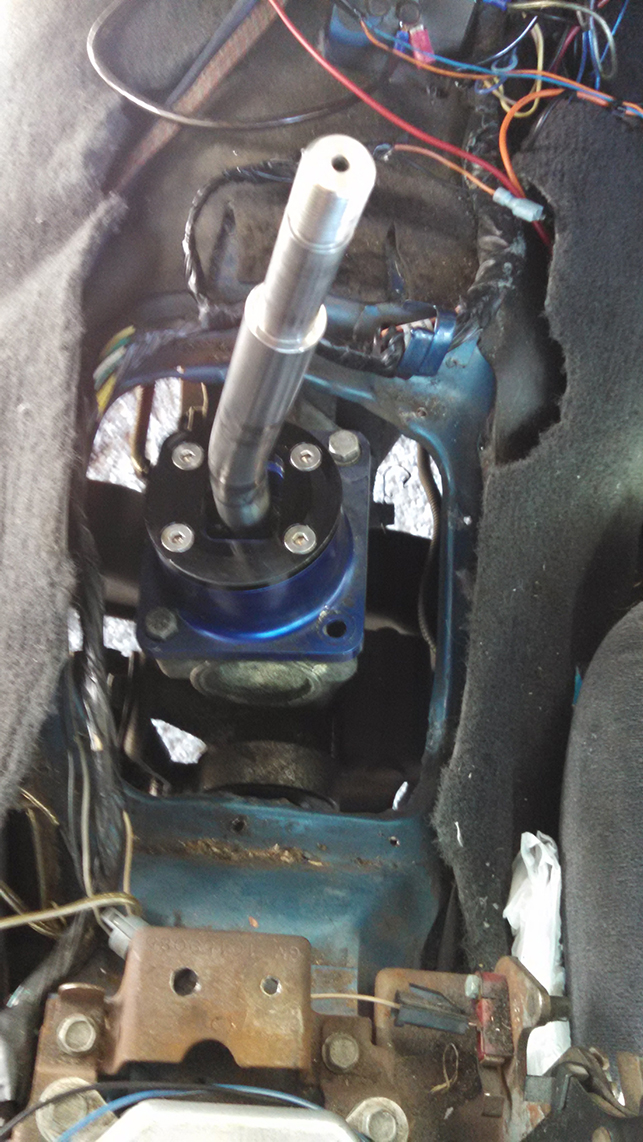
The only thing I managed to accomplish this weekend was the tunnel mount. Since Bone and I chopped my exhaust it’s been rattling against my tunnel brace, so…
Now you see it,
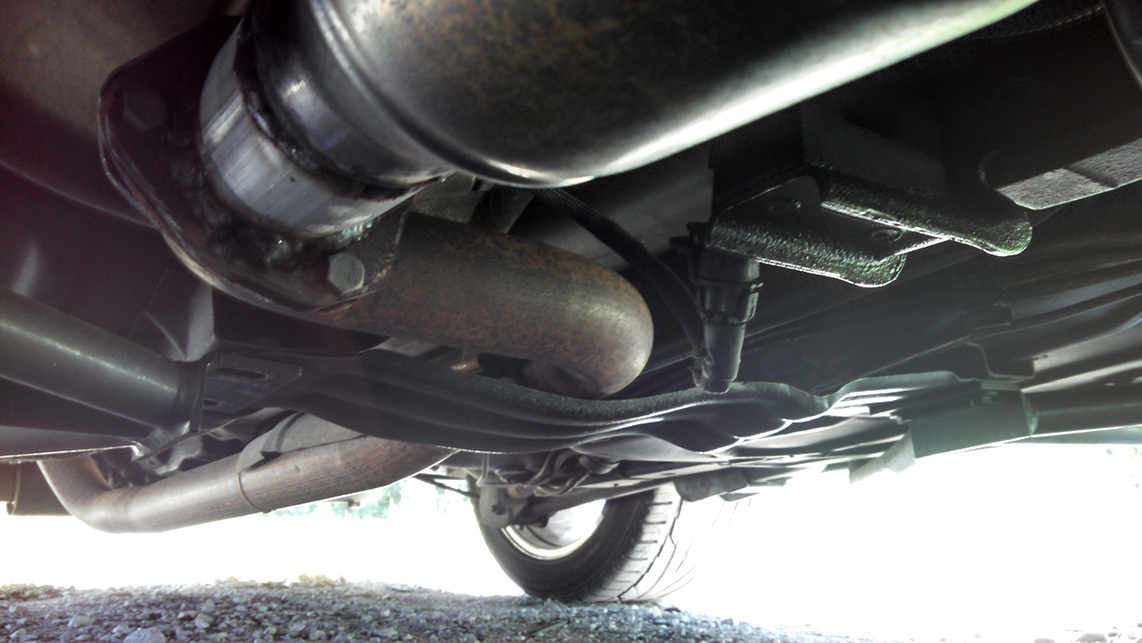
Now you don’t!