1 28 29 30 31 32 33 34 35 36 37

Day 2718 “Better Power”

I jumped for a better alternator. The cold season is hard on this older battery and I needed the extra charging power. This Powermaster has a smaller pulley than stock already. I hope to keep the voltage drop from happening while I’m lope’ing

Plus it looks good lol.

Specs:

Old vs New:

Old:

New:

Spare pulleys

Day 2777 “Dreaming up Parts”

The cold snap in the weather killed my 2yr old battery. Amazon honored the 36mo warranty and sent me another free of charge. It did take about 30 minutes on the phone while they figured out how to figure what to mark it as in their system. Apparently it not that common.

I finally got it installed and can daily the Camaro again. It’s more than a week since I had to park it due to the snow and dead battery.

While I was wrenching I decided to pull the Powermaster Alternator and send it to them to convert it to a 1 Wire operation. That has been my voltage drop issue from the beginning. The computer sends the signal to the alternator to command it to charge. Once it drops below a certain RPM the car will turn off the alternator. Since my RPM lopes in the 600’s it drops below the threshold. I could probably trick it by installing a circuit that delays the switching on or off. but the alternator can be fitted with a one wire operation module that allows me to go down as far as 450rpm. This feels like the best solution. Until I get it back from Powermaster its back to stock.

New battery & Alt swap back to stock:

I also made a Flywheel lock that I hope will let me tighten or loosen the crank bolt without having to hold it myself or have someone hold it for me. They don’t make one for the 3800 that sits in the bellhousing like this. Or if they do they want an arm or leg for it. I may have to trim the lock in places when I test fit it. I basically guessed on the dimensions. So, if it actually works as it is, I’m going to feel a little sad that I can dream up parts with such accuracy. This just means I’ve spent too many wrench hours under the car.

Custom Flywheel Lock:

Day 2787 “Thank You, Powermaster!”

To my surprise my alternator arrive back at the house. I called them Wednesday to check on it and apparently they had already shipped it back to me. I have to say that is good customer service. Thank You Powermaster! I sent it to them to convert it to a One Wire operation. It was supposed to cost about 20 bucks. I didn’t have to pay anything. So Thank You again Powermaster!

I couldn’t wait to get it back on the car to see if my problem was resolved.

Recap: My idle on the car is about 650 and when the rpm dips from letting off the gas, the voltage drops to 11v instantly. Through my testing I found that the alternator was being told to turn off. The Computer or something else probably shuts off charging at 600 rpm. Powermaster told me the spec of a One Wire operation and my math tells me I can go down to 450 rpm before the alternator turns itself off. That sounded promising, so I shipped my alternator out to them.

I got it installed and it appears so far that I’m not having that problem anymore. However, I need to change my rpm back down to 650 since I changed it to 725 or 750 until I got my alternator issue sorted out. And I need to load the system with lights, AC, fan on high, and the radiator fan running to know if the alternator can keep up at idle. The Test results attached to the Alternator says 105 amps at idle, so I’ll bet if it doesn’t turn off that it’s going to be plenty.

I will update again after making all the changes to the tune.

The package had a lot of stuff including business cards, catalogs, and stickers. But nothing mentioning what was done or how much I owed.

This plug lets me assume I dont need the factory harness.

So now the factory plug gets to hang out back here.

Day 2814 “Supercharged Shopping”

Since its income tax time I figured it was best to try to get everything I need to start and finish installing the Supercharger. First few things came in. Should be more in the upcoming days.

These are a couple of the required gauges and a dual pod adapter that would go on the pillar. Not certain I’m going to use the pillar adapter but I have it for reference in case I want to do that. My first plan is to 3d print a defrost vent cover and now incorporate the gauges.


The gauges are Glowshift. They have mixed reviews but they were cheap enough to justify trying them. One is a Wideband with the ability to input into my HPtuners software.


The only aesthetic concern is one is tinted and one is not. I had to get the tinted one for the Wideband because it was the only version with Wideband. The boost I could have gotten in tinted, which I may still do, but I could spend double the money on that version without vetting them out first. I looked at AEM Widebands and Autometer but I didn’t like the appearance of them so I made the gamble with these.


The parts shelf was missing a few major components such as pushrods, springs and lifters. I went ahead and got a low profile valve cover breather, LS1 retainers, and an oil volume kit. I’ve got more on the way. I don’t know if I’ll install the double roller before I start the SC mods or not. I’m not sure when I’m going to park the car but when the weather get warm you will be seeing more posts.


Day 2820 “Operation 3D Print “

So Today I finally 3D printed a part for the interior of the car. I’ve been waiting until I had a need to do this. I’ve mostly used the 3D printer for my Drone. The only drawback is these parts are much larger and take much longer to complete. This particular print took 6 hours and I ran out of material to boot. This is only a test part to see if I like it on the dash like this. The next part will be on the pillar in such a way that looks low profile unlike the pre-molded versions.

I spent a few hours modeling and printing test pieces to fit the curve of the dash. It still needs work to fit properly. And there is a noticeable color difference. I may look for material to print specifically for the interior.


3D printer in action, about 4 hours in.


Test Fit:


I also received a part that is pretty interesting. There is a method of routing the belt so that the SC has limited amounts of slip. It’s known as the “John D Power Wrap”

This belt is a 103″ double sided V-groove belt from SuperChargerRebuild.com, which is where a lot of mods for this Powerdyne unit have come from. I put this label on to bundle up the belt and remind me later what the length is.


And here is the diagram where the John D himself drew out the way it is supposed to be routed.


Day 2825 “Double Roller, Double Broken”

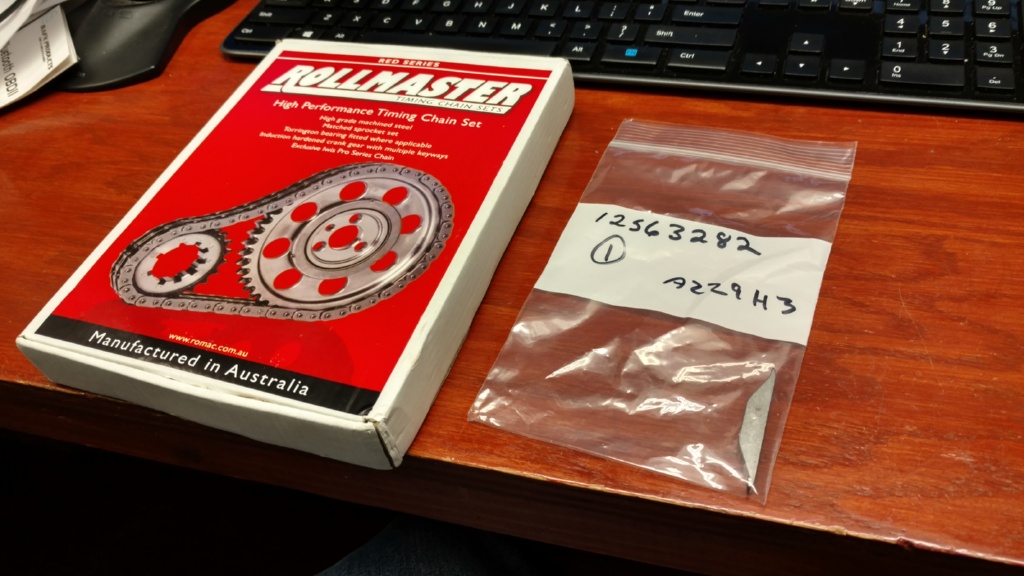
This weekend was supposed to be a pretty simple swap to a double roller. I’ve changed the timing chain and damper several times so I know what I’m doing. At least that was until I made a rookie mistake.

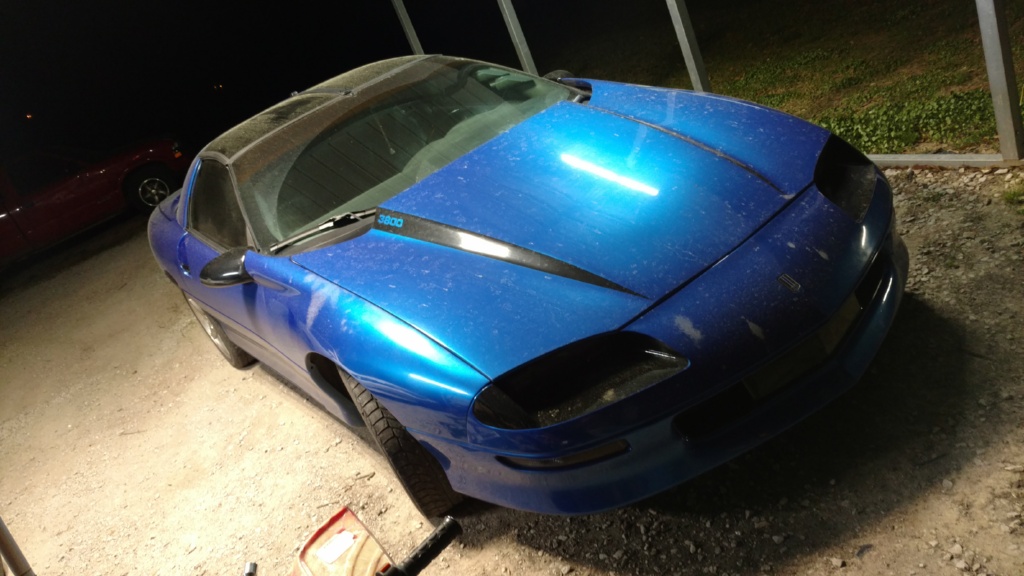
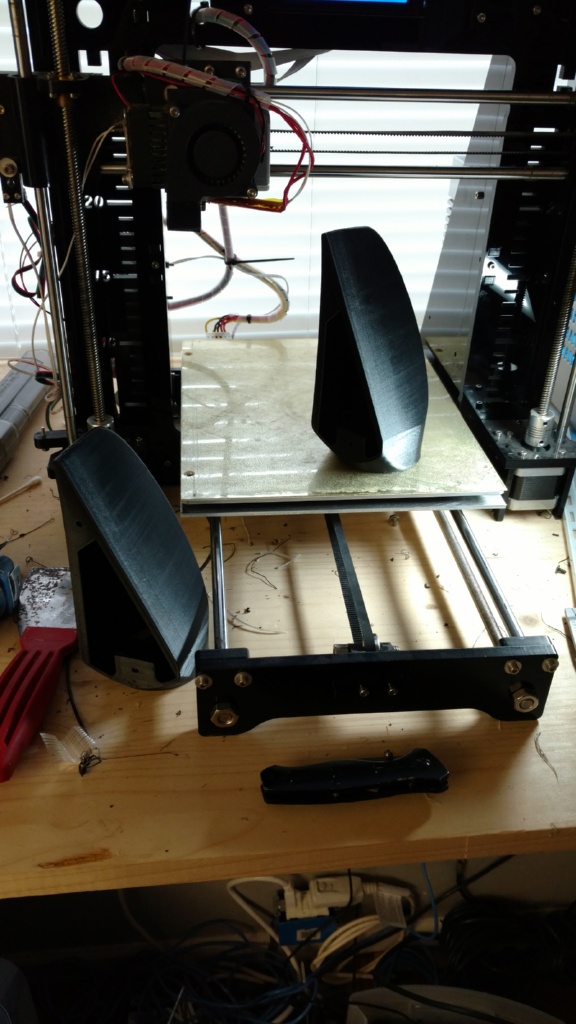
This was the first time I was able to use lift at the our new shop. This place is nicer than my driveway 100x over. A lift is such a good investment. This is the first time I’ve used a lift to work on the car. I’ve used lifts like this before when I worked at a tire shop so I was pretty excited to have a reason to use it.

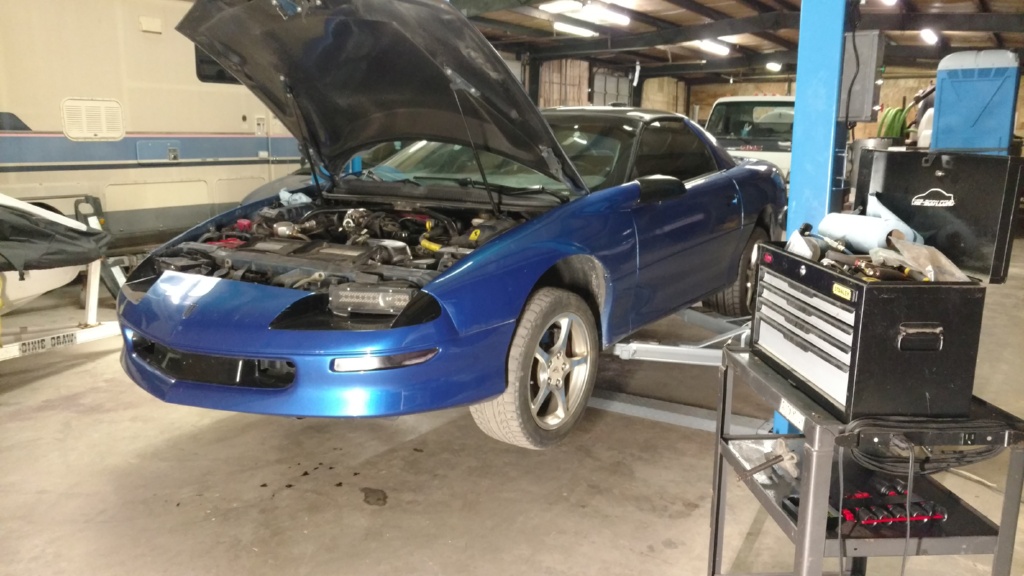
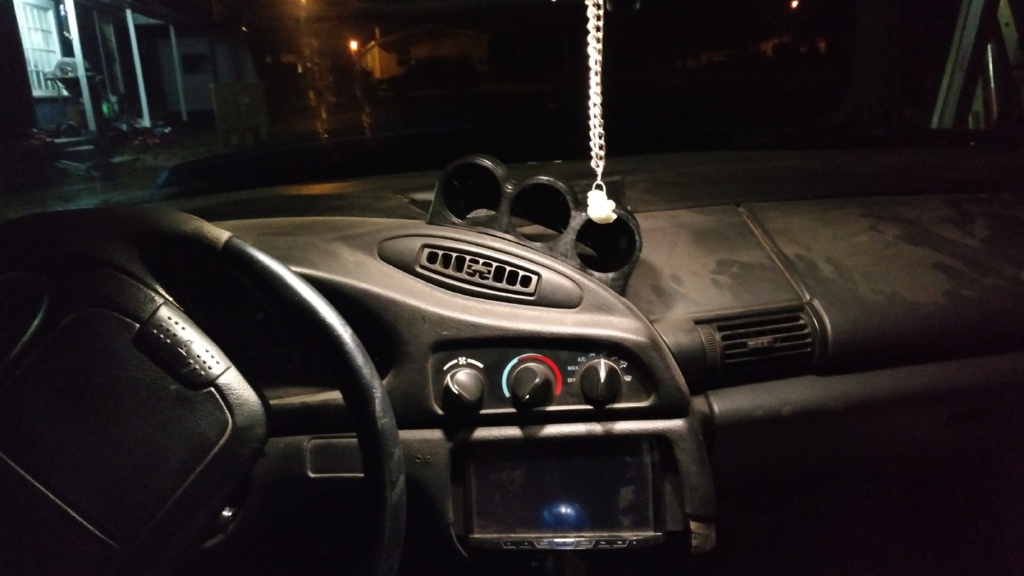
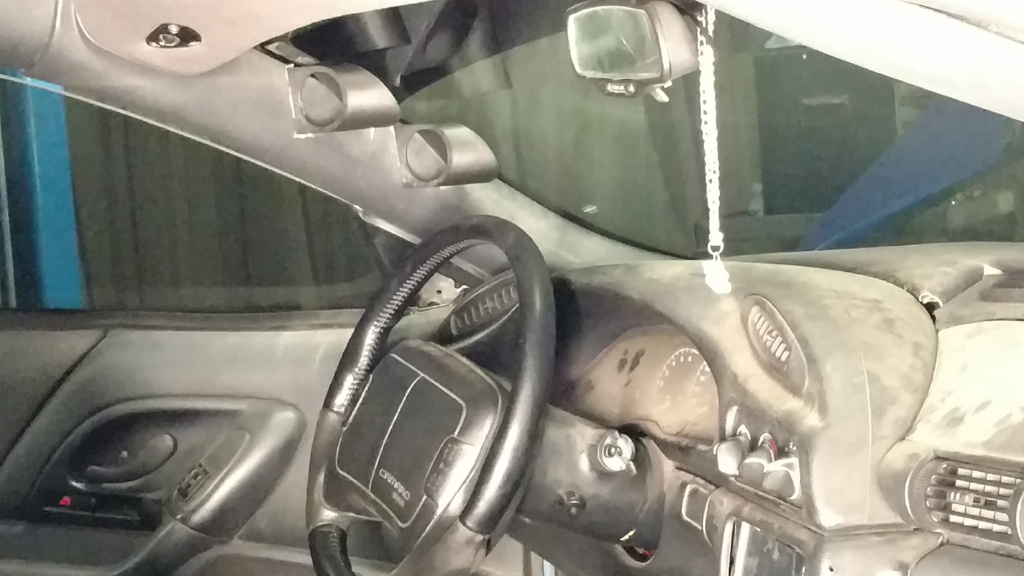
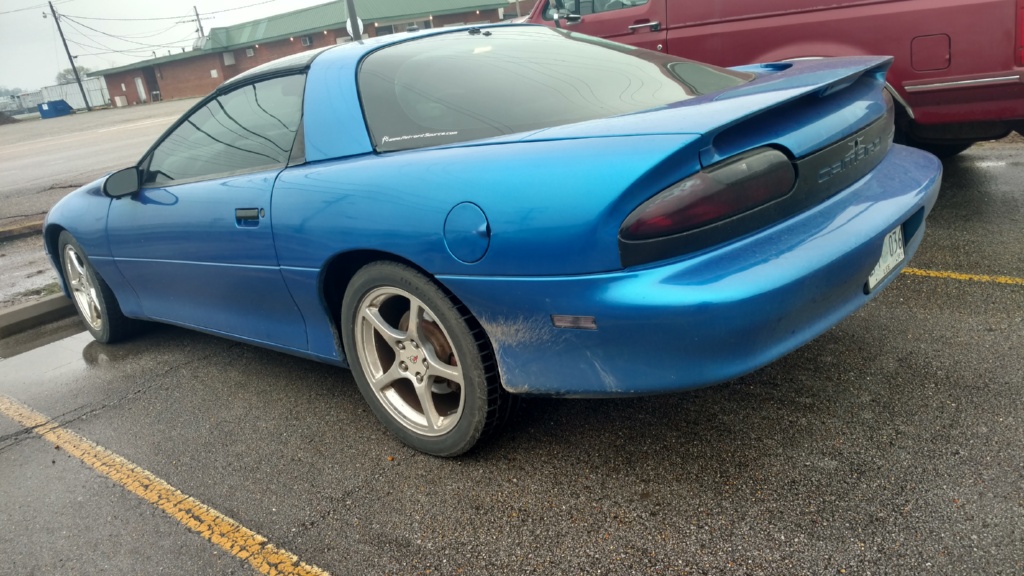
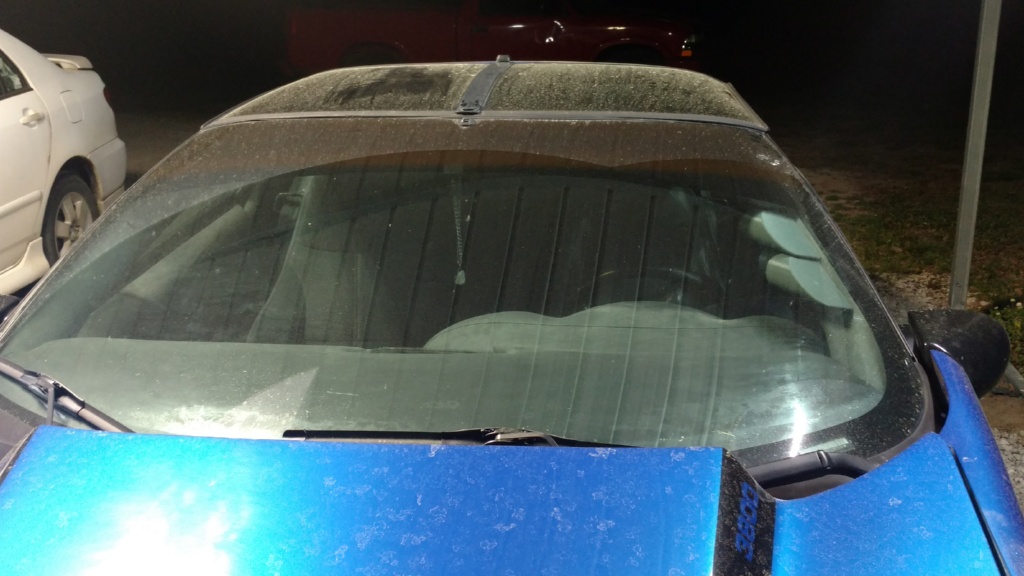
This is the first time I’ve been able to look at this side of the car standing up lol.

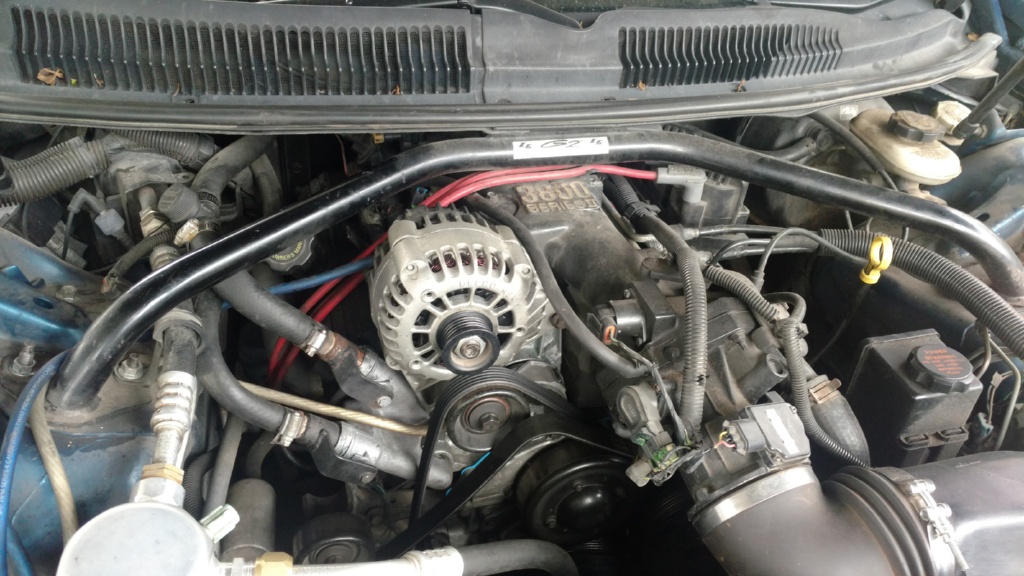
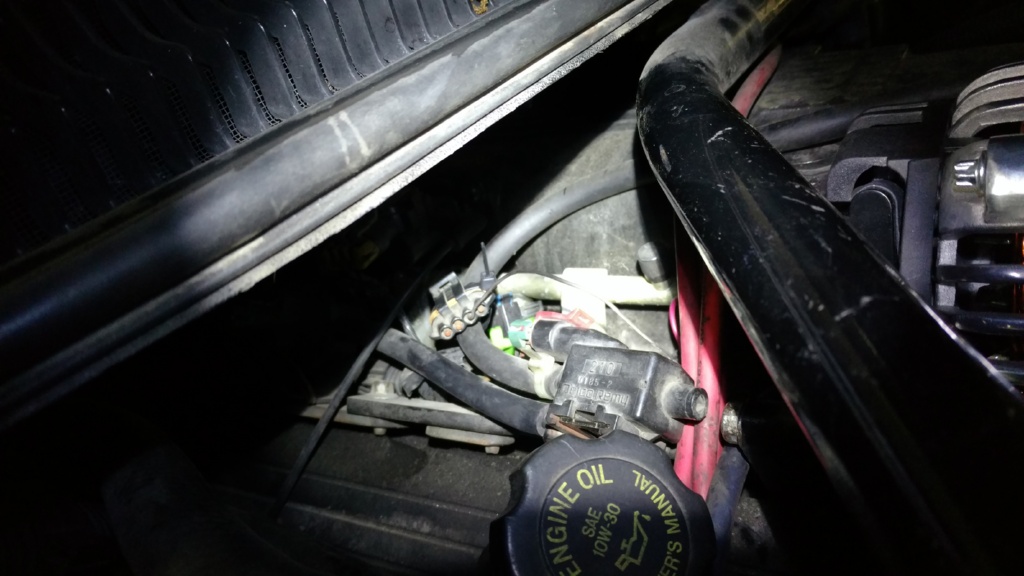
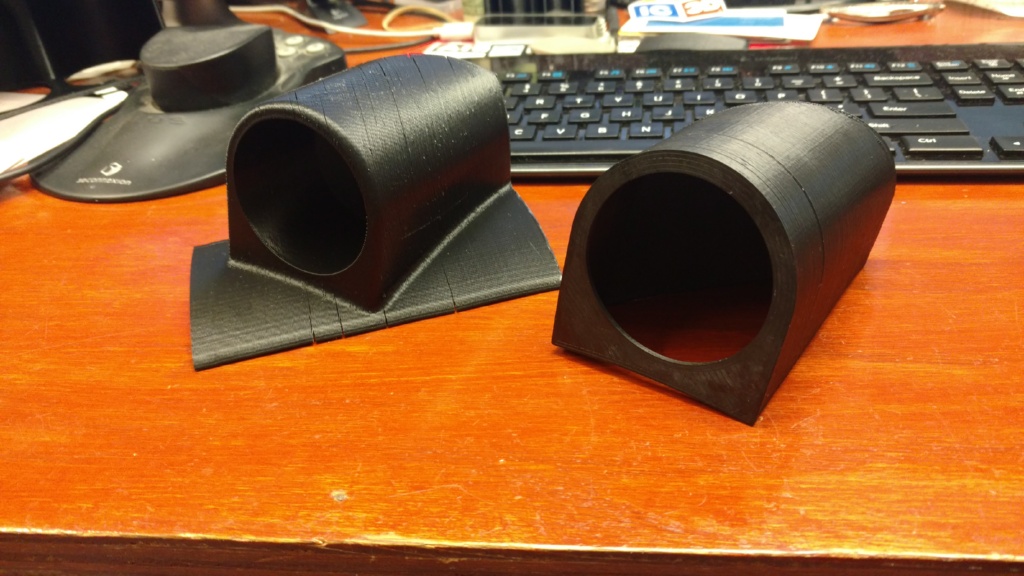
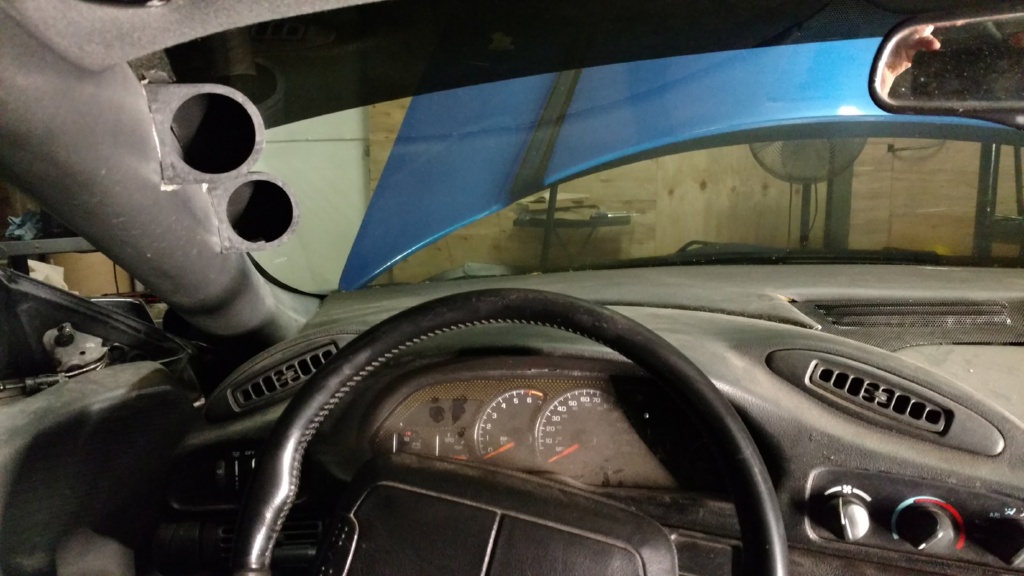
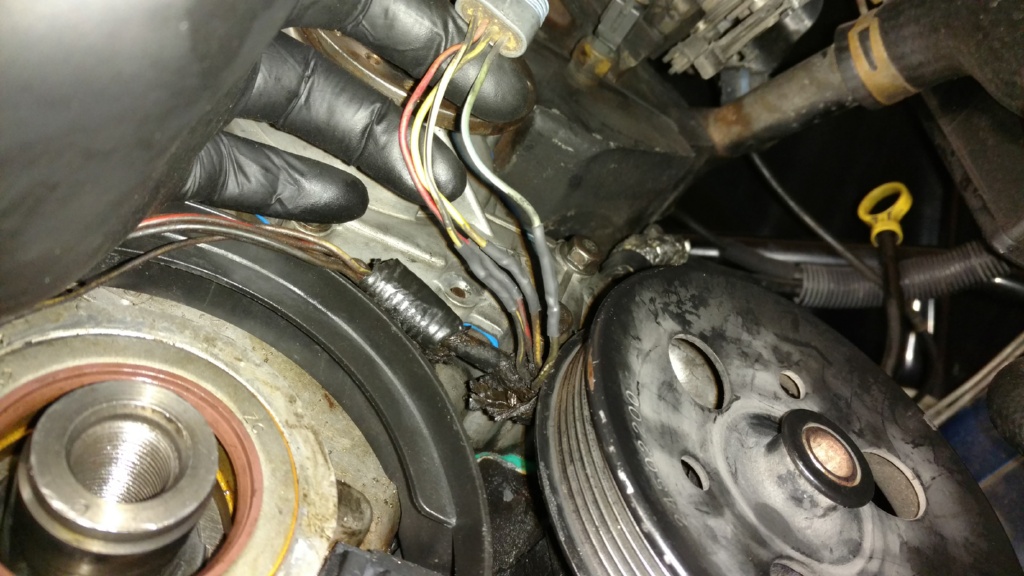
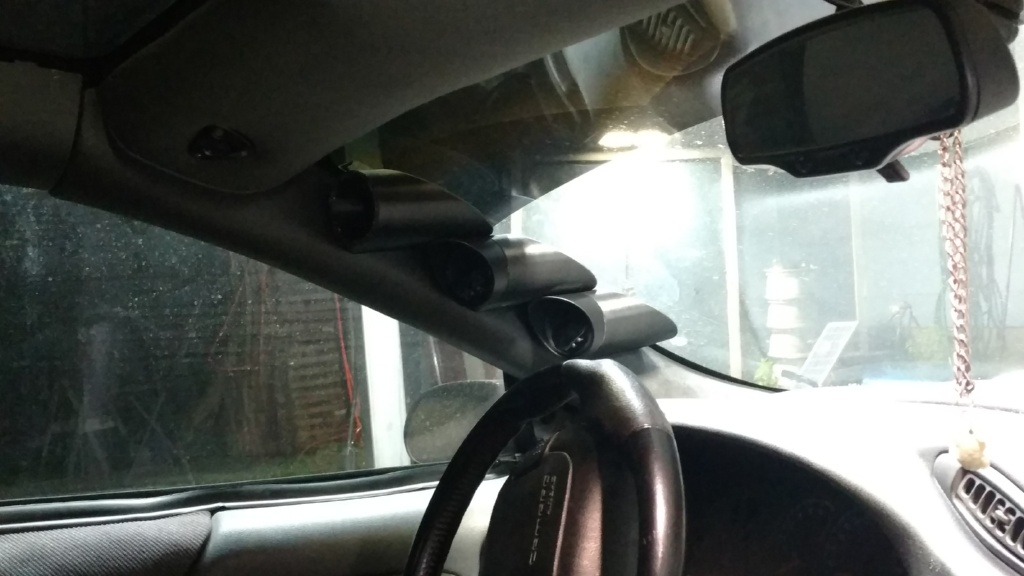
Installed new low profile valve breather. It clears the STB.

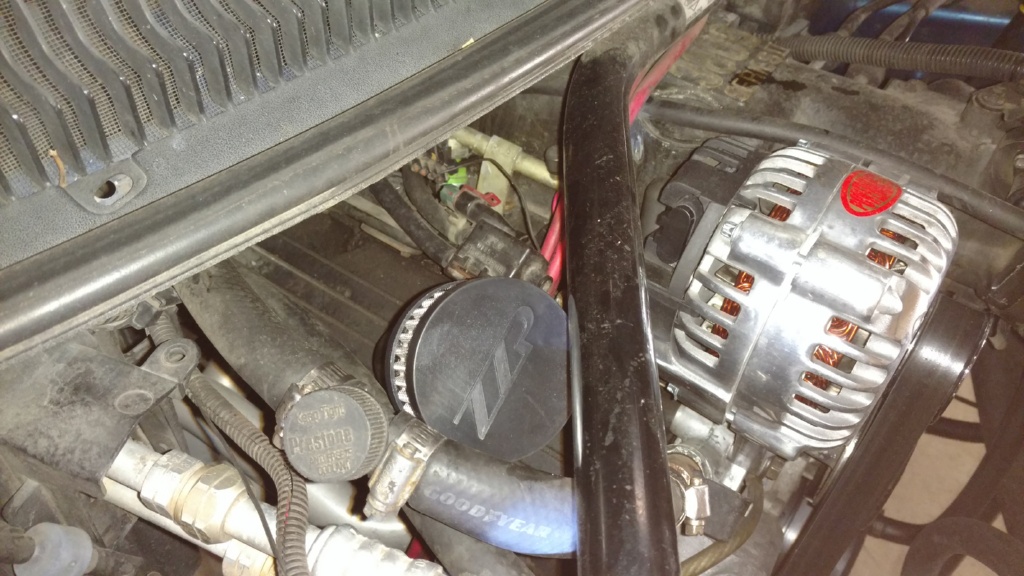
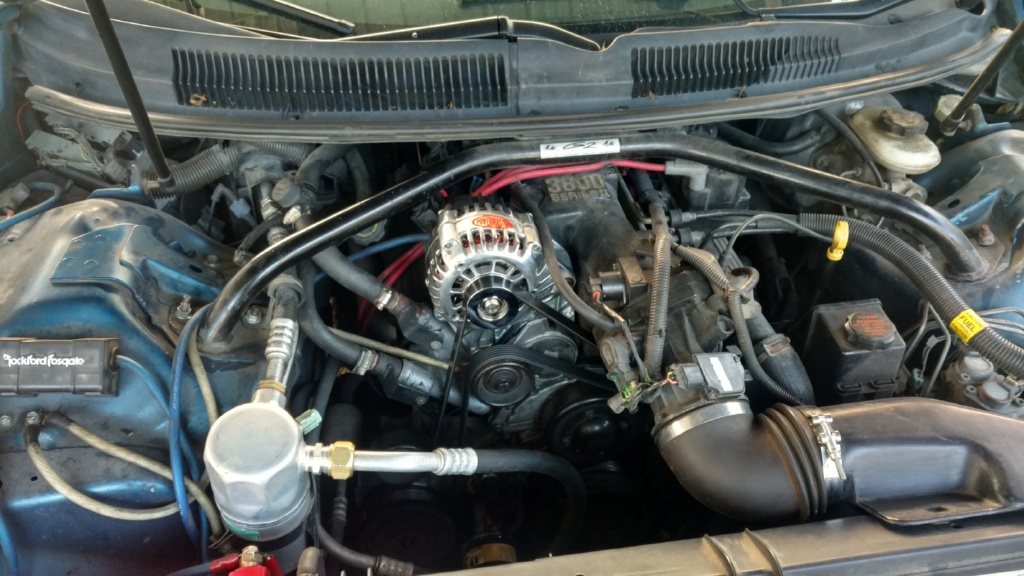
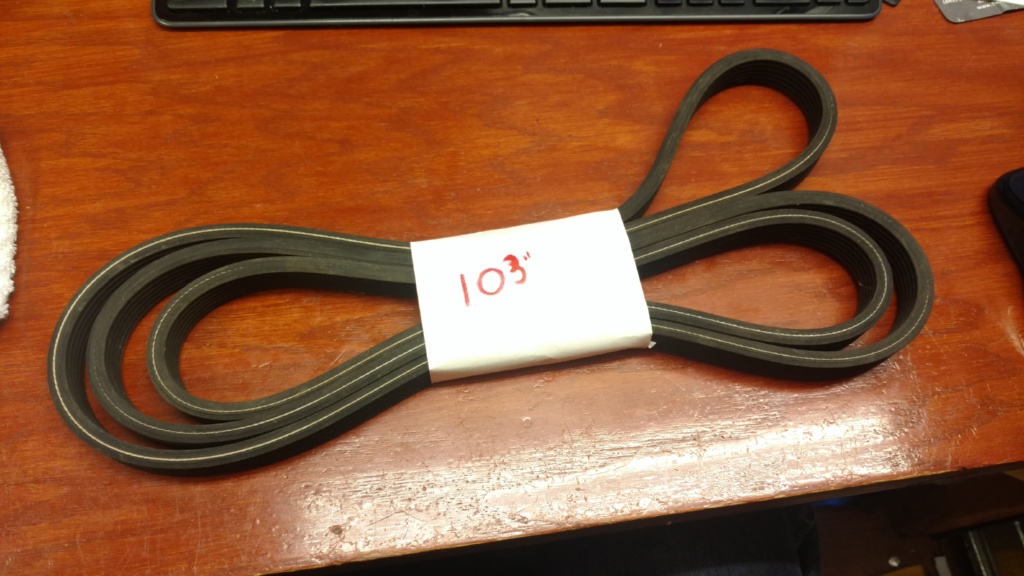
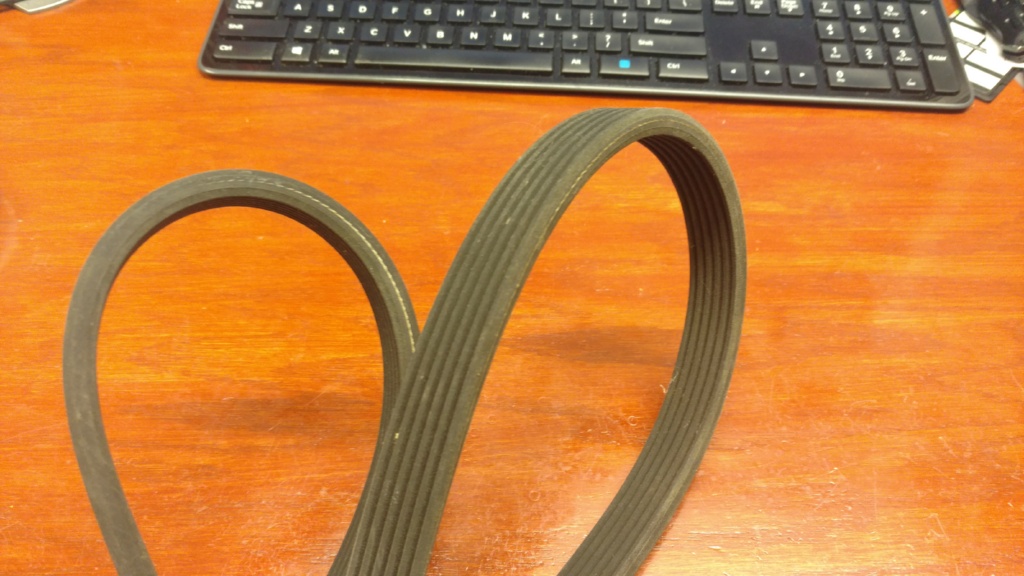
The belt looks like its taking a set pretty easy. Probably time for a new belt.
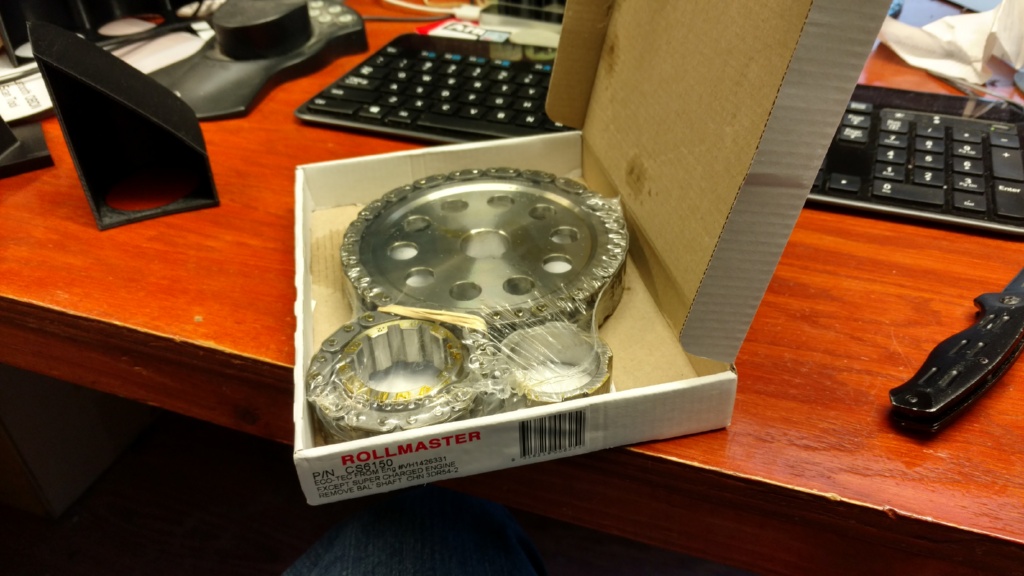
Single Roller:

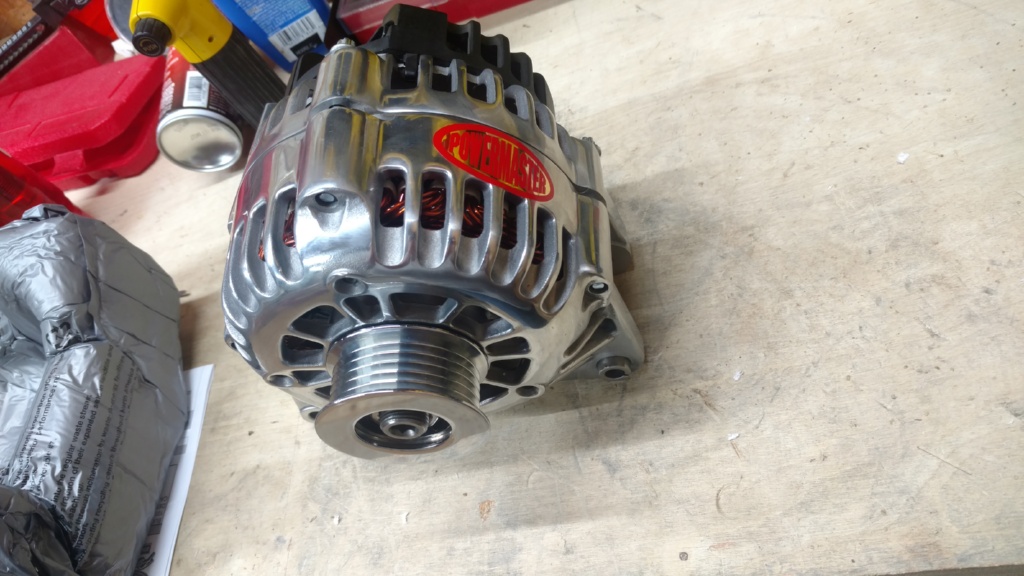
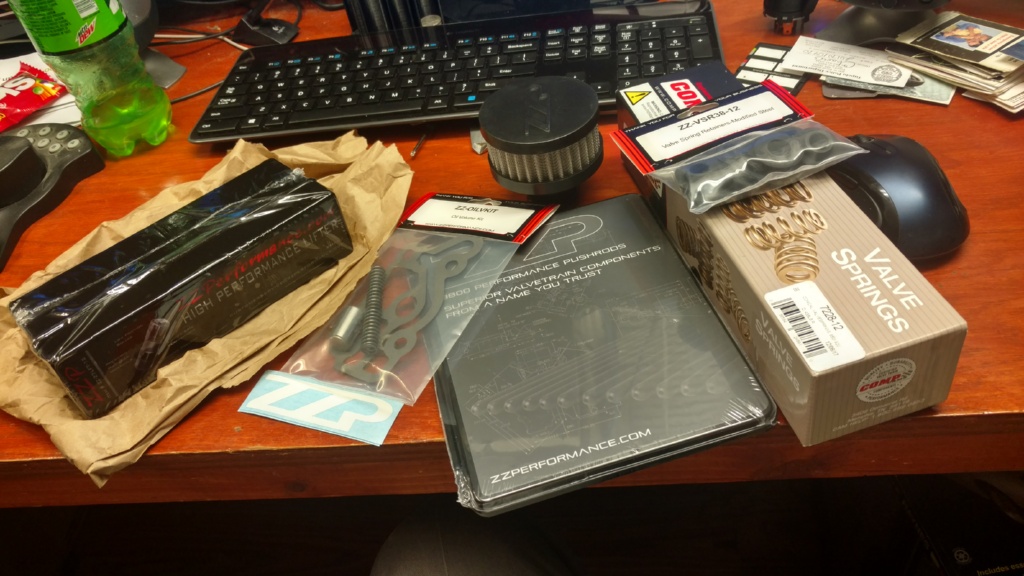
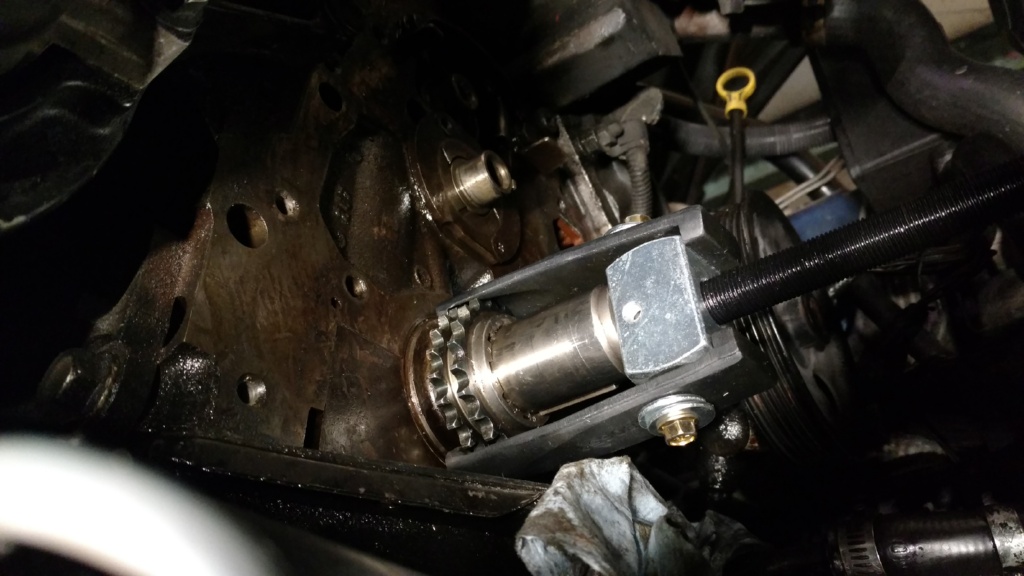
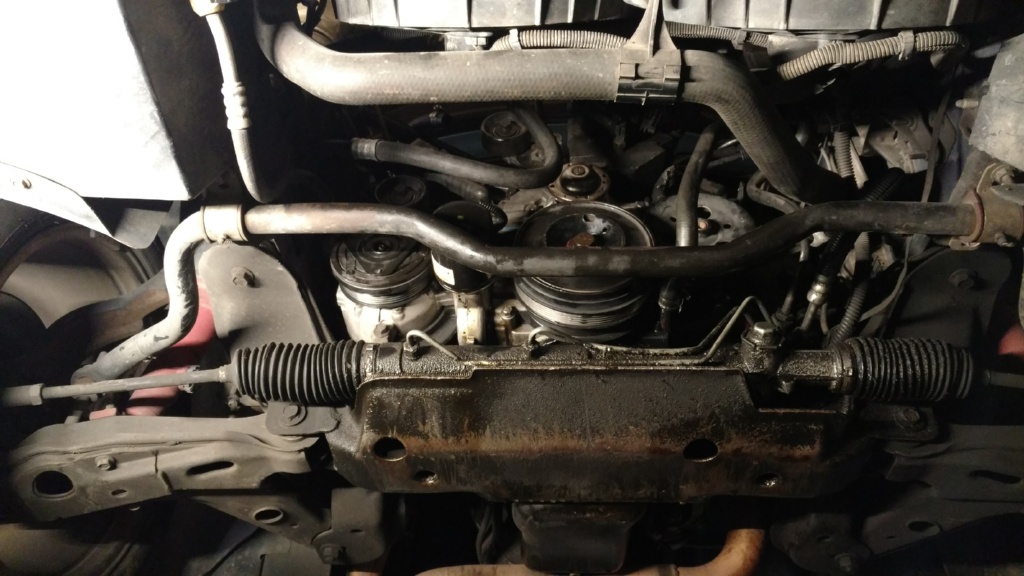
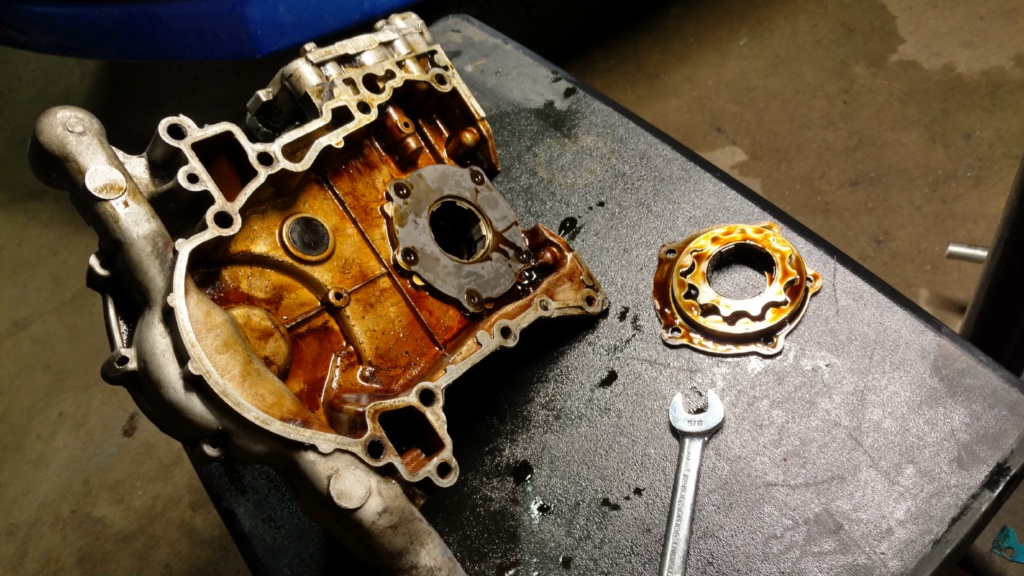
Time to install the upgrades to the oil pump. Volume kit and new pump.

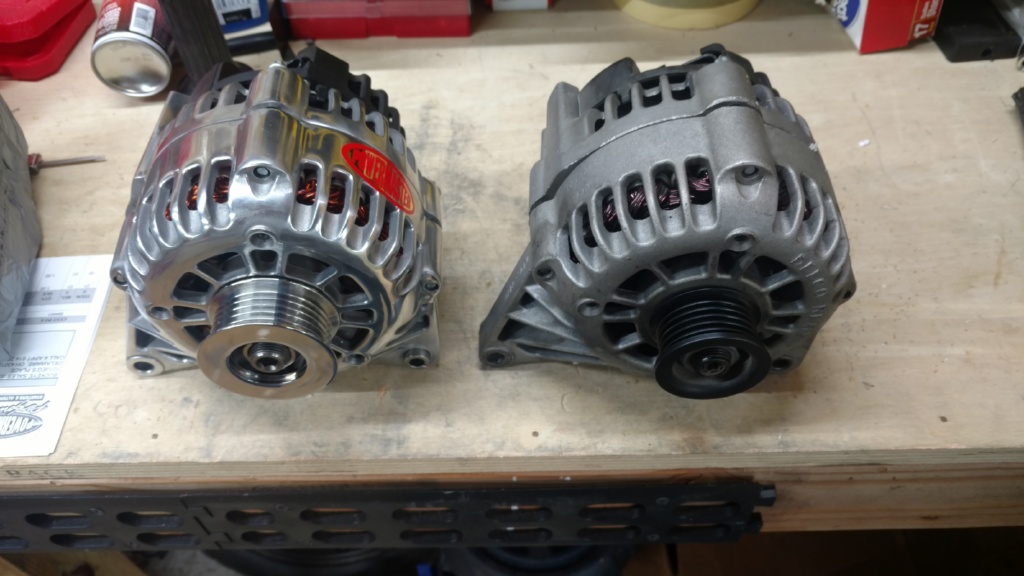
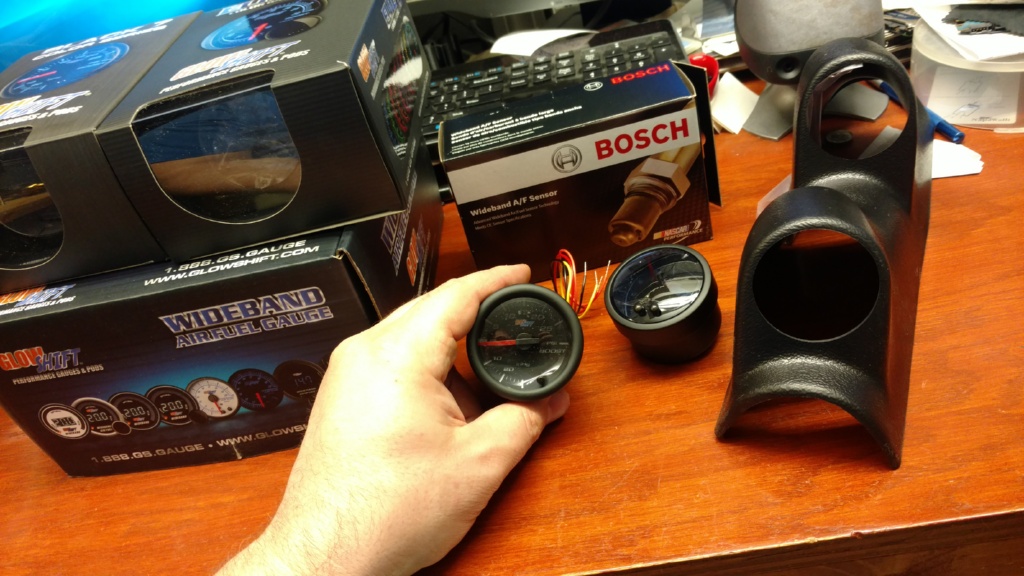
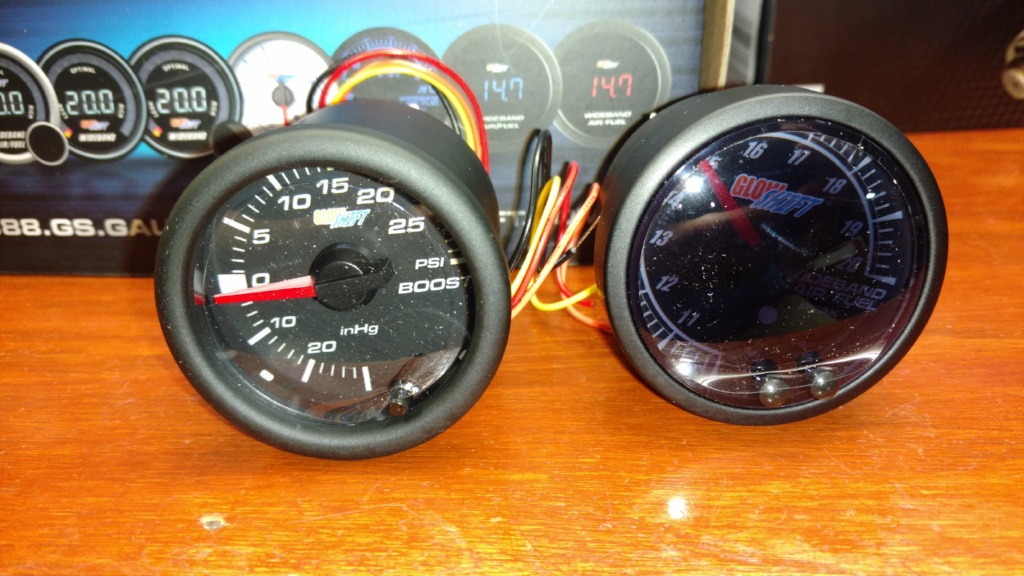
Ready for all the new stuff.

The extra thick timing cover gasket was a little fragile but a little RTV fixed it.

IMG_20180311_122836813_1024px

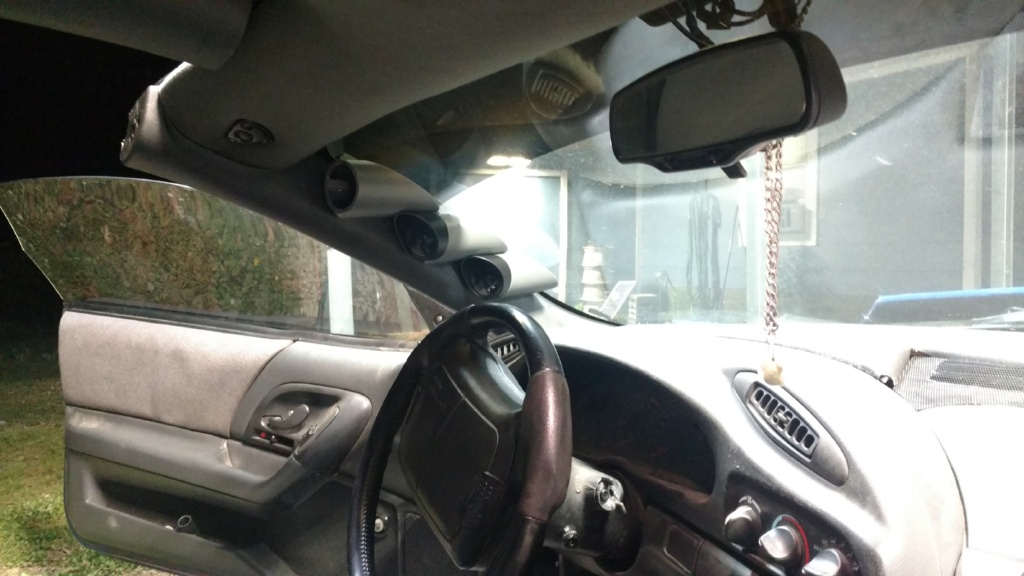
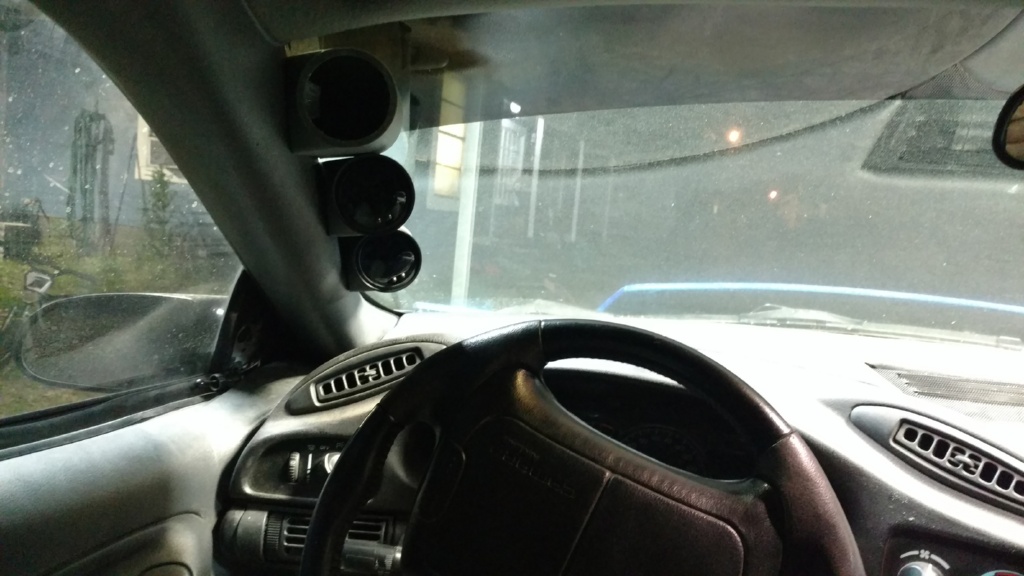
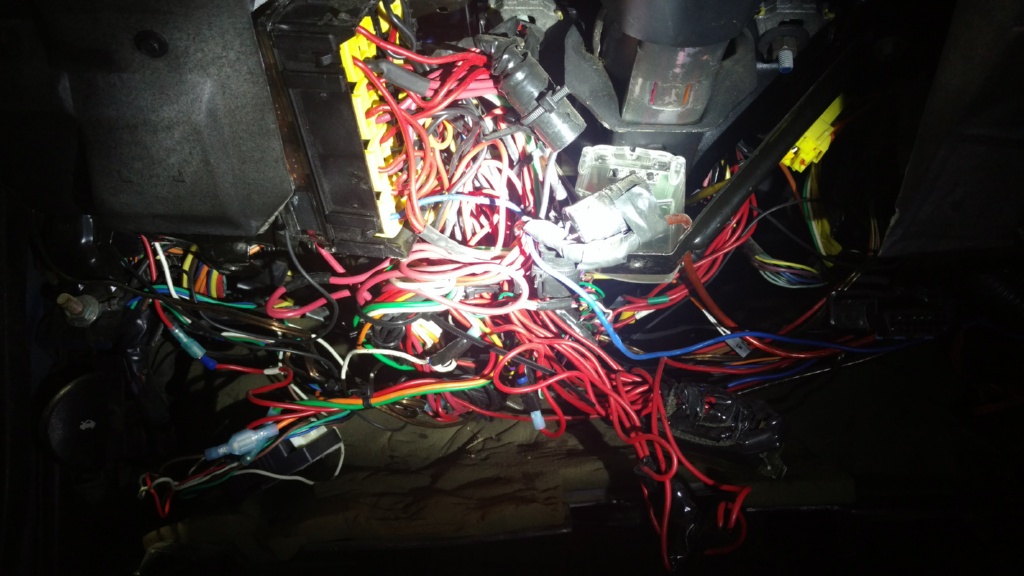
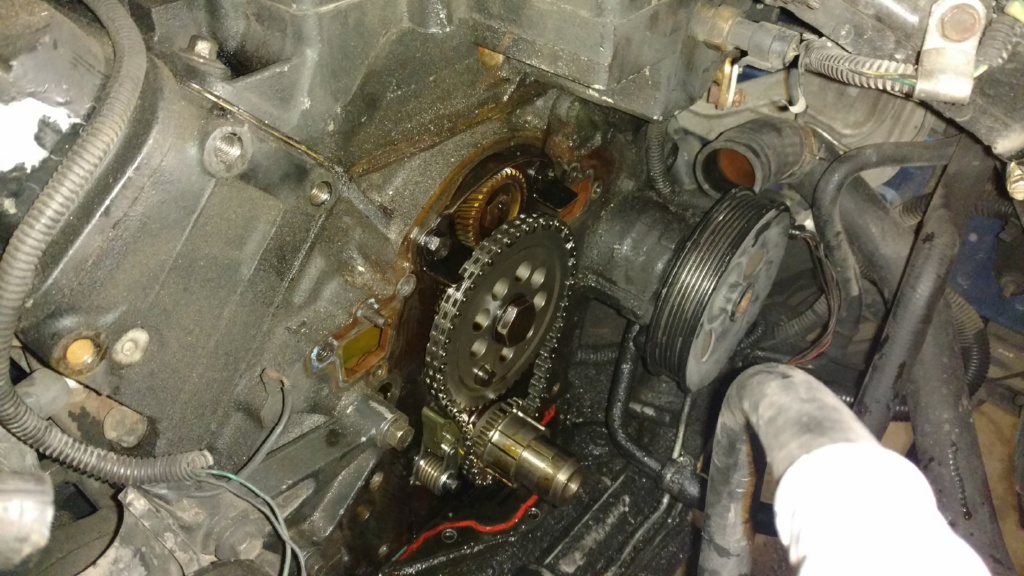
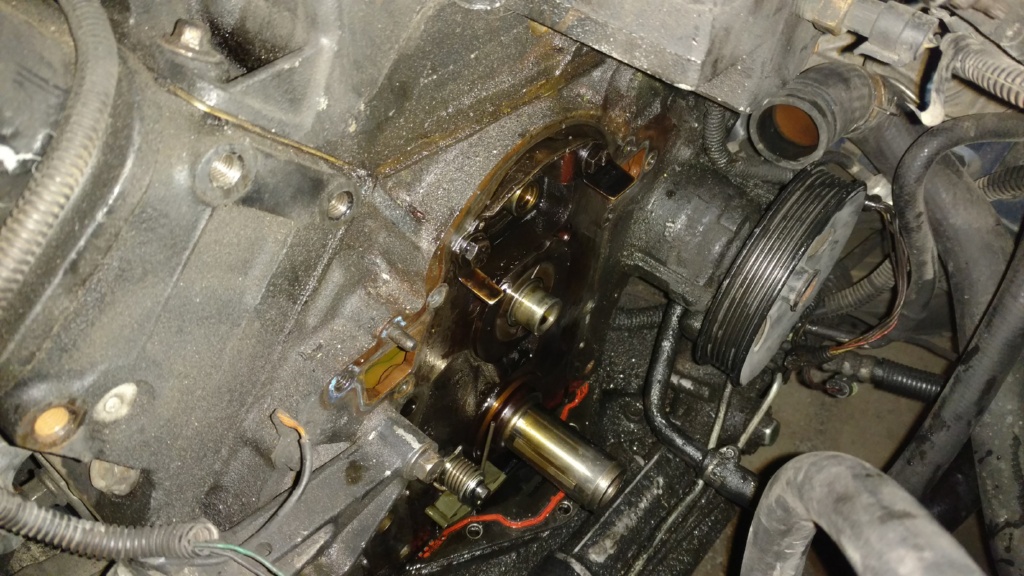
Now for the rookie mistake, which in my defense I checked for but I guess having a lift made it too easy to check so I didn’t double-check. There are a lack of pictures for this part obviously, but I didn’t get as frustrated with this as I normally would. I think that’s partly because I had a shop and lift which means I can leave it and finish it whenever.

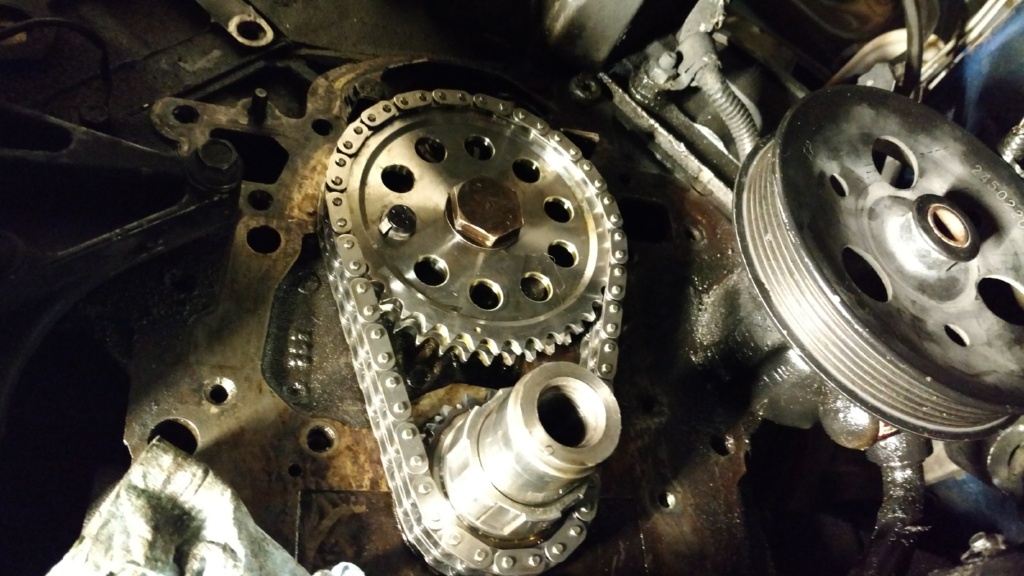
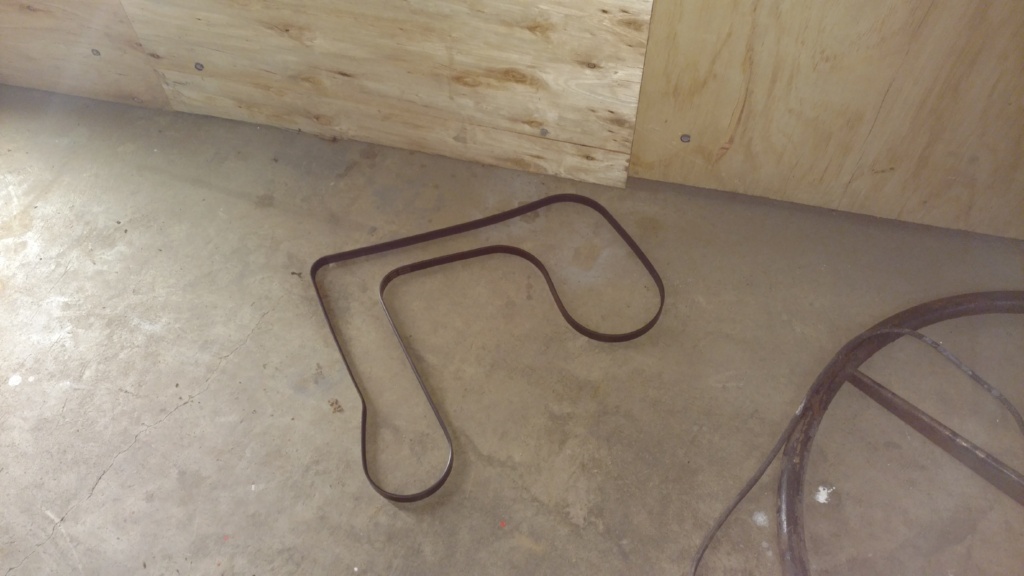
So apparently I didn’t look for the Cam key well enough to see that even though it looked like it was in there it really wasn’t. Which in hindsight,  if I tried to run it would have probably not been a very good situation, I’m lucky in that regards. Turns out that the key was loose enough to slide out of the key way and fall onto the crank gear. Now at this point I had the timing cover on and balancer on and torquing to spec the crank bolt. I knew something was wrong when I was able to put 111 ft-lbs on the crank bolt without holding the flywheel.

I used the flywheel to spin the crank to avoid tightening the bolt more. then I heard it snap. The timing chain broke on one side because the cam key held the chain off the gear far enough to stretch and break it. Over the next 2 hours, I’m taking back apart wondering the whole time what went wrong. I found the cam key sitting on the crank sprocket. How I missed that I don’t know. But at least It was caught before setting it down and turning the key. I had to break the chain the rest of the way to get it off because the crank sprocket probably bent the crank key as well and is stuck on for the moment. So I have another double roller and crank key on the way. Hopefully by Thursday or Friday I’ll be able to put it all back together. Until then I’ll be working on the other details such as wideband and other things that I can do while its up in the air.

Day 2827 “Custom Pillar Pods”

I designed a couple of Pillar Pods to see which I liked the most. The Dash Pods looked ok but I think I’ve found a pod I like the most.

I first designed 2 pods to mount on the inside of the pillar next to the windshield. One that has its own trim and one that mounts direct to the pillar.

This one I didn’t like as much between the 2

These however I think are the winners. They are lower profile than the other pillar style pods and will be tweaked so that they are molded to the curve of the windshield on the back. These were the first models and dont fill the gap very well. I’m going back to tweak them so that they fill the space better and  have a better mounting method. These were just stuck on, so ignore the tape that you can see.

This is the graphite gray (the closest color to the interior that I can find) and its not dark enough. You can tell that the black is too dark but the 3D printing makes it satin finish which lightens up the color somewhat. I’m going to print in black.

Also the new timing chain came in. It’s time to get the car down off the lift and back on the road.

Day 2832 “Quieter Than Ever”

The whole reason I changed out the timing chain now is because the stock timing set was noisy. I’ve changed the chain, gears, damper several times. It was still noisy. This double roller it much tighter than the stock chain and doesn’t require a damper. I used one anyway just because it was new and would hurt anything

First item of business is the crank sprocket. For whatever the reason the issue warped the crank sprocket or made it where it doesn’t slide off. I had to find a puller that would grab the sproket. I got it off and get it all back together.

Back to where we were before lol

I found a problem with the CPS connector. Its a pretty common problem. I’m surprised that It’s taken this long for me to have to fix it.

Luckily, I have a spare harness from the green motor. lol

Fixed:

It’s back on the road and the extra 2 deg timing advance on the crank is pretty fun.  The chain noise is complete gone. It’s also time for a wash.

Day 2841 “Final Design Gauge Pods”

I finally finished finished the design for my Gauge Pods. I ran out of material 3d printing these and realized that I need to have a junk roll of material to use until I’m ready to print the final. In this case I’ll be using the Grey ABS that isn’t the right color.

I went through a lot of prototypes in order to fine tune the fit and look of these pods.

I eventually had to model all the pieces in 3d in order to get it right because It just wasn’t fitting together as well as I would have liked.

I made a template that gives me the mounting holes to drill out. It’s basically the pod with most of it cut off except where it touches the pillar.

I’ve received more black ABS and are printing the final prints. Final as in  as long as they come out good. LOL

The final versions for mock up are in the grey so I don’t waste a lot of abs that I use, like black. When the black versions are done printing I’ll swap them to black. This grey material will work well for other parts of the car where the color is lighter.

The grey almost matches but really not close enough for me to use it.

The amount of dirt and pollen on the car has become sad.

Next up is wiring the gauges. I still have a Fuel Pressure gauge to buy and fit into the third pod.

Day 2843 “2 Gauges Installed 1 to Go”

I managed to get 2 gauges install in the past few days. I ordered another for the fuel pressure to go in the 3rd pod.

The new ABS material works well. I didn’t have to do any twice which is great.

Time to swap the greyish mockups for the black ones

You can see the grey in the above photo looks super close but its really not as you can see.

For the wire harness, I drilled some big holes in the middle.

Mock up with Black pods finished. Now to tackle wiring.

This ought to show you just how much stuff I have in the car. It’s added up over the years.

Tied the Boost line next to the map sensor.

I did have to run it like this for a day. LOL

Today, I ran the wires into the car through the engine harness hole like everything else I’ve got running through the firewall. I thought about drilling another hole in the firewall but I think this is better.

Pillar wiring:

A little soldering.

Not really the neatest install but it works. At some point i need to relocate the old wiring to a new location and reduce it.

I was pleased to see that the sky blue color setting matches the factory gauges pretty well.

More posts are on their way.

1 28 29 30 31 32 33 34 35 36 37